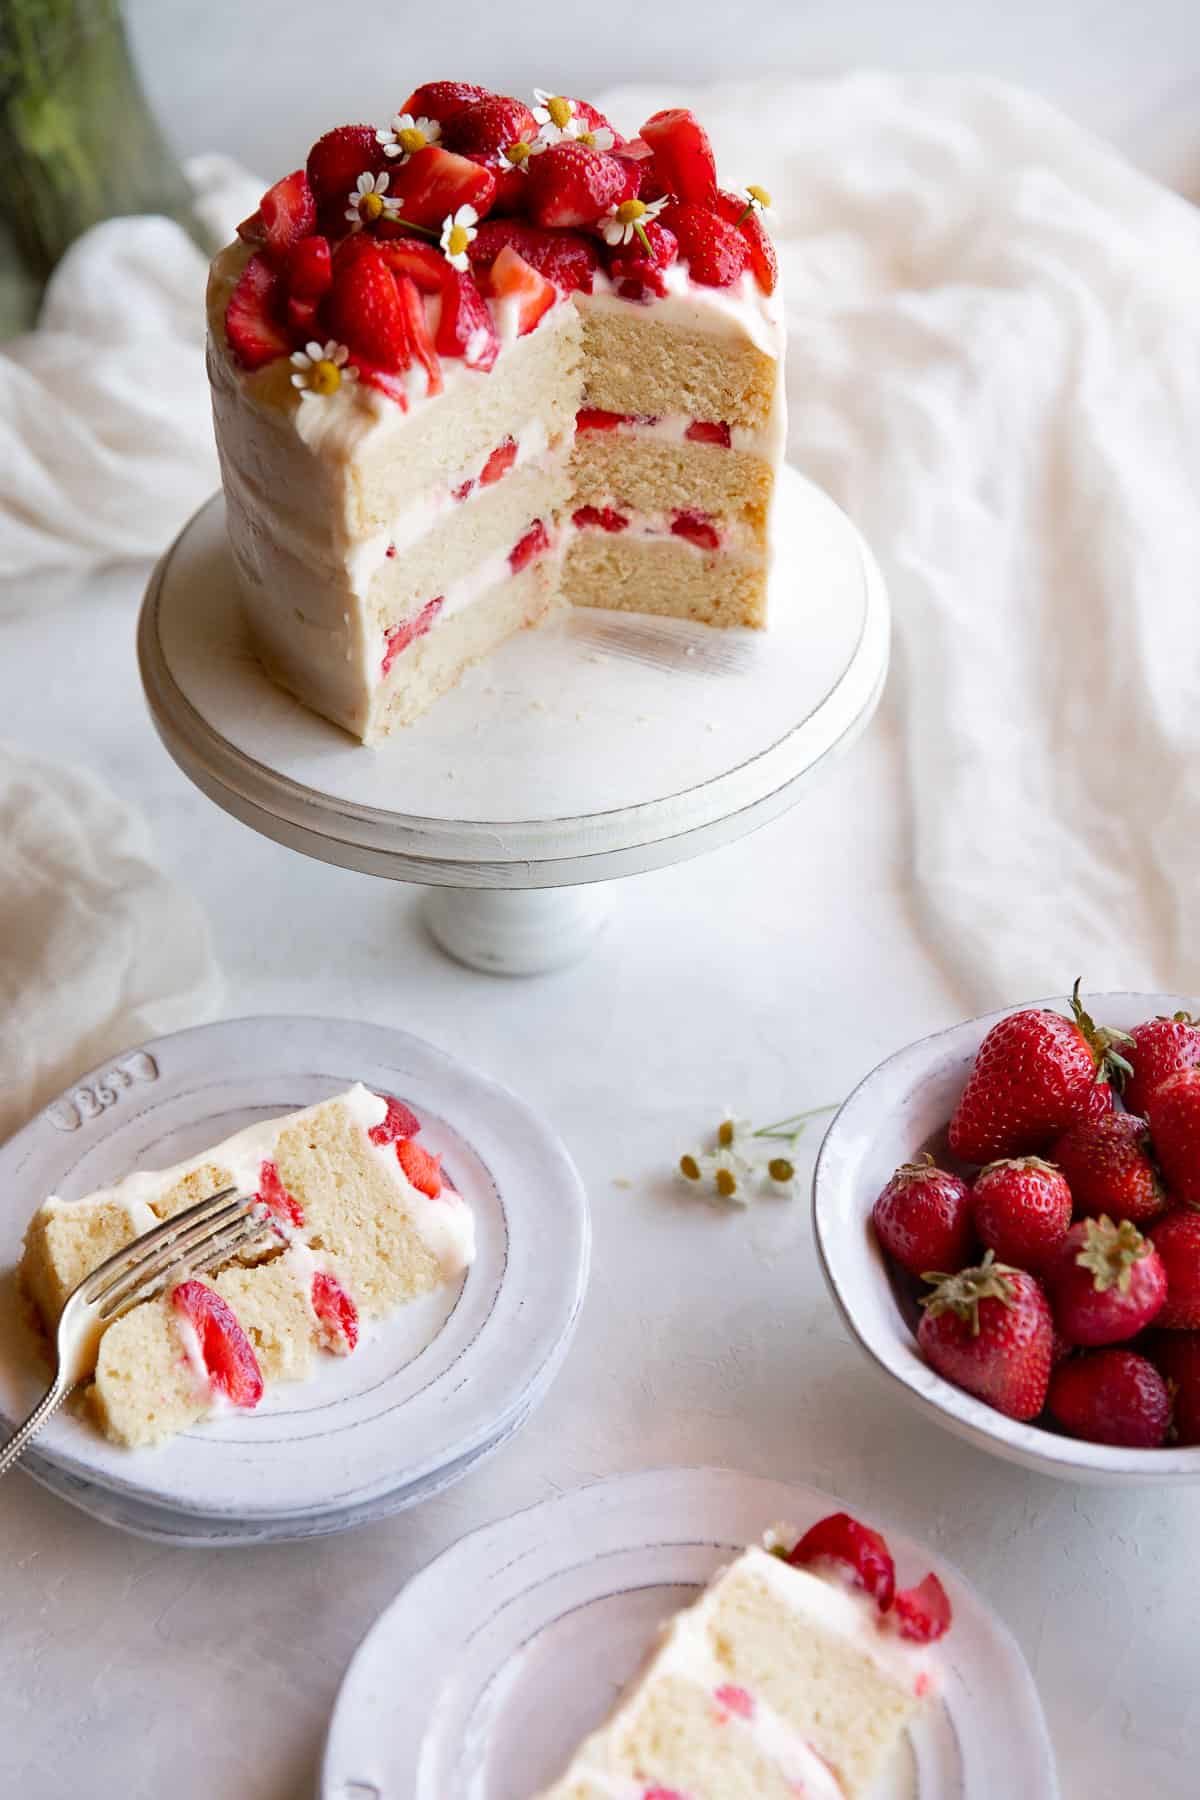
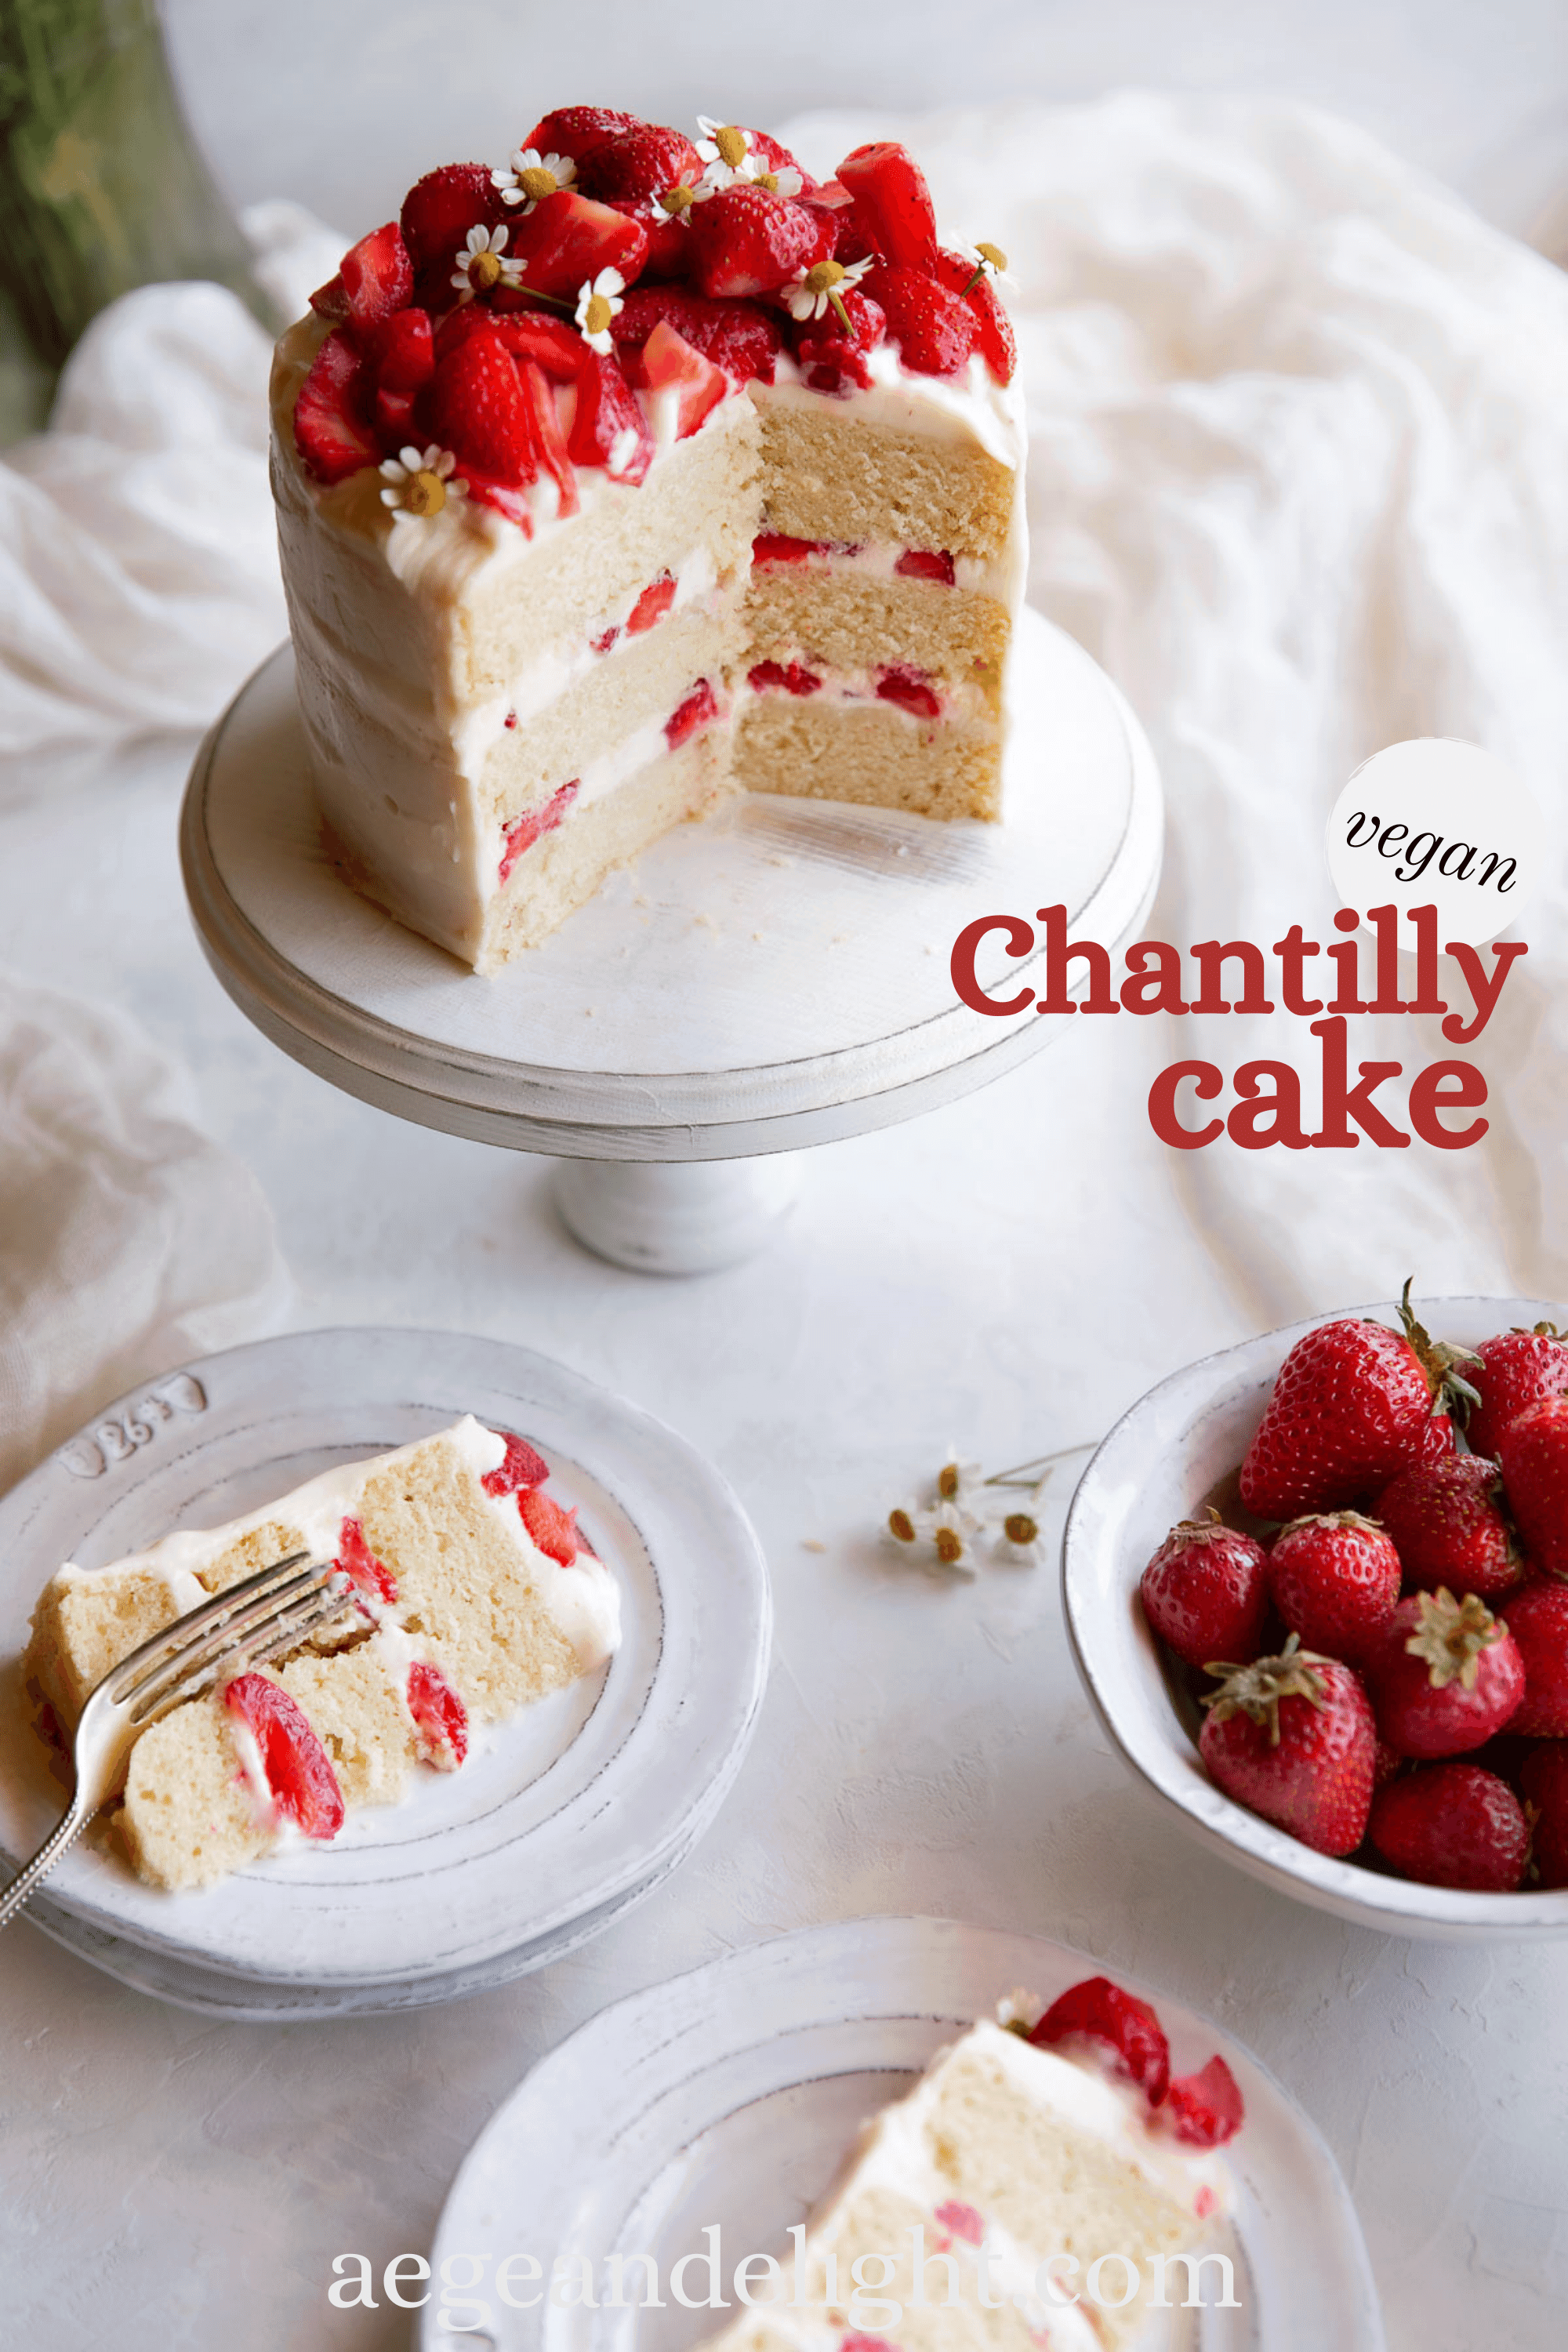
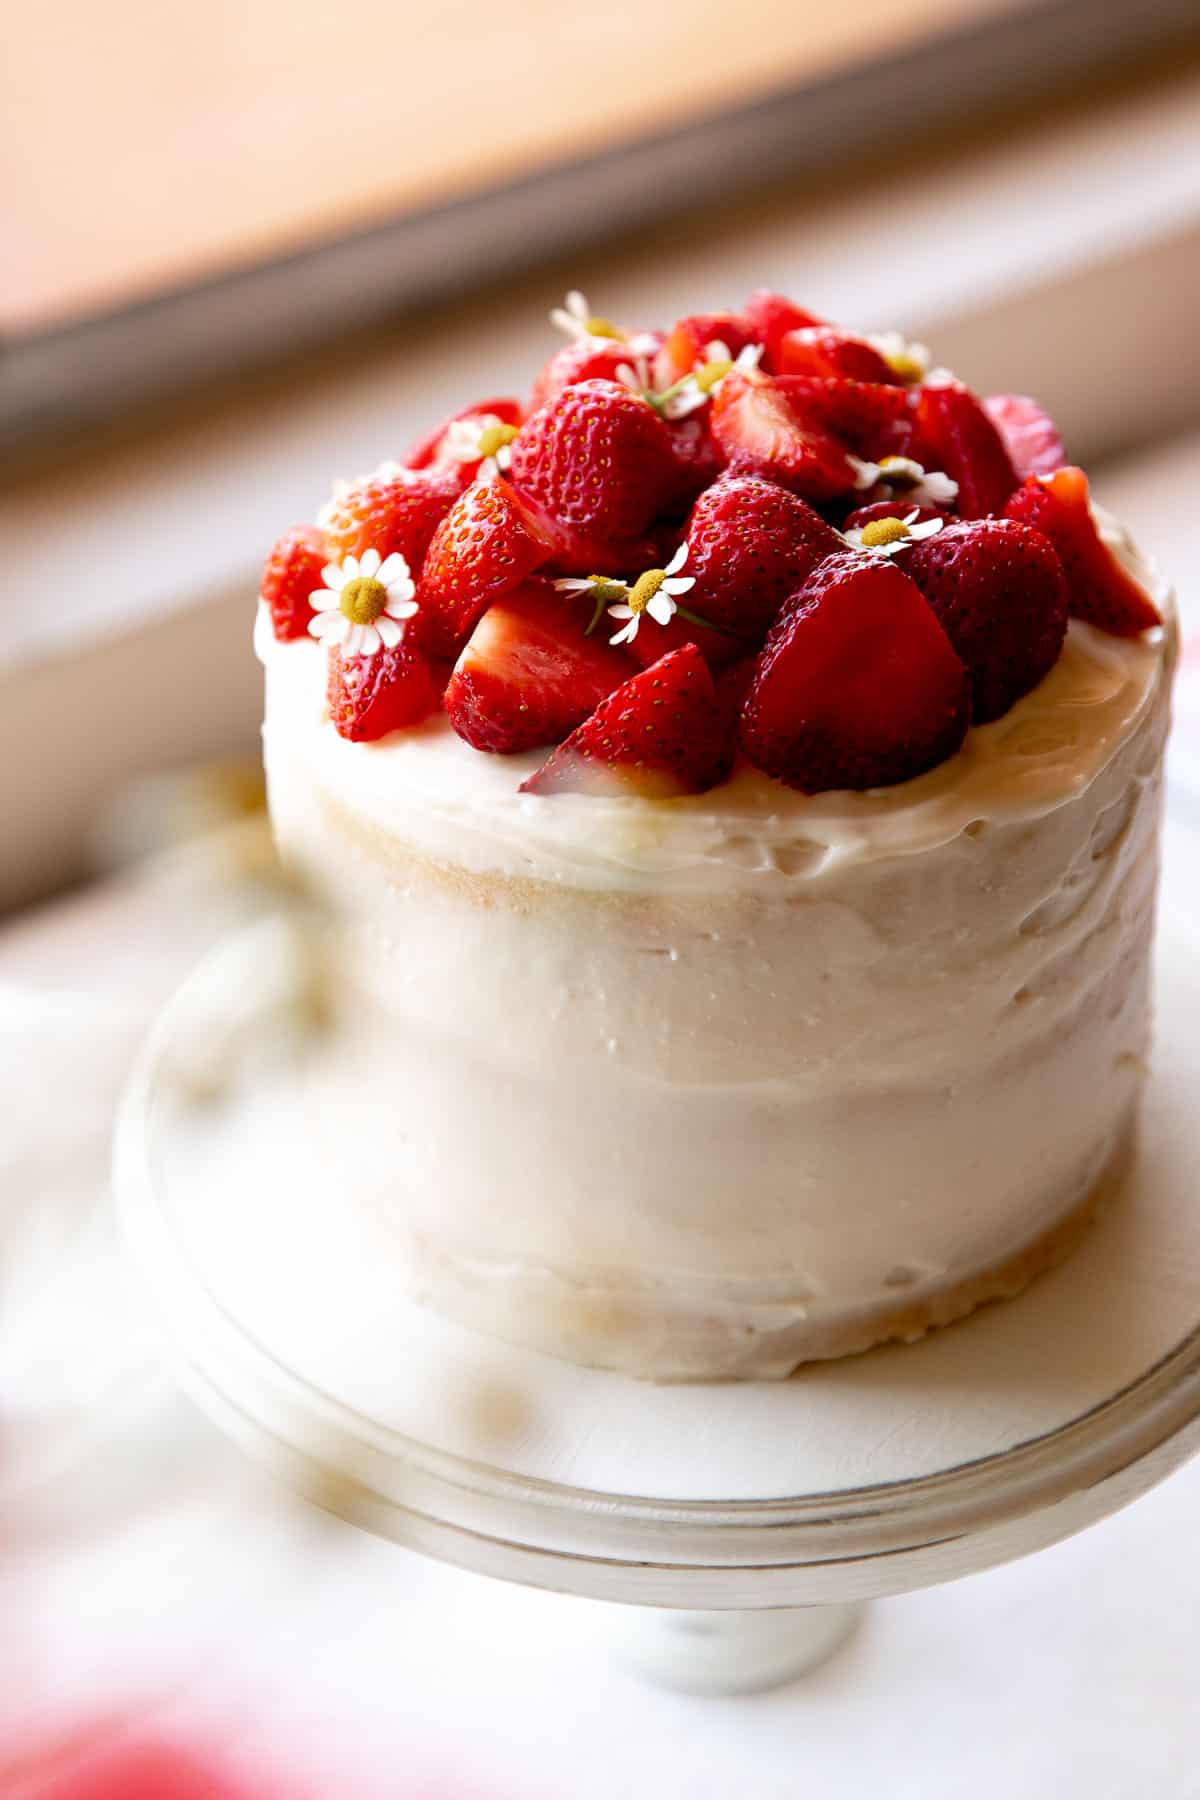
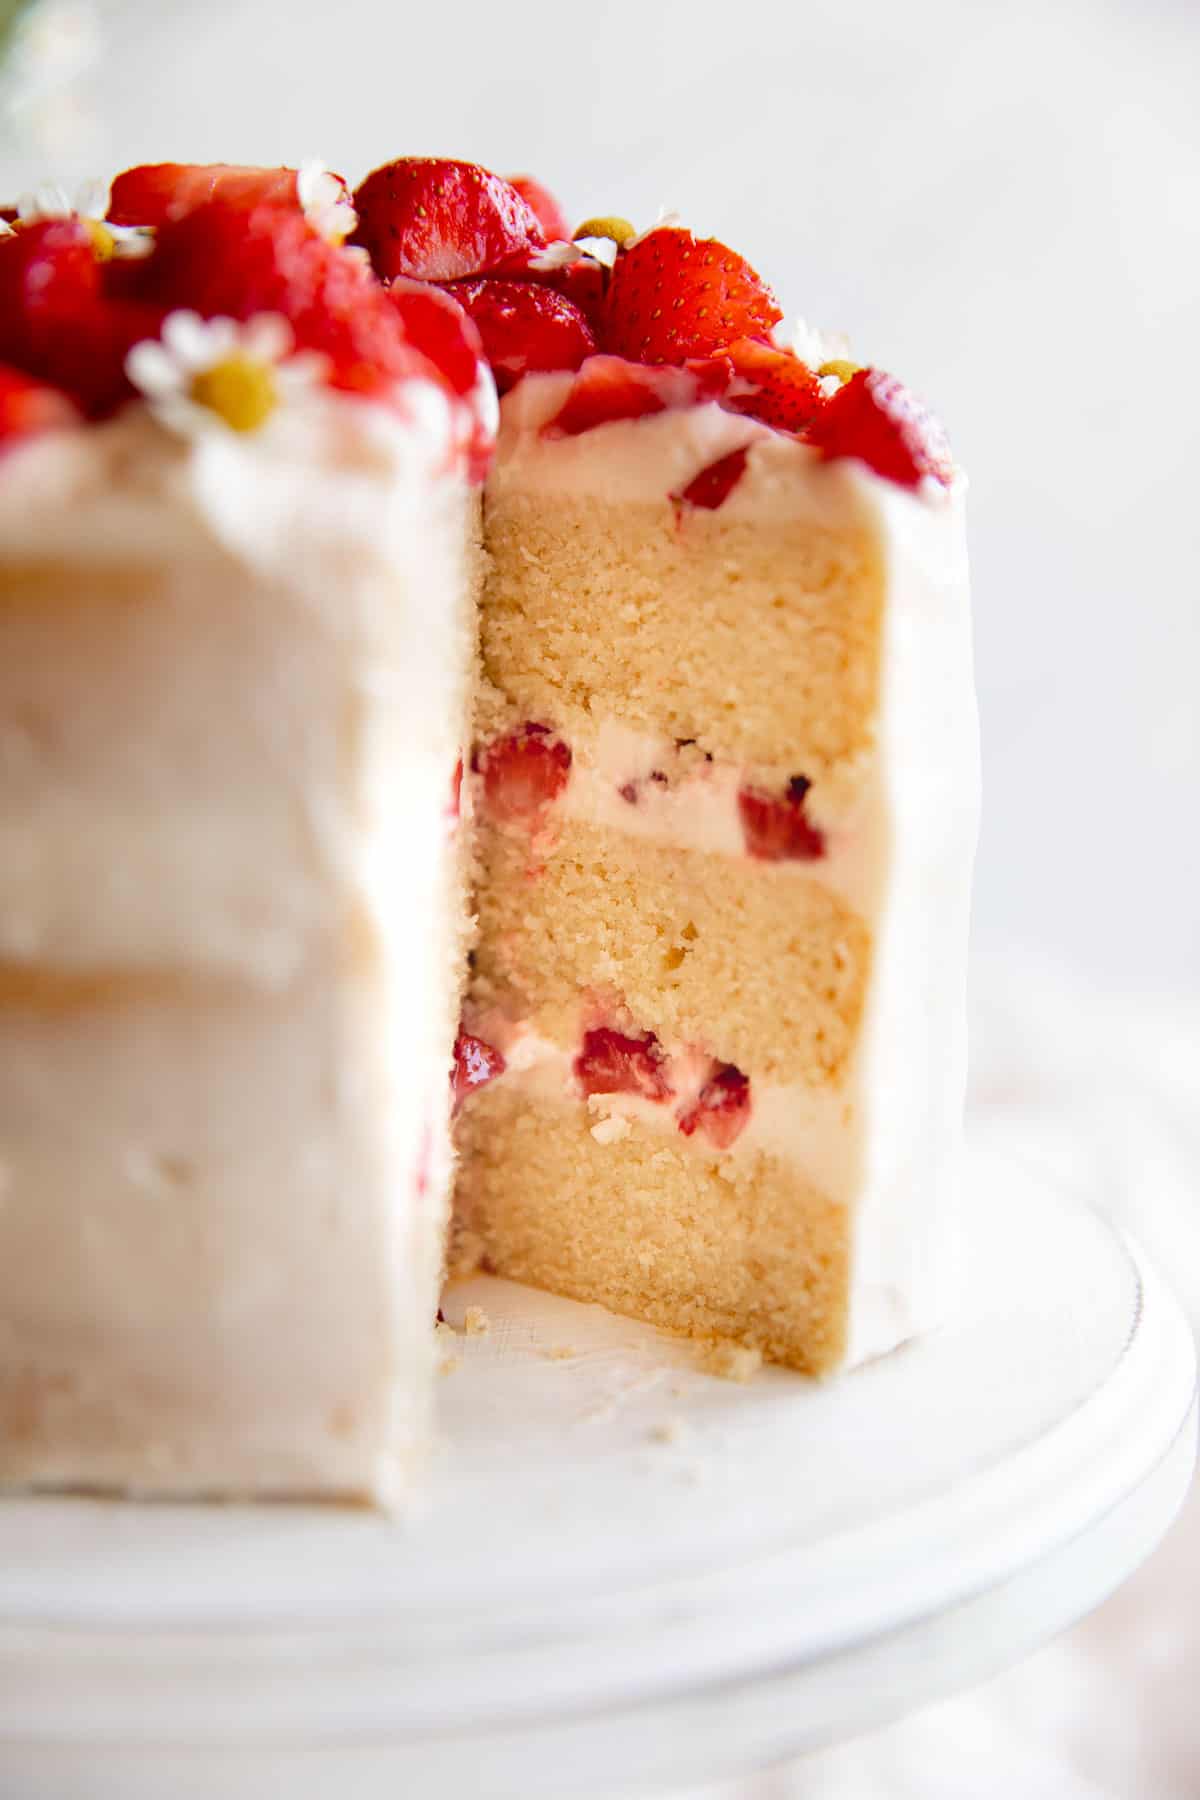
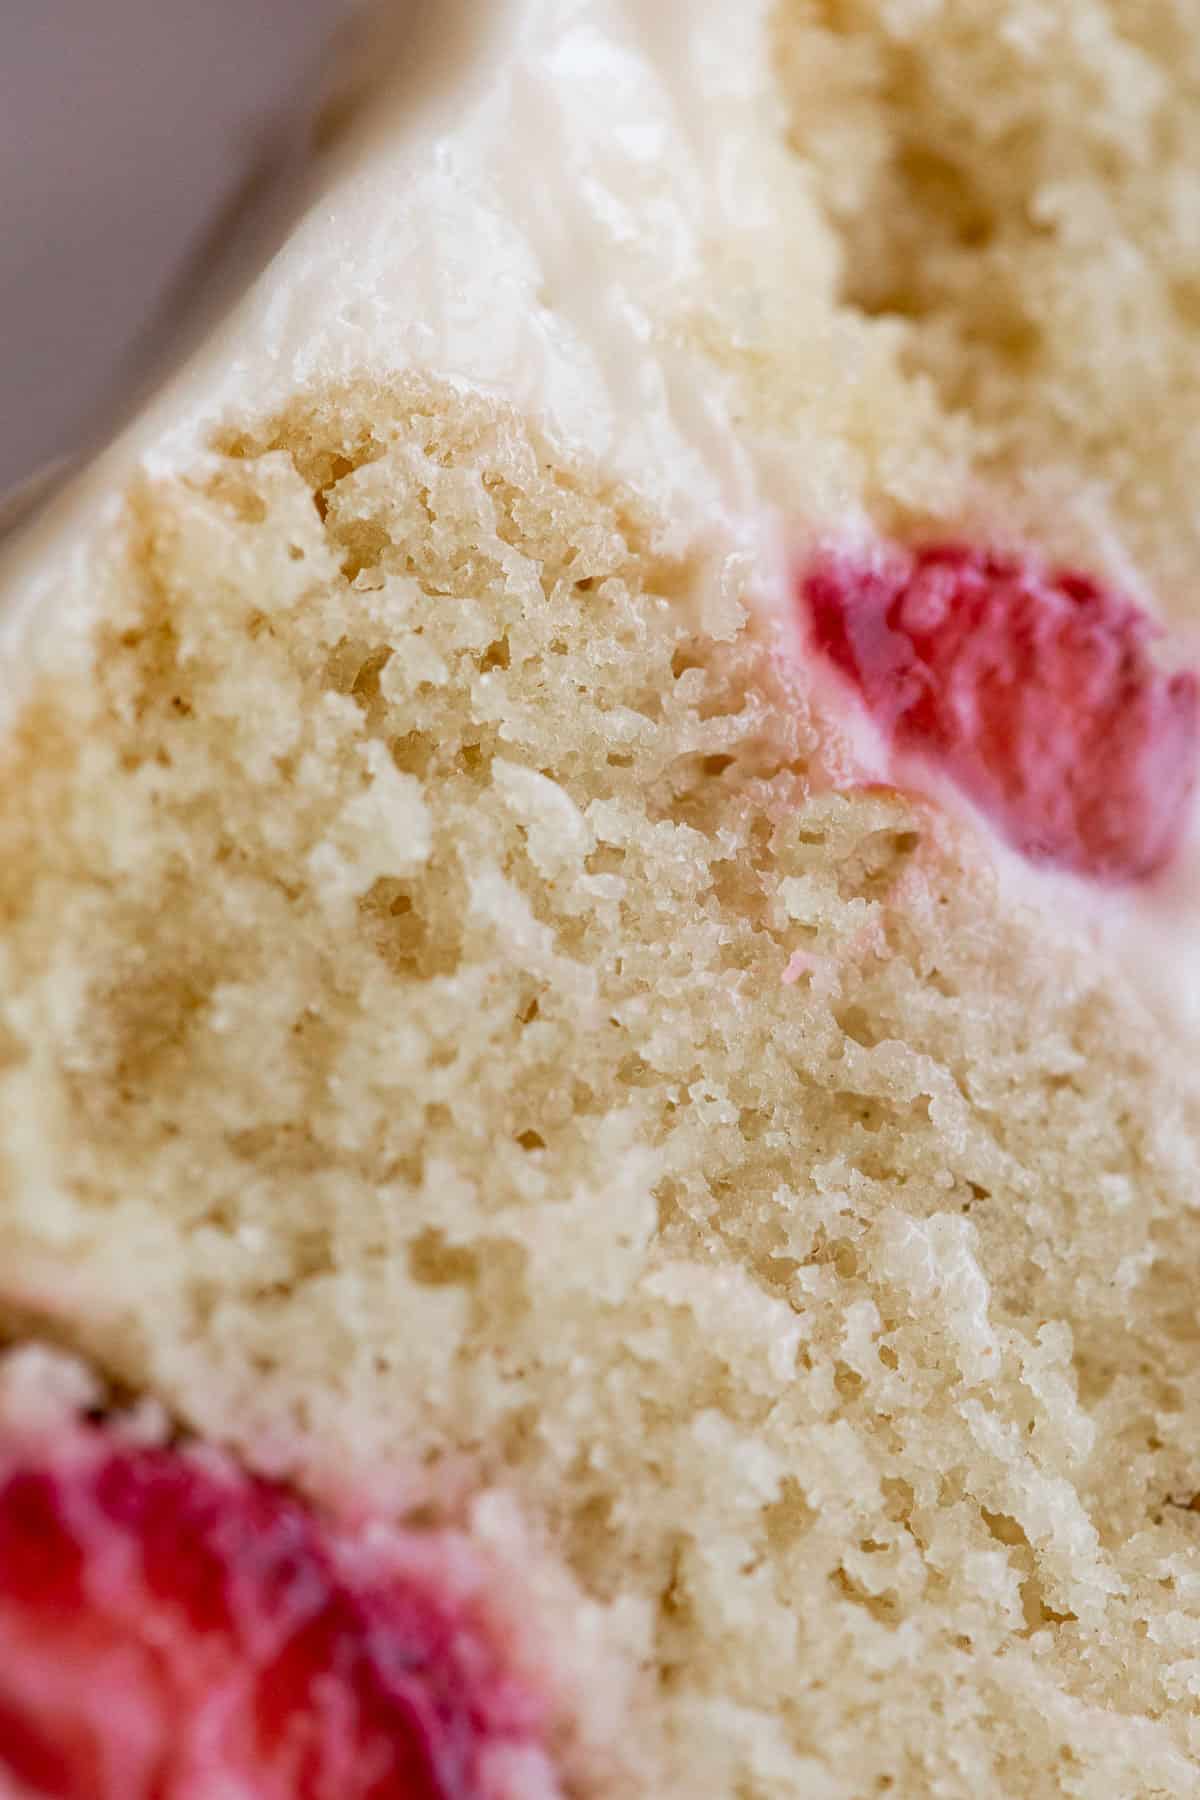
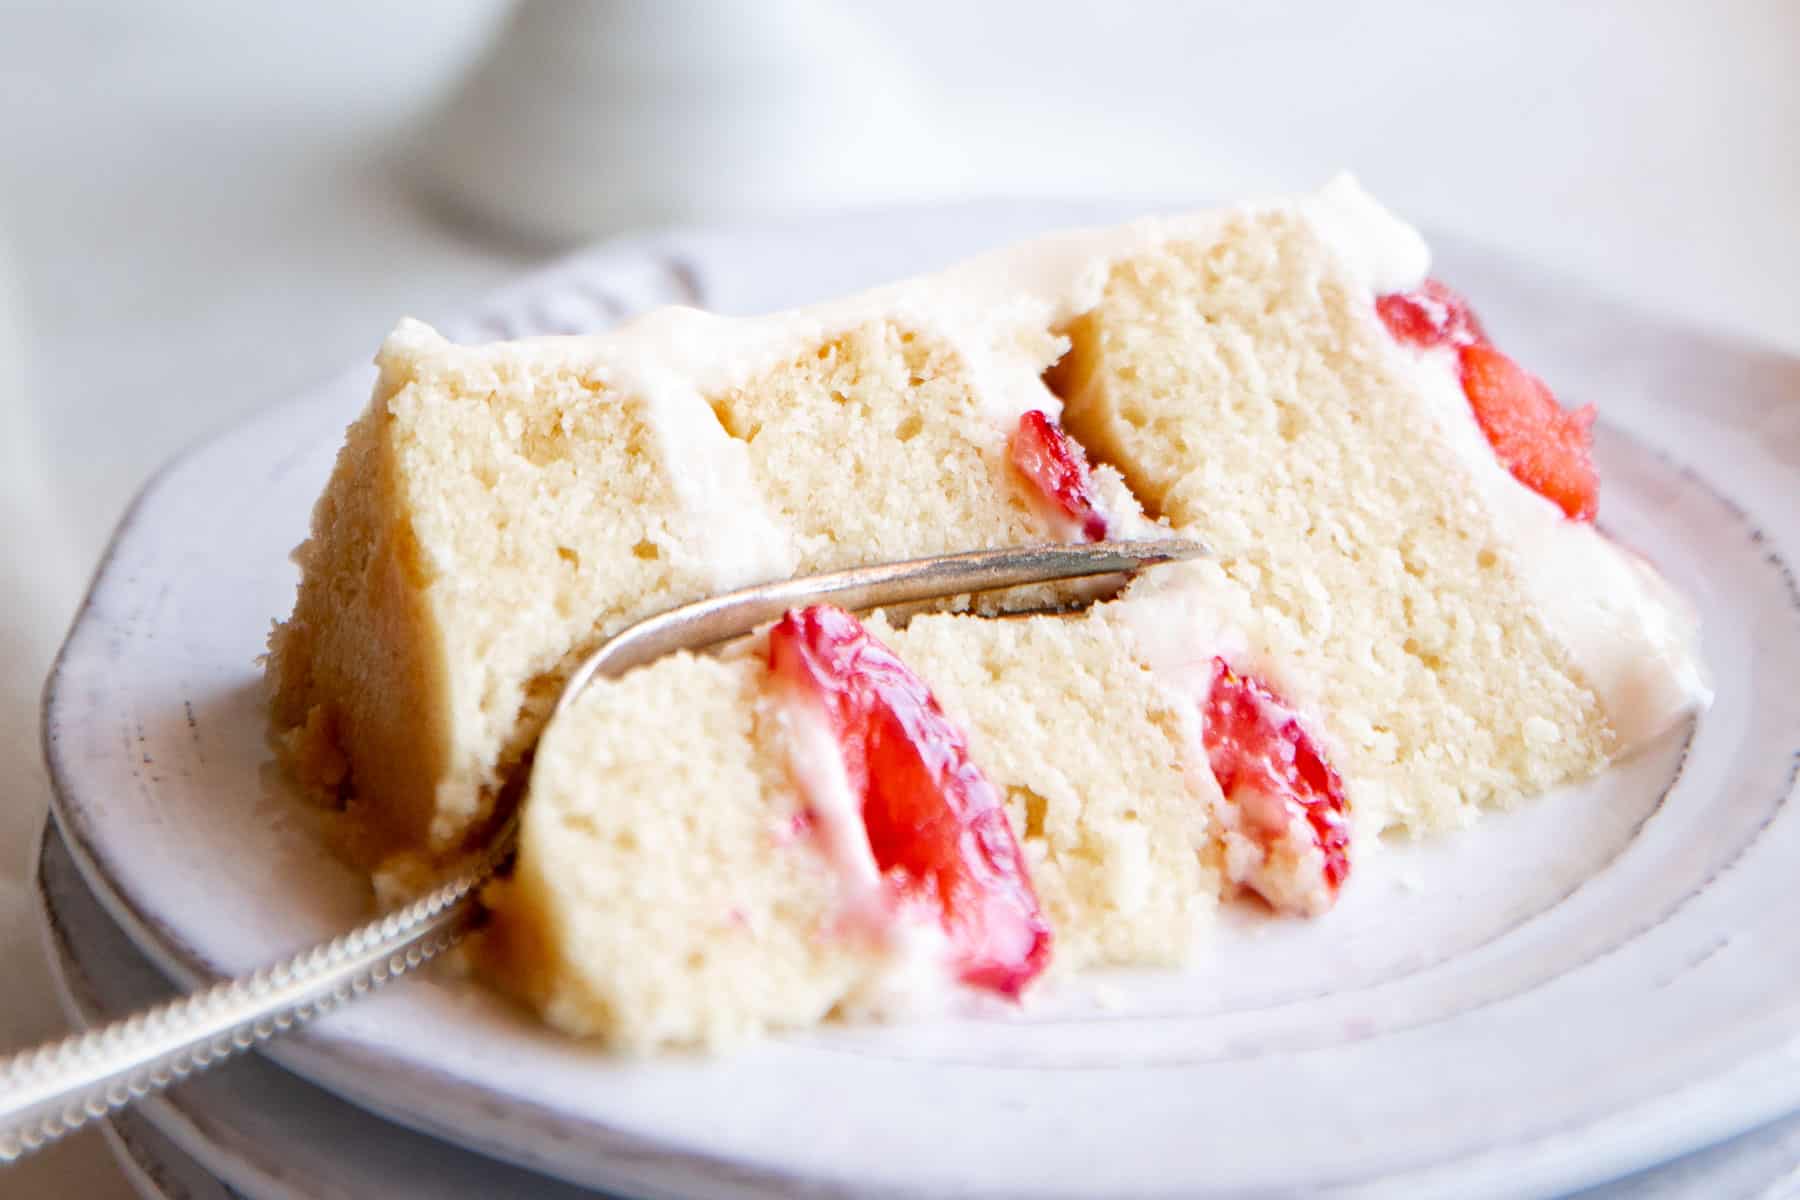
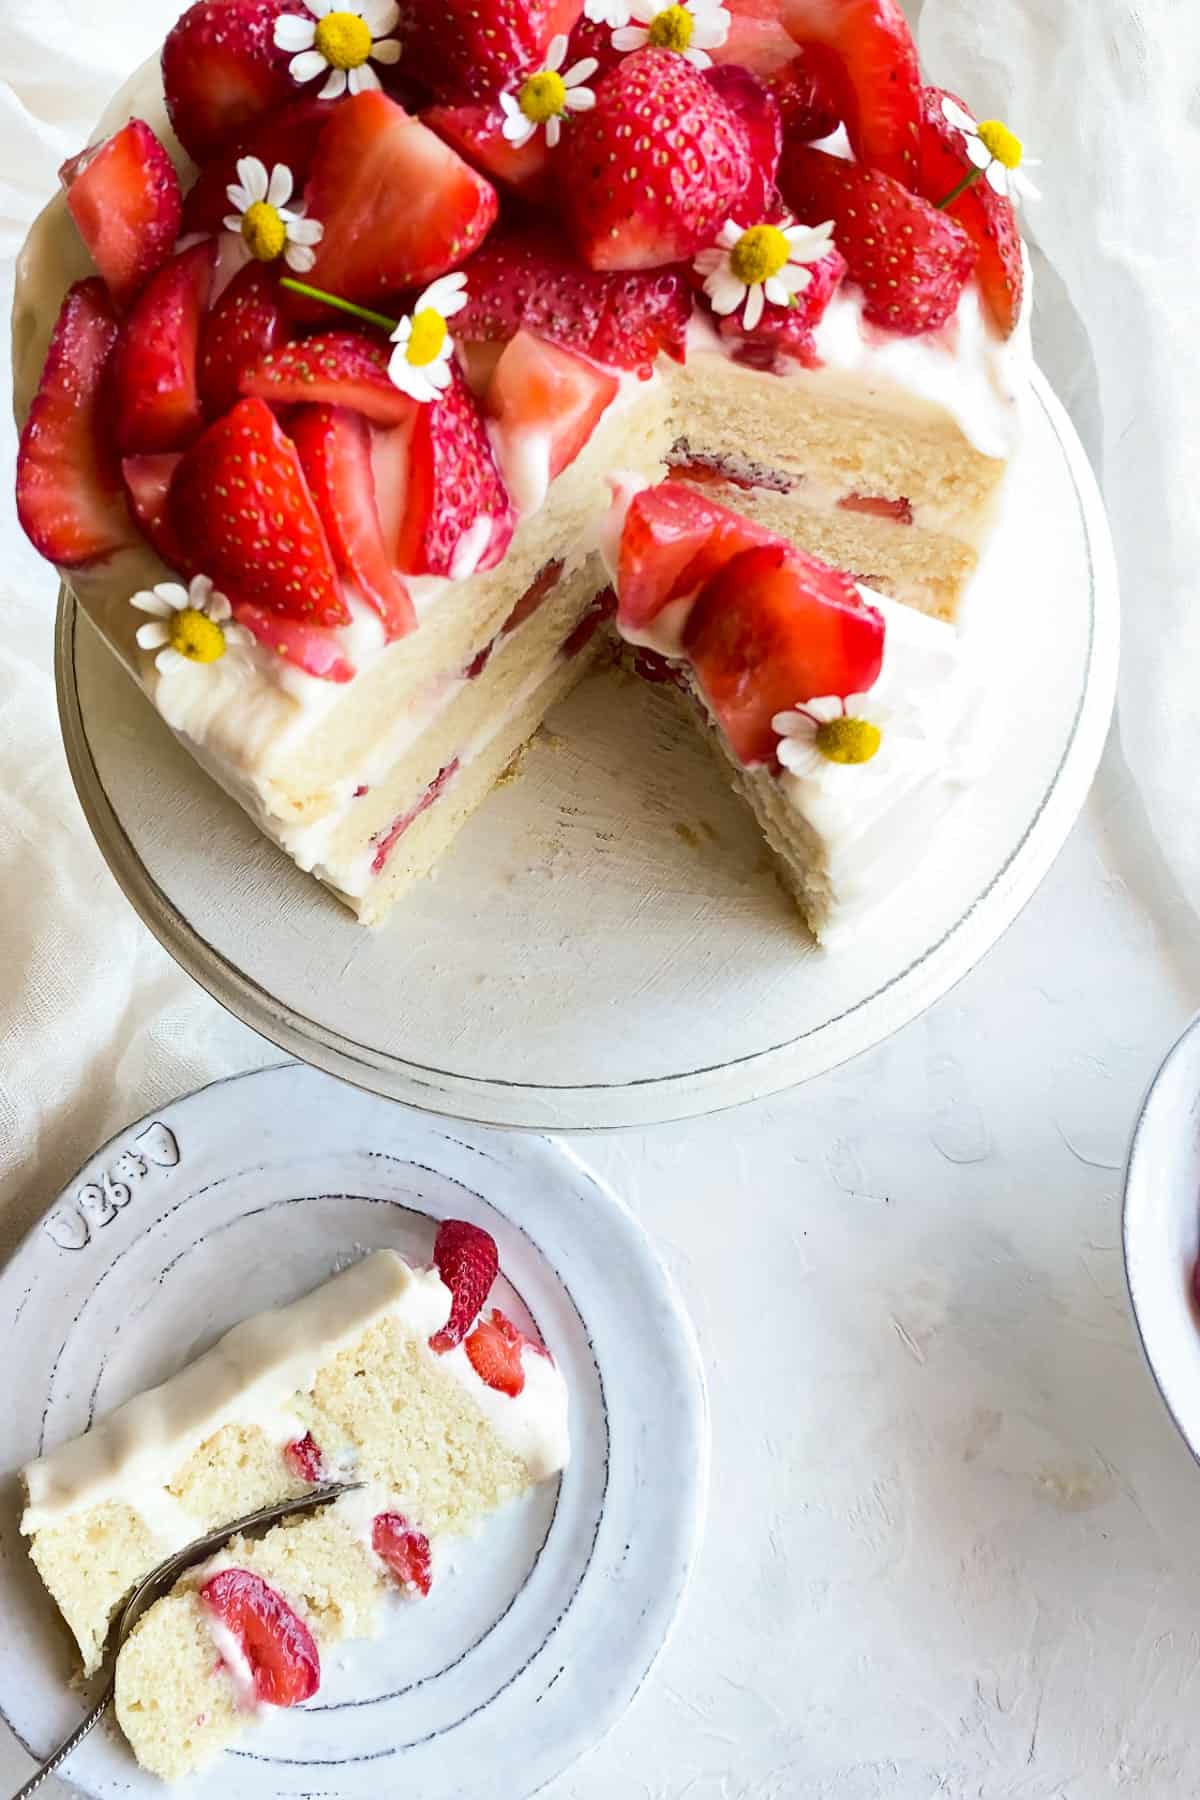
This vegan vanilla cake is light, fluffy, and stays moist for days! Complete with berries and a delicious dairy-free cream cheese Chantilly frosting, this versatile cake is perfect for layering for birthdays and celebrations. It'll be difficult to stop after your first slice!
Jump to:
🍰 Vegan Vanilla Cake
Who doesn't enjoy a gorgeous-looking, celebratory cake? But I also know the sinking feeling of having worked on said cake for hours to surprise someone, only to end up with a dense, lackluster birthday cake! It's the worst.
That's why I've worked on developing a simple, foolproof vegan vanilla cake recipe you can count on—be it used as embellished layers or for a simple sheet cake.
I'm including all the tips and tricks to ensure the cake is light and moist, yet has enough structure so it won't collapse or break apart!
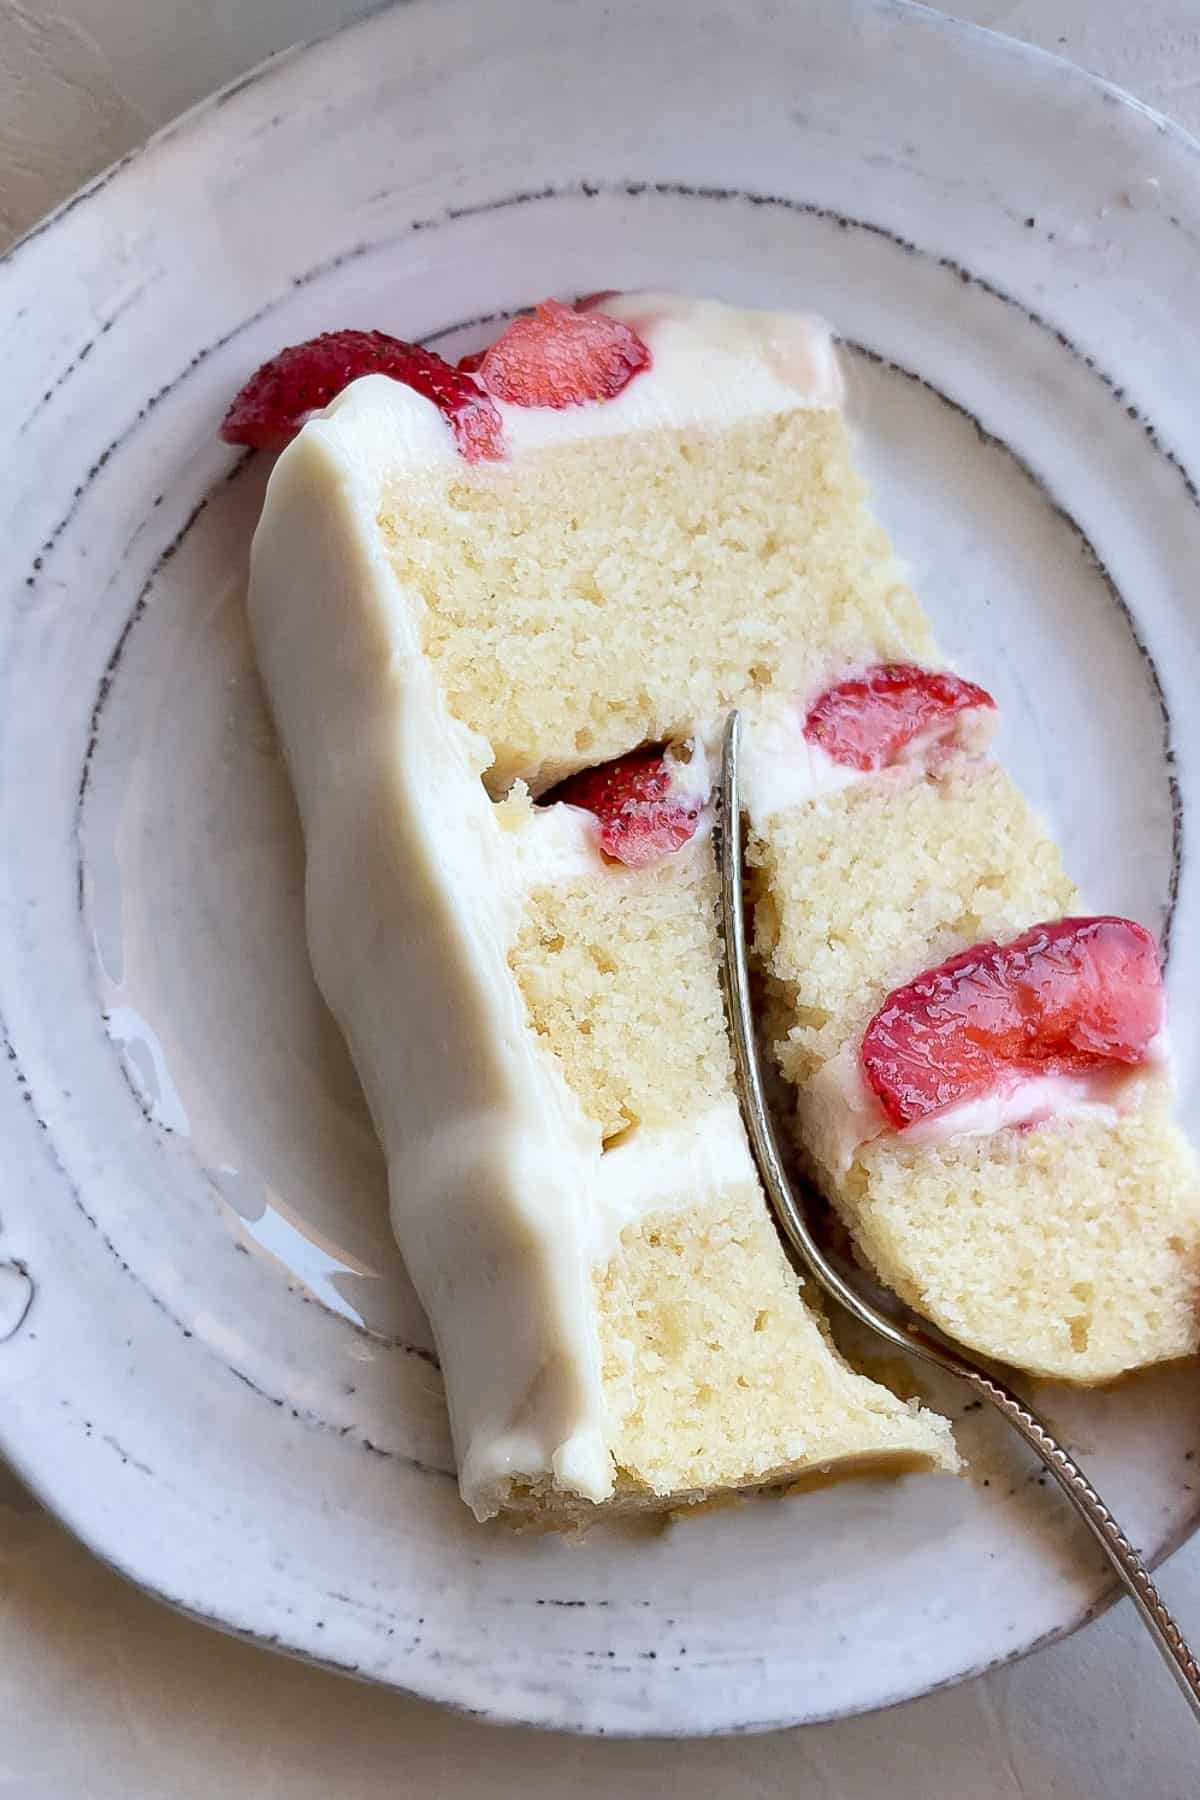
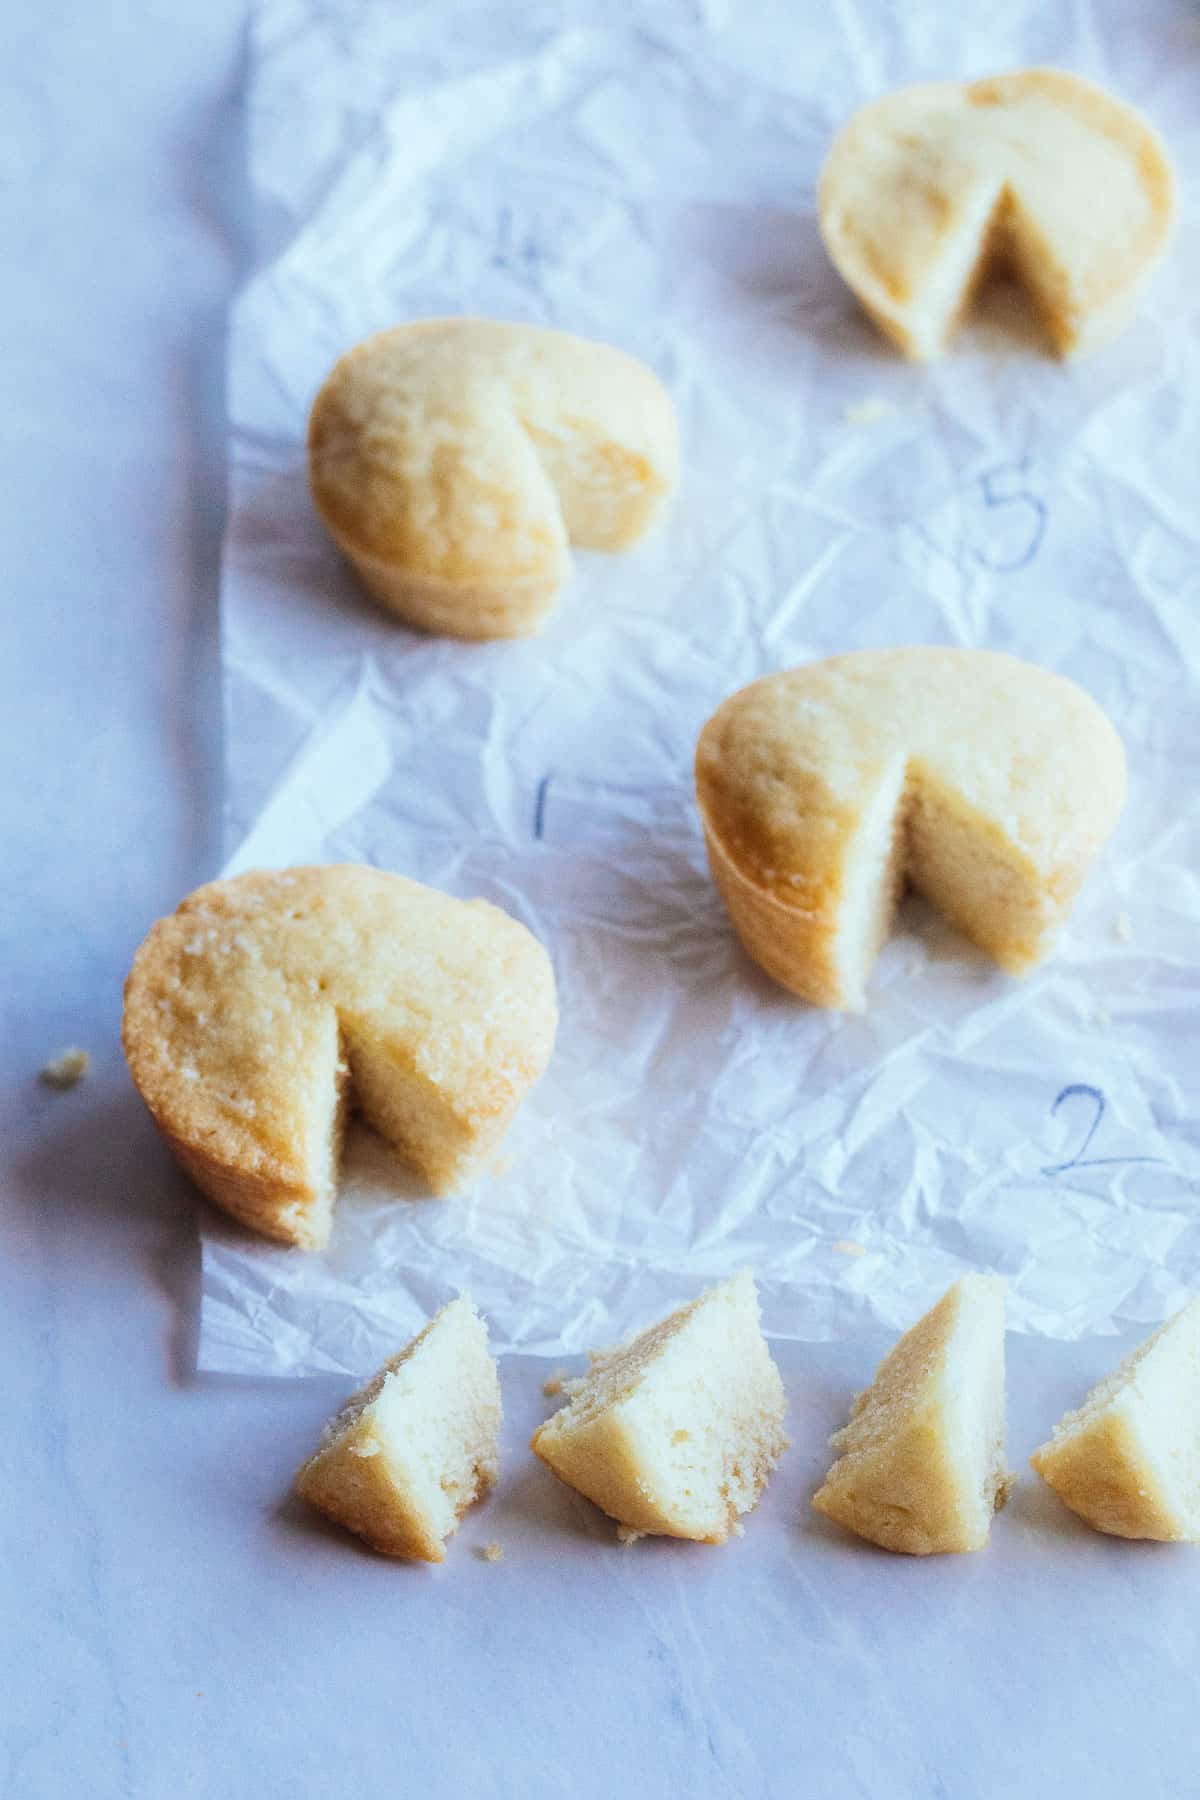
I've made this cake base four times in the past two months, not to mention the initial egg substitution test we did with the help of a food scientist.
All this to say... trust me. This vegan vanilla cake recipe will not disappoint!
🍓 Vegan Vanilla Cake Ingredients
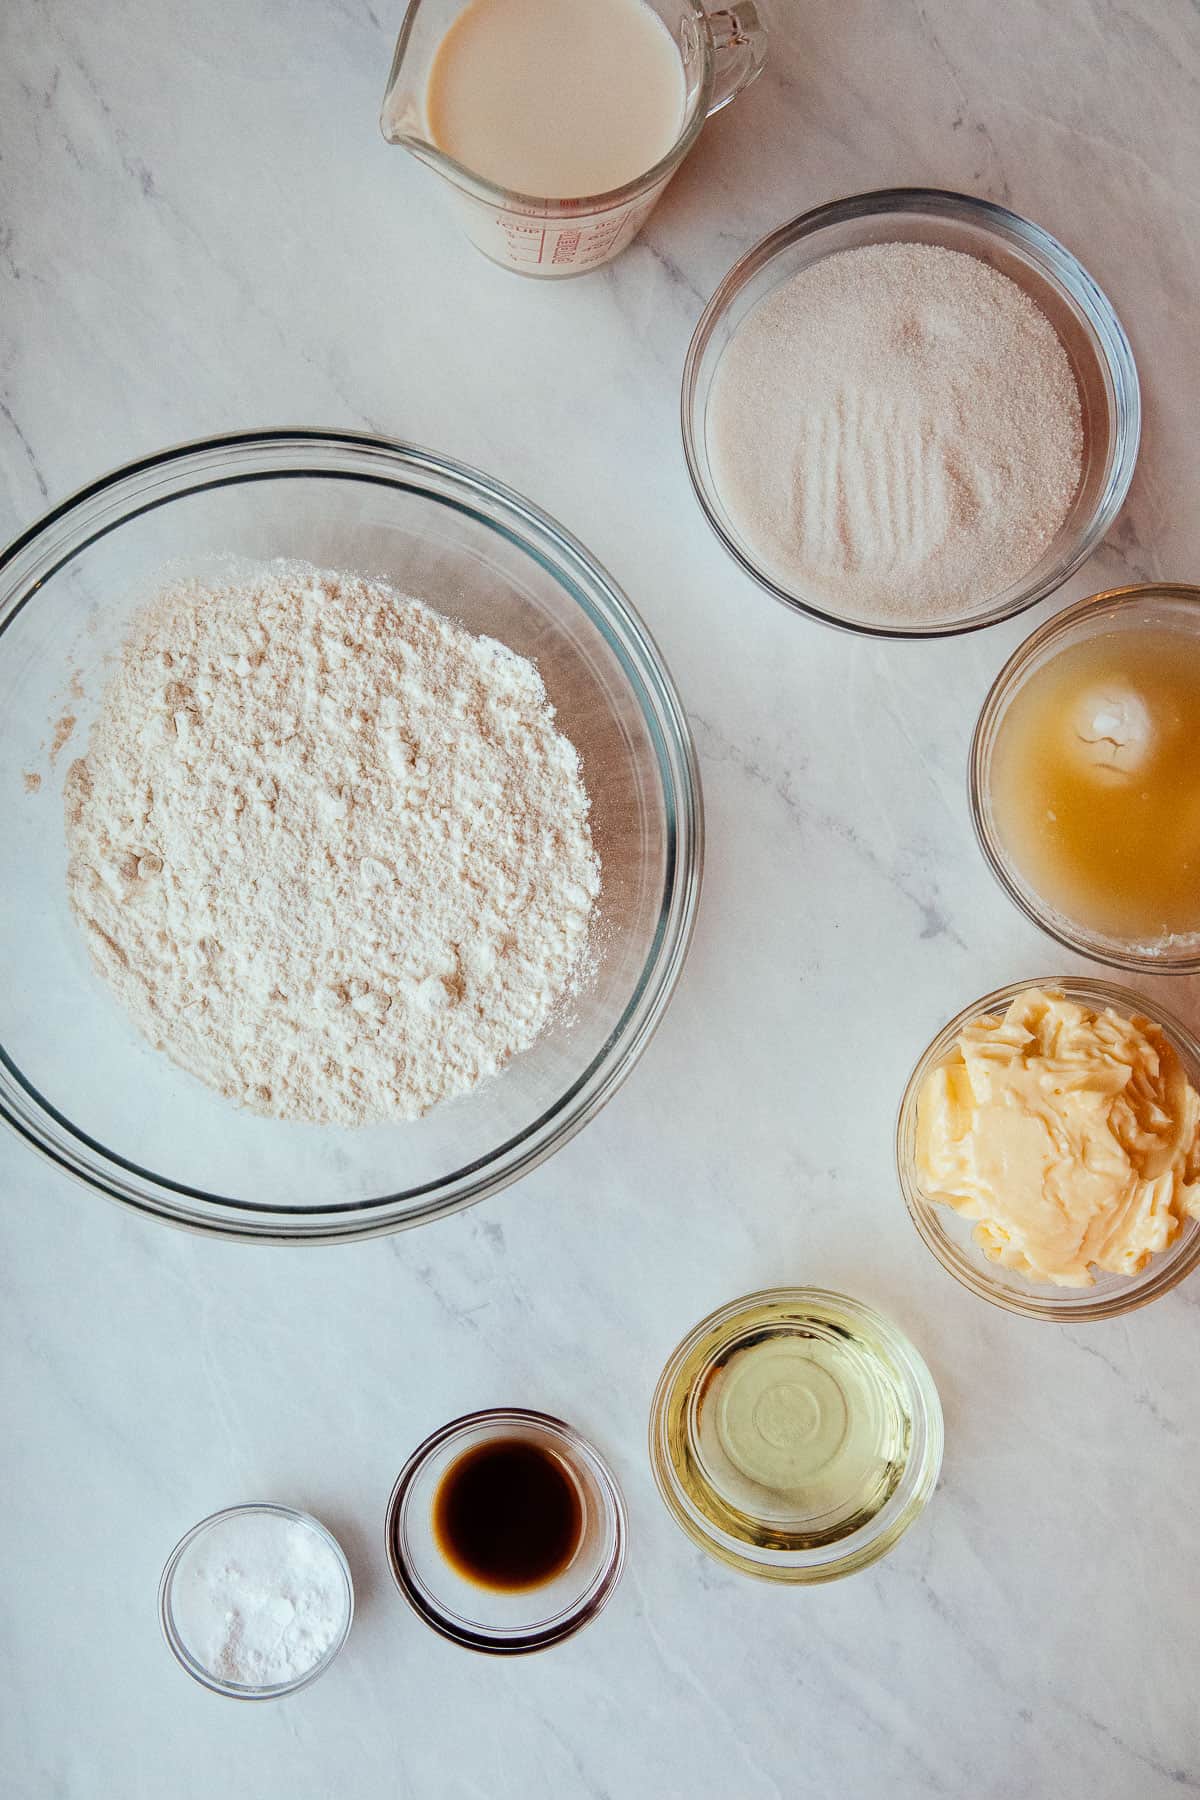
All-Purpose Flour - Don't use cake flour for this recipe as we'll be using the reverse creaming method where a bit of gluten structure is needed (more on that later).
I've tested the recipe with Swans Down cake flour—which makes the cake even more tender. But this also means a weaker structure. Therefore, cake flour isn't ideal for vegan layer cakes, but perfectly fine for sheet cakes, etc.
Sugar — We'll use granulated sugar. Vanilla sugar (regular sugar stored with a vanilla bean pod) also works great here!
For a 100% vegan cake, pay attention to the kind of sugar you're using. Many refined sugars are processed with bone char to take on a bright white color.
In the U.S., the sugar will definitely be vegan if it's organic, “unrefined”, or made from beets.
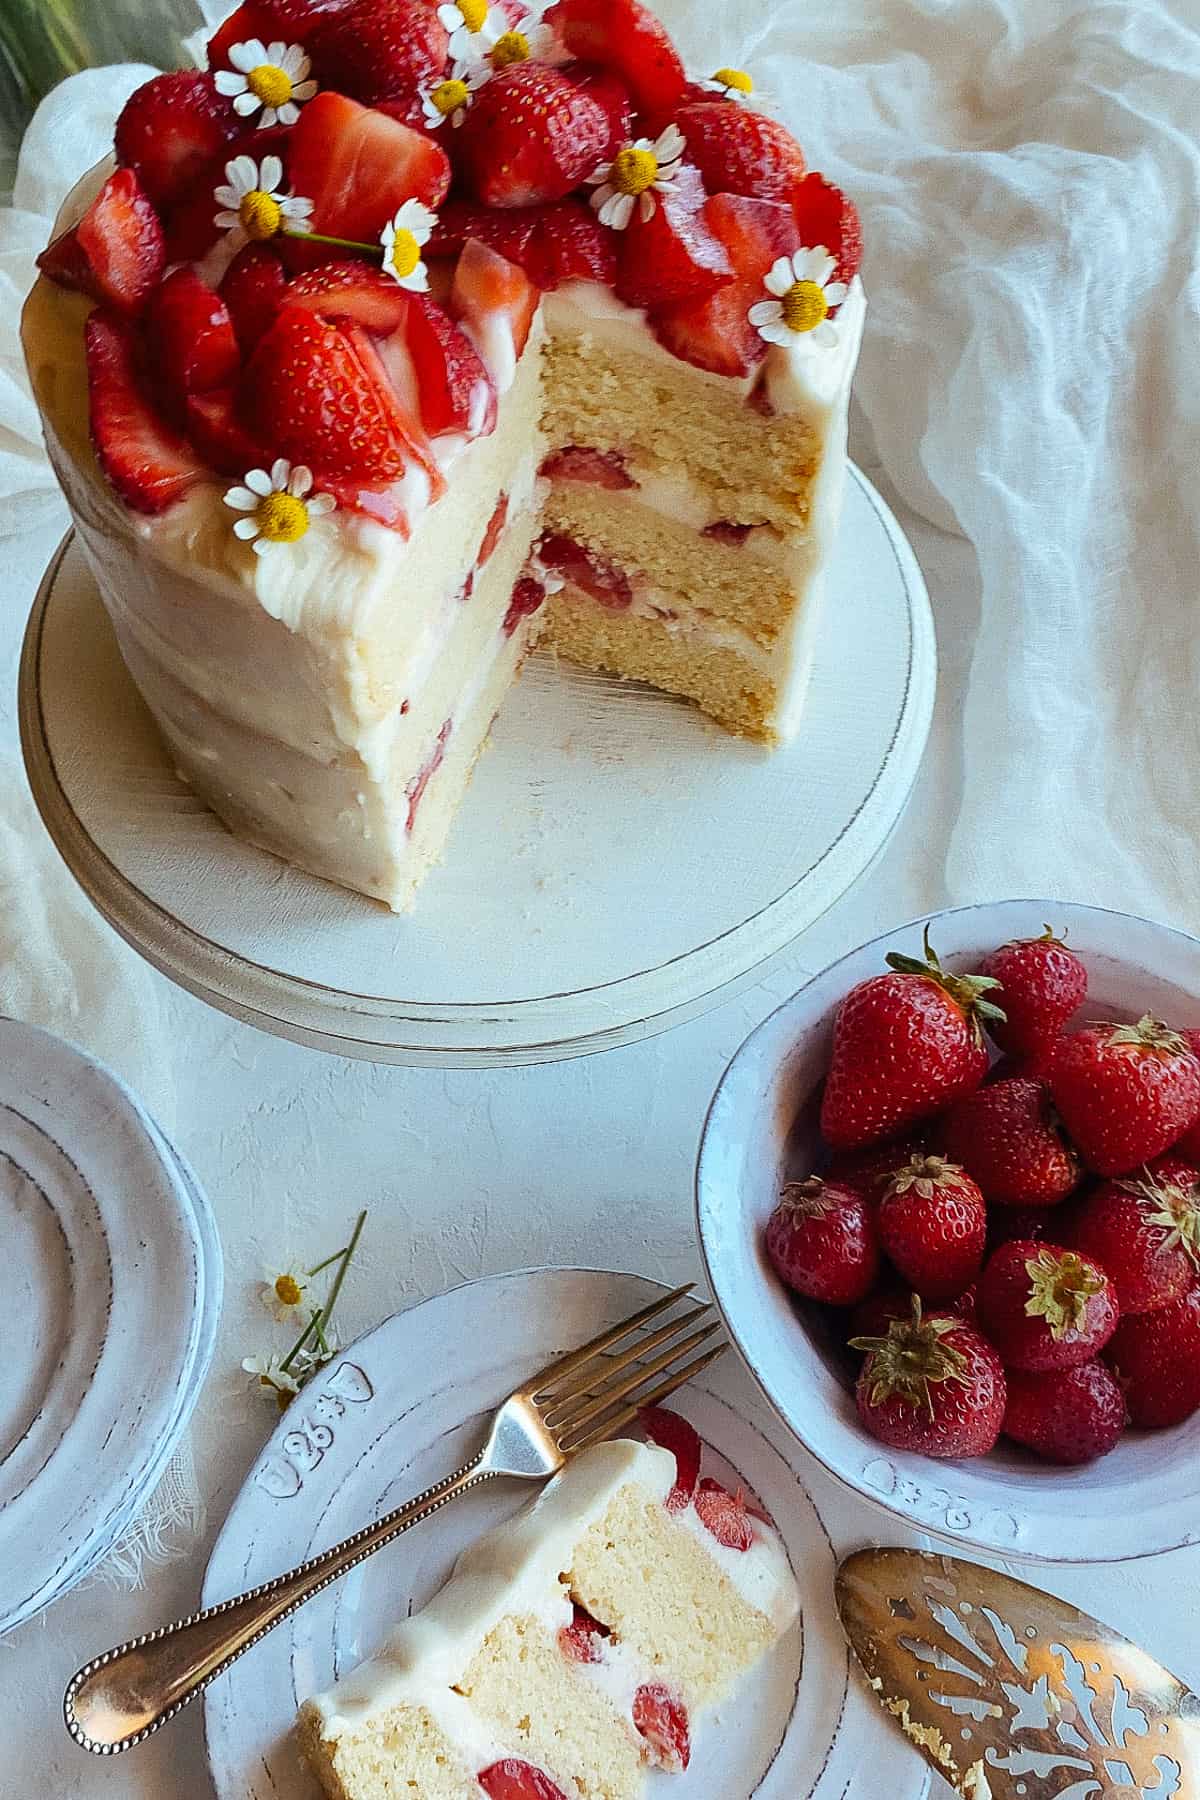
Baking Powder — Baking powder will provide leavening (rising) to our cake.
Baking Soda — We'll also use a tiny amount of baking soda for furhter leavening and to balance the acids from non-dairy milk and sugar.
Salt — The recipe lists regular table salt but you can use Kosher, sea salt, etc. Just make sure the weight stays the same. (Diamond Kosher salt in the same weight is double the volume of table salt.)
Vegetable Oil — The oil will help the cake stay moist for longer than using butter alone.
Non-Dairy Milk — My milk of choice for dessert recipes is soy, but most kinds will work. Try to use unsweetened, unflavored non-dairy milk with minimal ingredients.
Avoid canned coconut milk as it will have too much fat and impart too much flavor (unless you're modifying the recipe to make coconut cake).
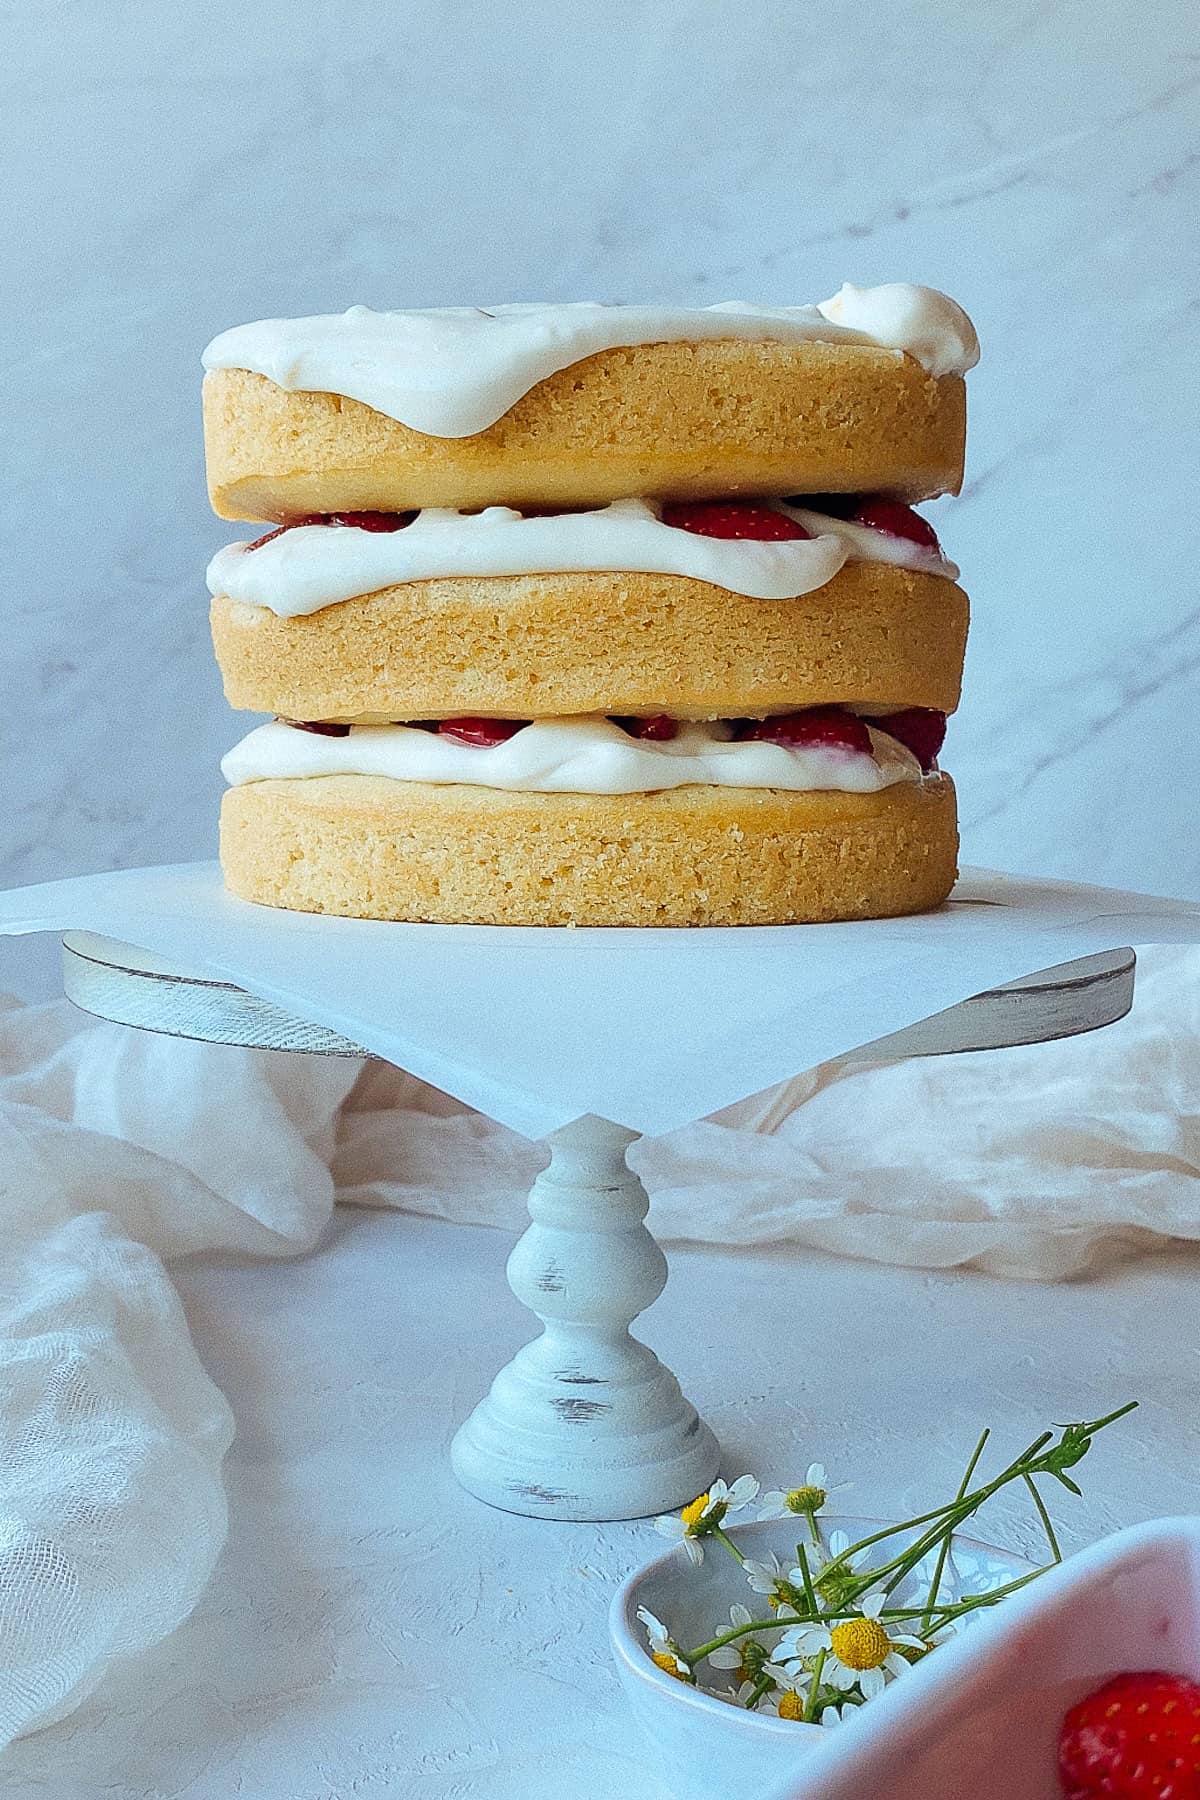
Vanilla Extract — Vanilla intensifies the sweetness without adding more sugar and gives our cake its name.
You may use a vanilla bean pod or vanilla bean paste to substitute—there'll be little black specks in the final cake and it'll taste even better!
Aquafaba — Aquafaba provides emulsification, leavening, and some binding to cakes and is therefore a popular egg substitute.
It can be the liquid from any cooked legume, but chickpea aquafaba from a can tends to have the right (i.e. the thickest) consistency.
If your aquafaba doesn't seem thick enough, you can always reduce it on the stove. Ideally, use unsalted or low-sodium aquafaba from BPA-free cans or Tetra-Pak packaging.
If you're curious, we have a thorough article on aquafaba—from its "discovery" to all its uses. In case you don't want to use aquafaba at all, simply substitute it with more non-dairy milk.
The cake will be more dense and will need to be mixed at least 30 seconds longer to make up for the loss of structure.
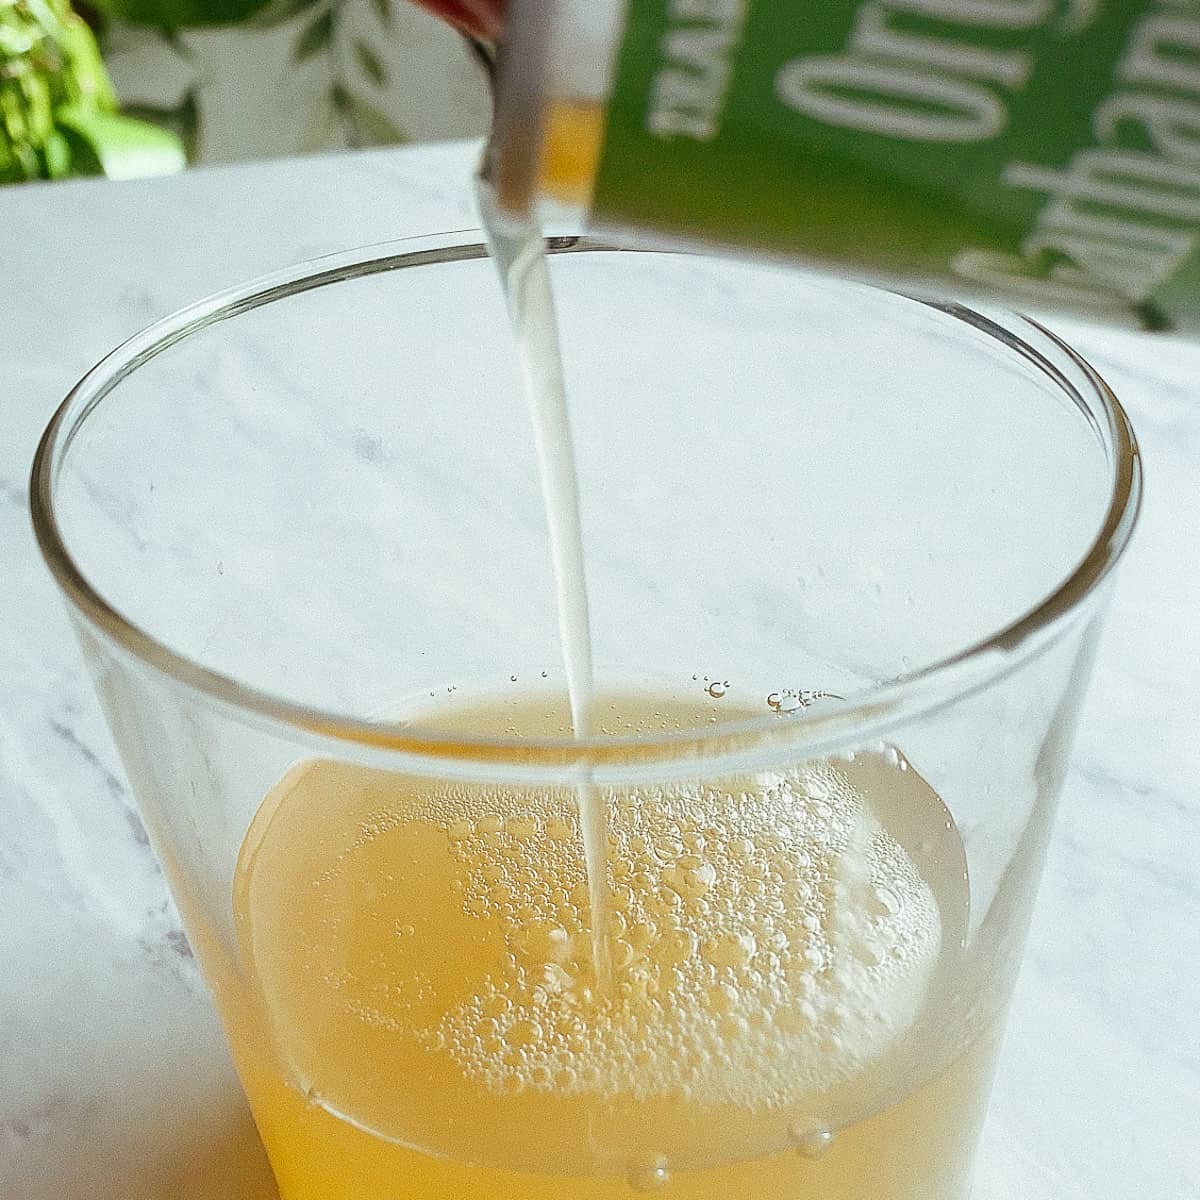
Cornstarch — Another ingredient to replace the binding properties of eggs in the recipe. We will be mixing the cornstarch with aquafaba separately and add it intoo the batter alongside other wet ingredients.
Chantilly Frosting — My favorite frosting ever, it goes so well with this sweet cake. The mild tartness from the cream cheese base complements the vanilla beautifully, and makes for a lighter cake you won't be able to stop eating!
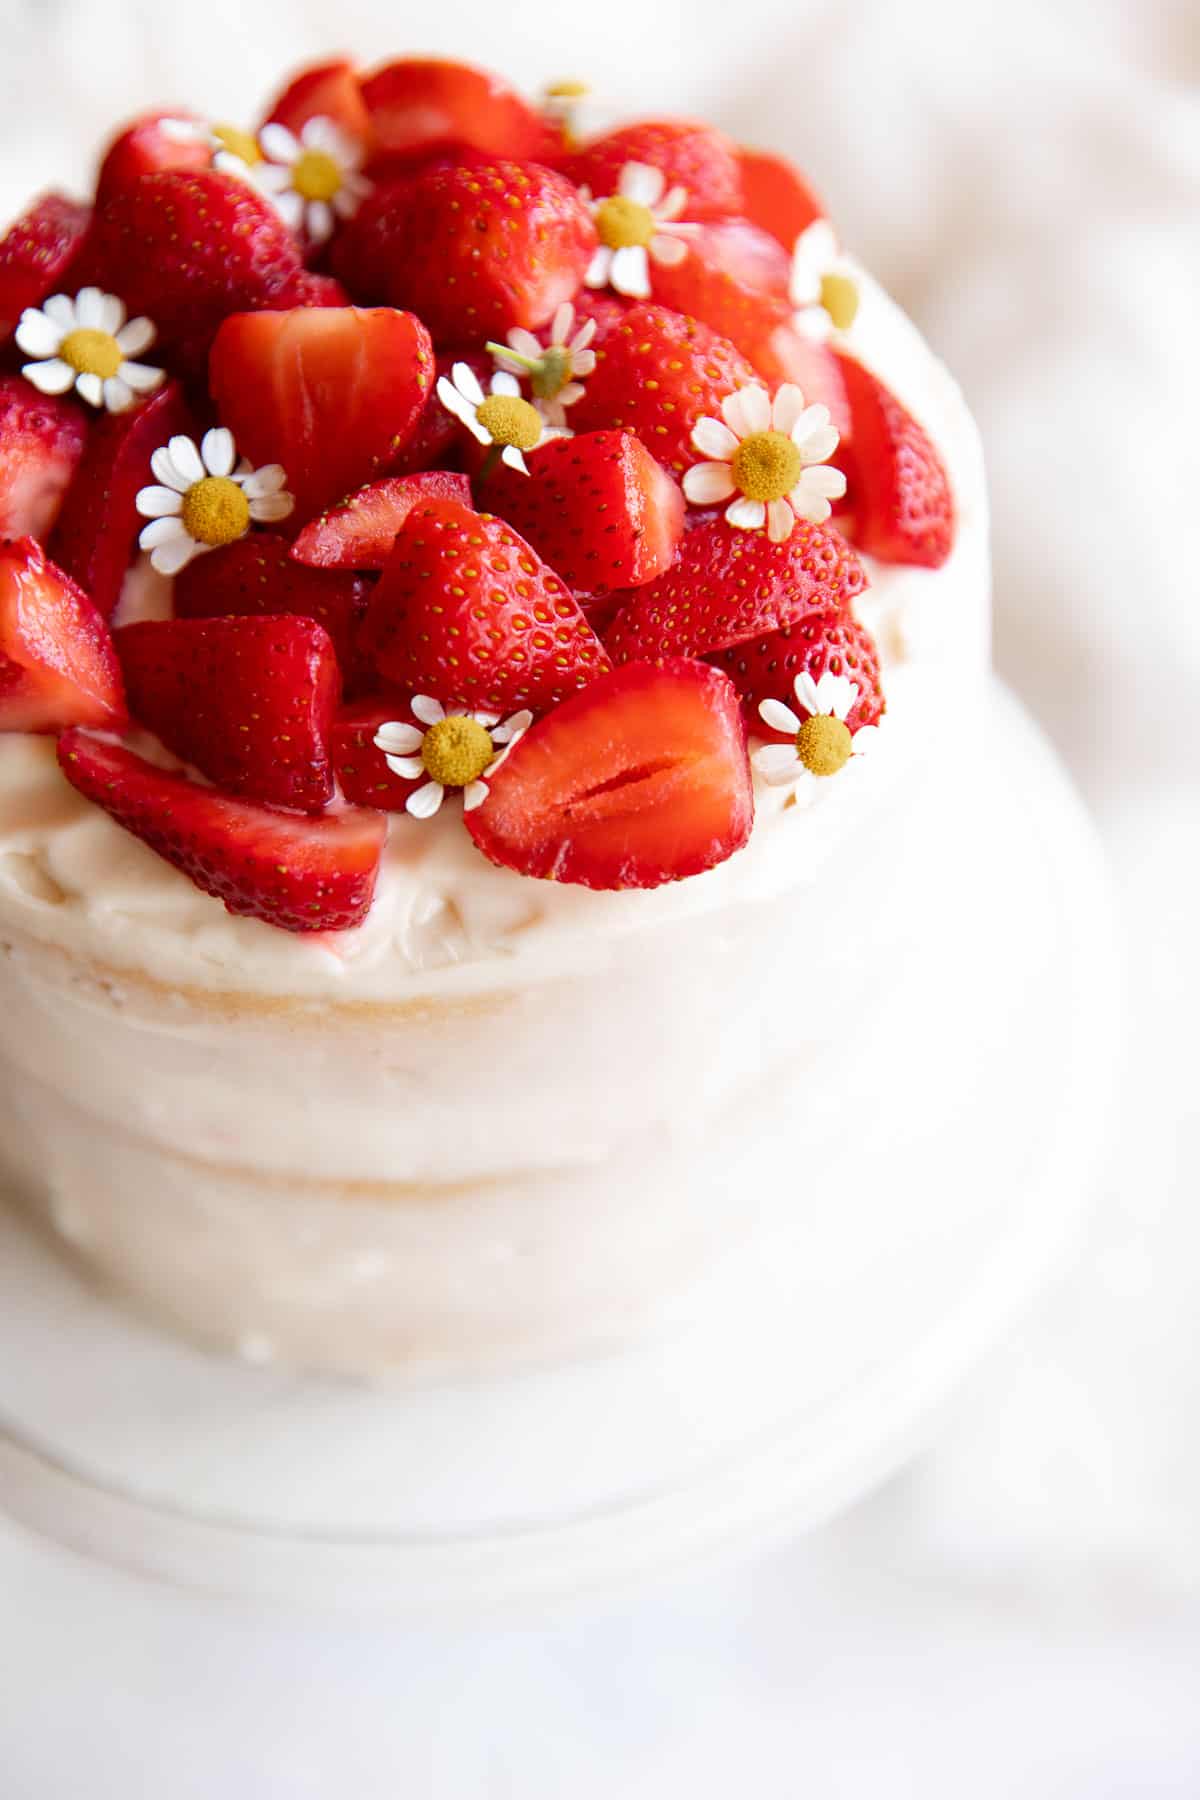
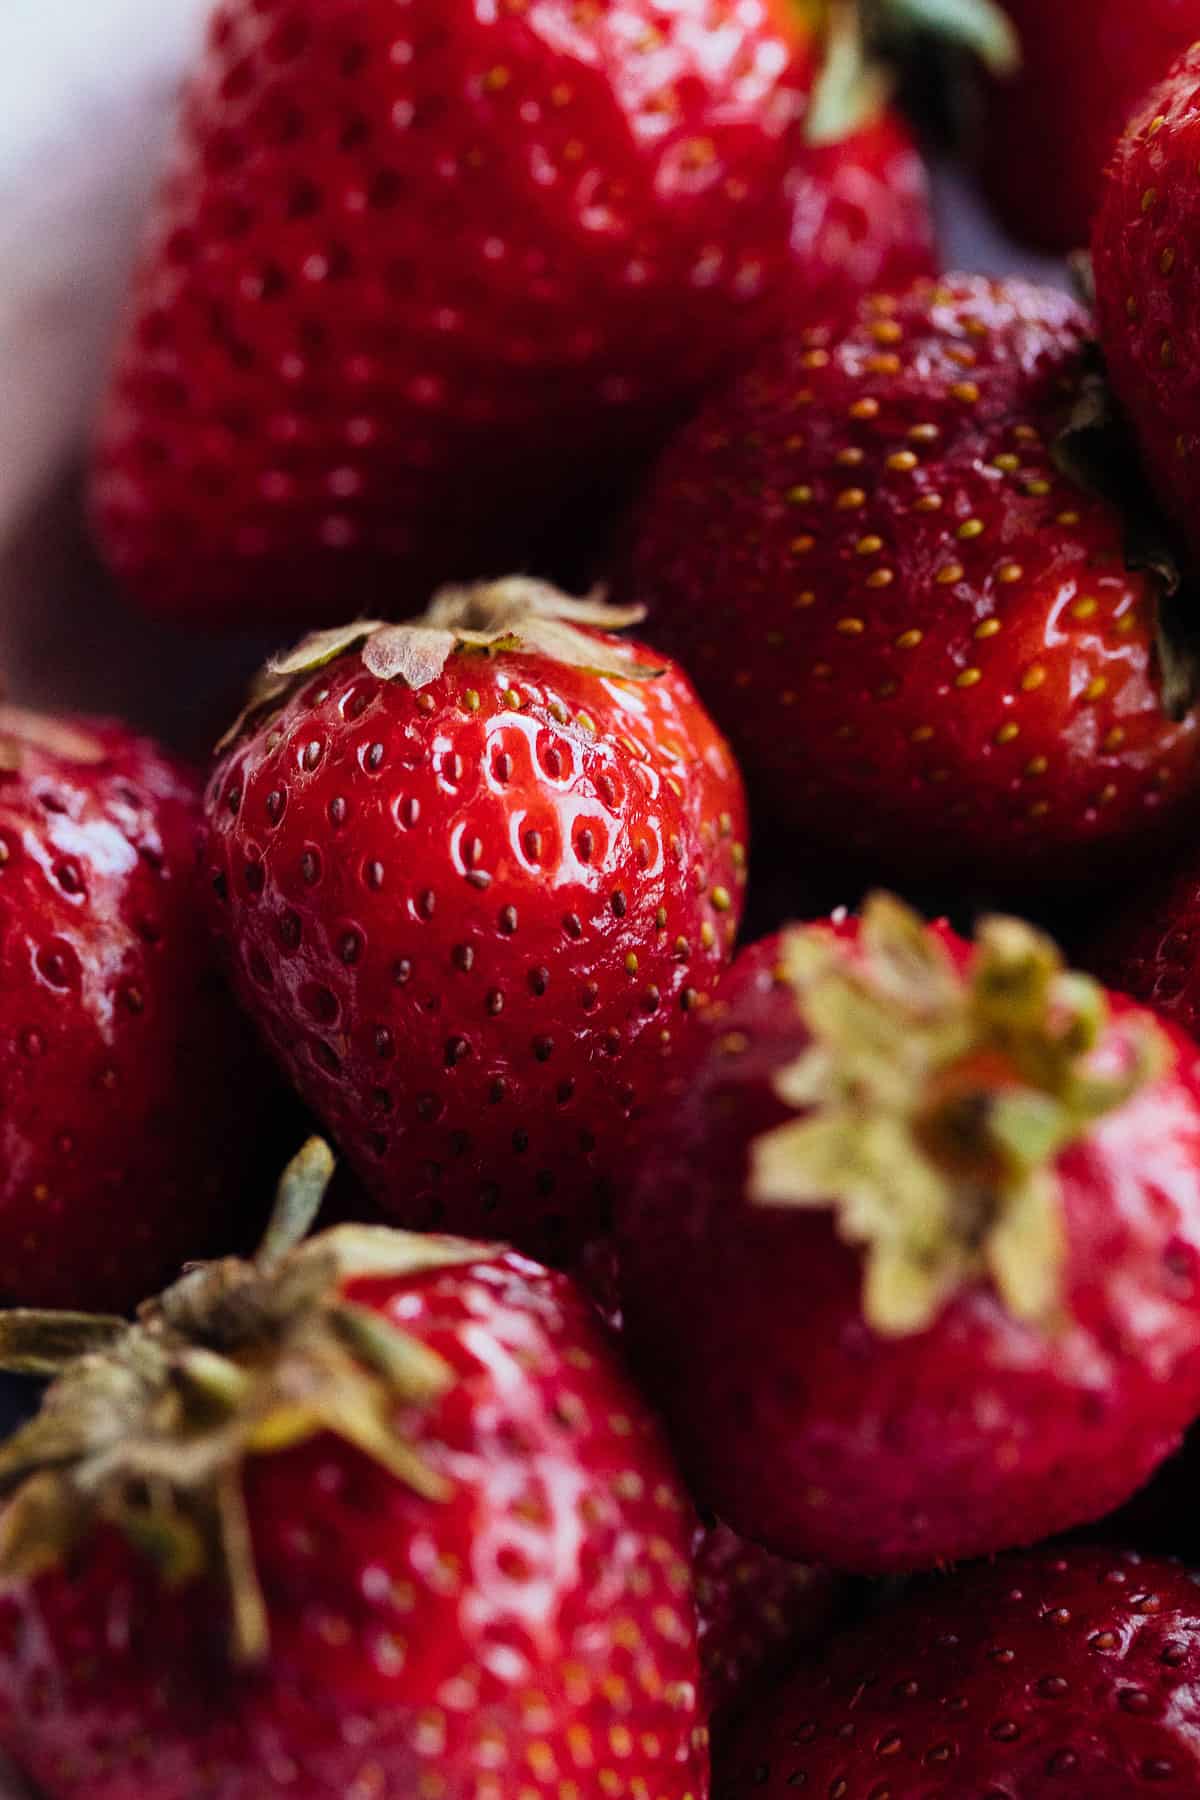
Strawberries — Use the freshest and most flavorful ones you can find! I like to slice them into quarters, or more pieces for larger strawberries.
See the "Variations" section below if you're looking for substitutes for any of these ingredients.
🥣 Instructions for Making Vegan Vanilla Layer Cake
We're using the reverse-creaming method to make our batter. Reverse-creaming, also called the paste method, means beating softened butter directly into the dry ingredients instead of creaming the butter with sugar alone.
Why do this? In short, coating the flour with butter in the beginning prevents excess gluten development.
In other words, it's much harder to overmix reverse-creamed cake batter! That's why many famous pastry chefs, including the beloved Claire Saffitz, prefer this technique to make tender cakes.
For vegan cakes where some gluten development is necessary to compensate for the denaturalization properties of egg proteins that provide structure, reverse-creaming is still advantageous.
It results in fluffy cakes without the use of special cake flour!
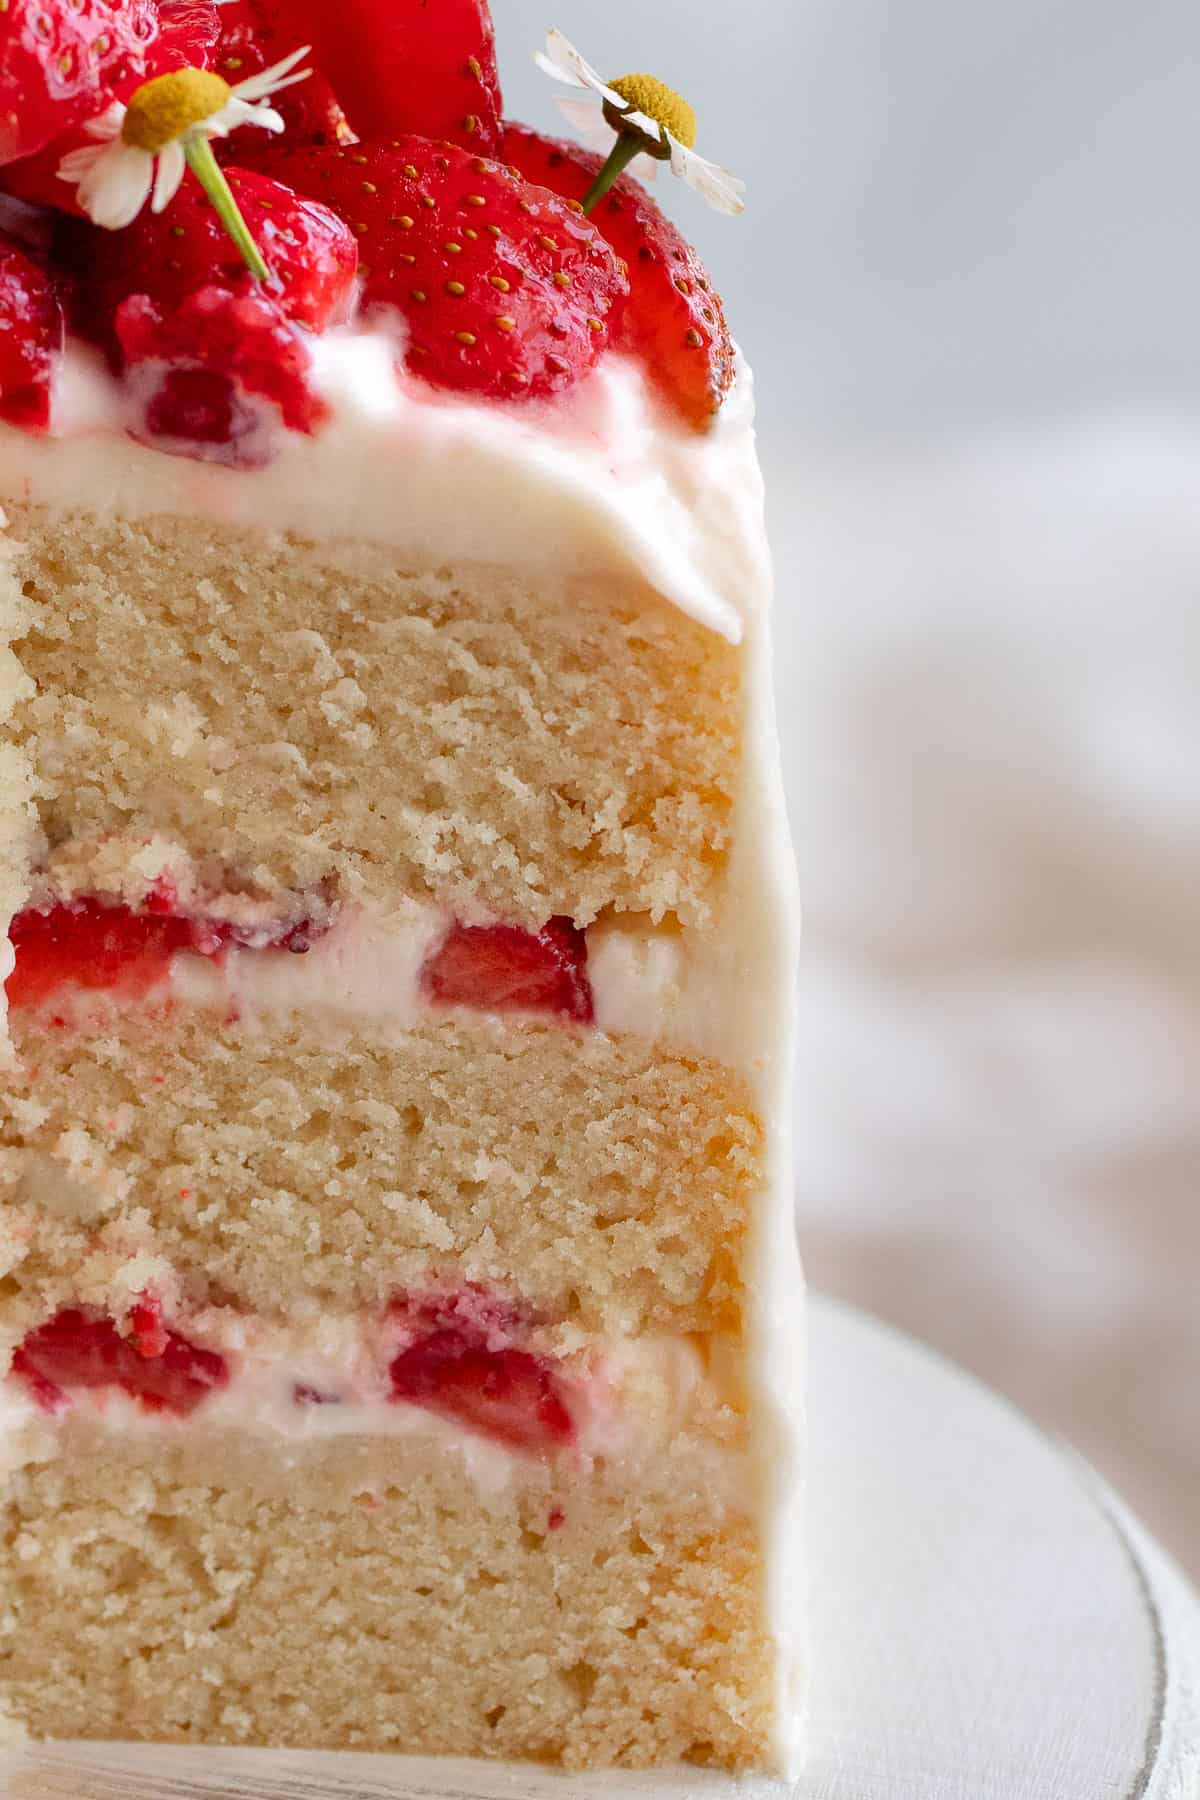
Here's how to make it:
The Batter
1. Start by bringing all the ingredients to room temperature. This is a crucial step that needs some planning—but it's still okay if you forget.
Simply microwave the chilled vegan butter (in very small cubes) and/or milk in 10-second increments, mixing each time, until at or close to room temperature. Make sure not to melt the butter or overheat the milk!
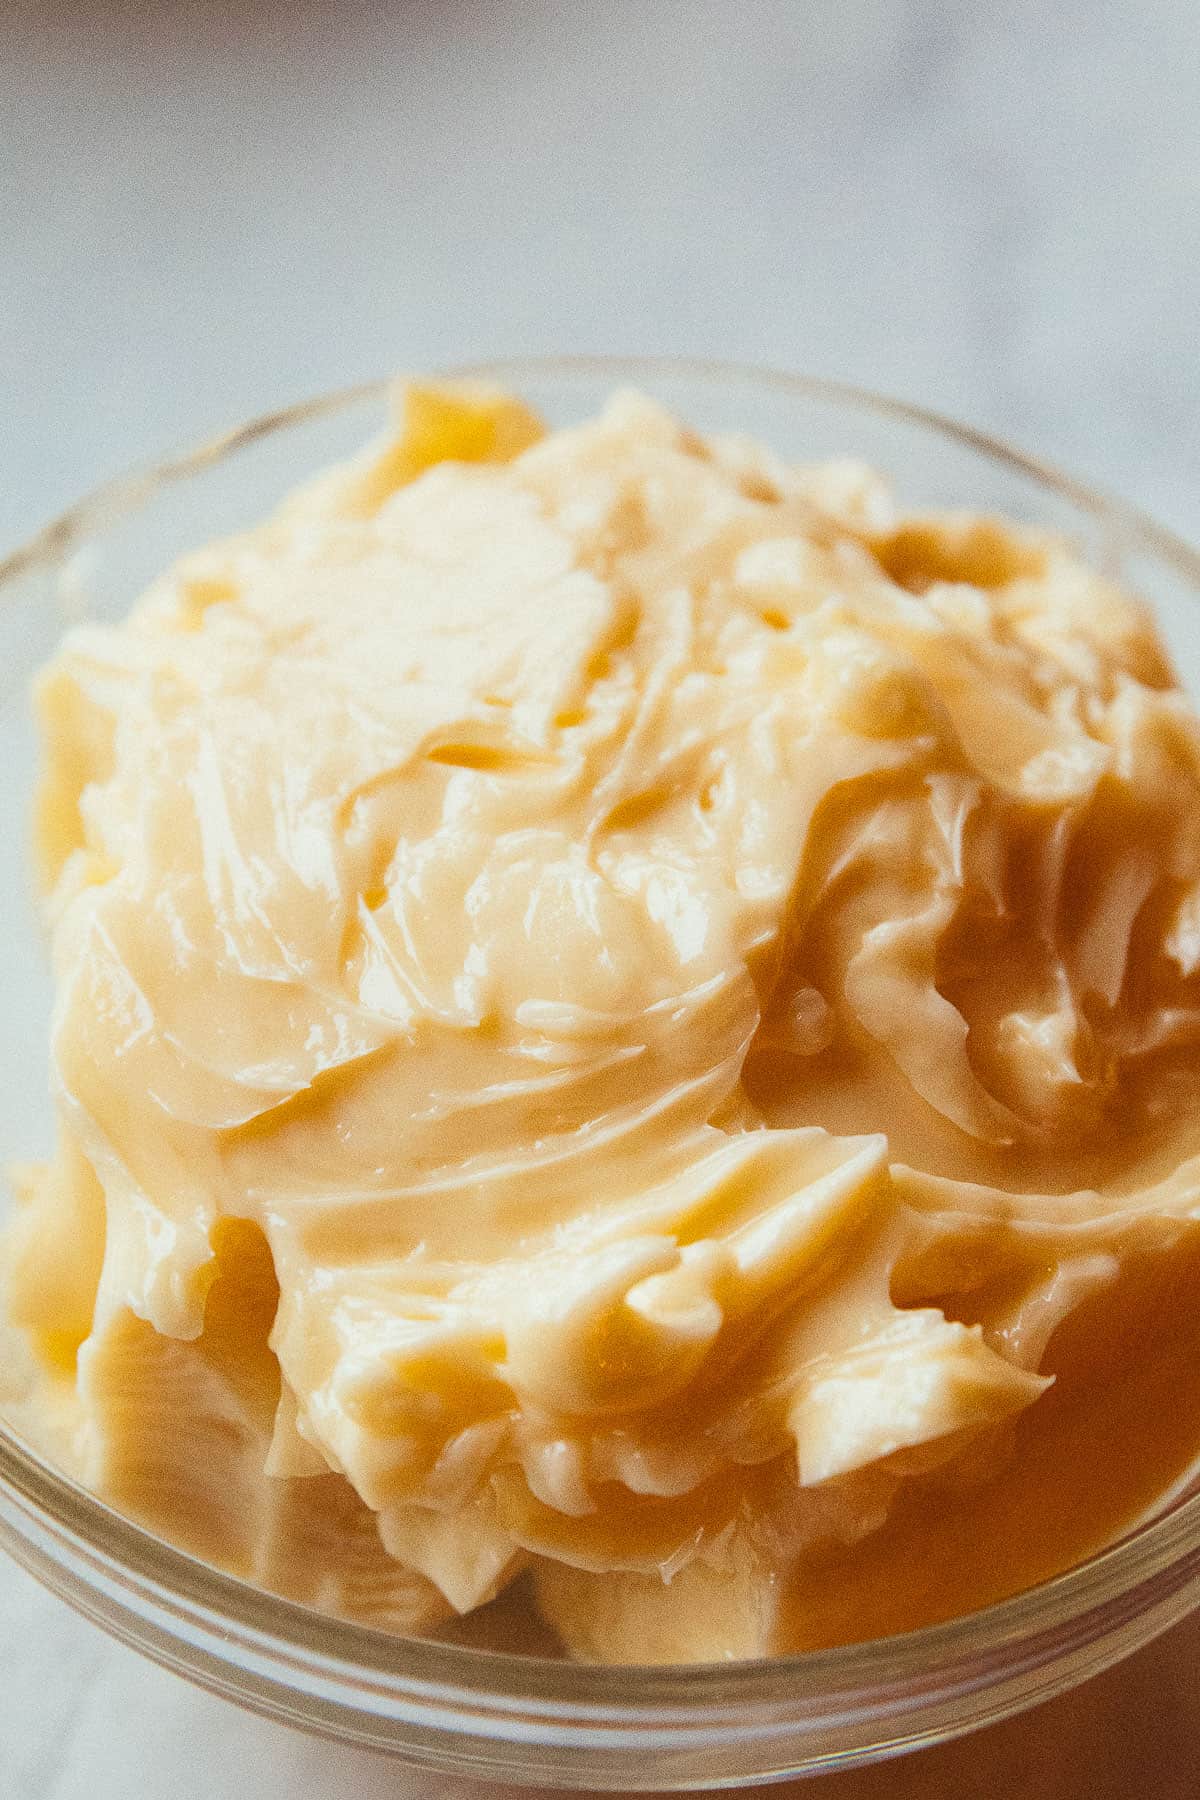
2. Preheat the oven to 350ºF (180ºC). Grease the cake pans with vegan butter and place a round parchment paper at the bottom, then grease the top of parchment paper as well.
I'm using three 6-inch by 2-inch round cake pans. The recipe notes will cover batter quantity and baking length changes if you're using other types of pans.
If you don't have round parchment paper (I didn't)—here's an easy and accurate way to cut out your own:
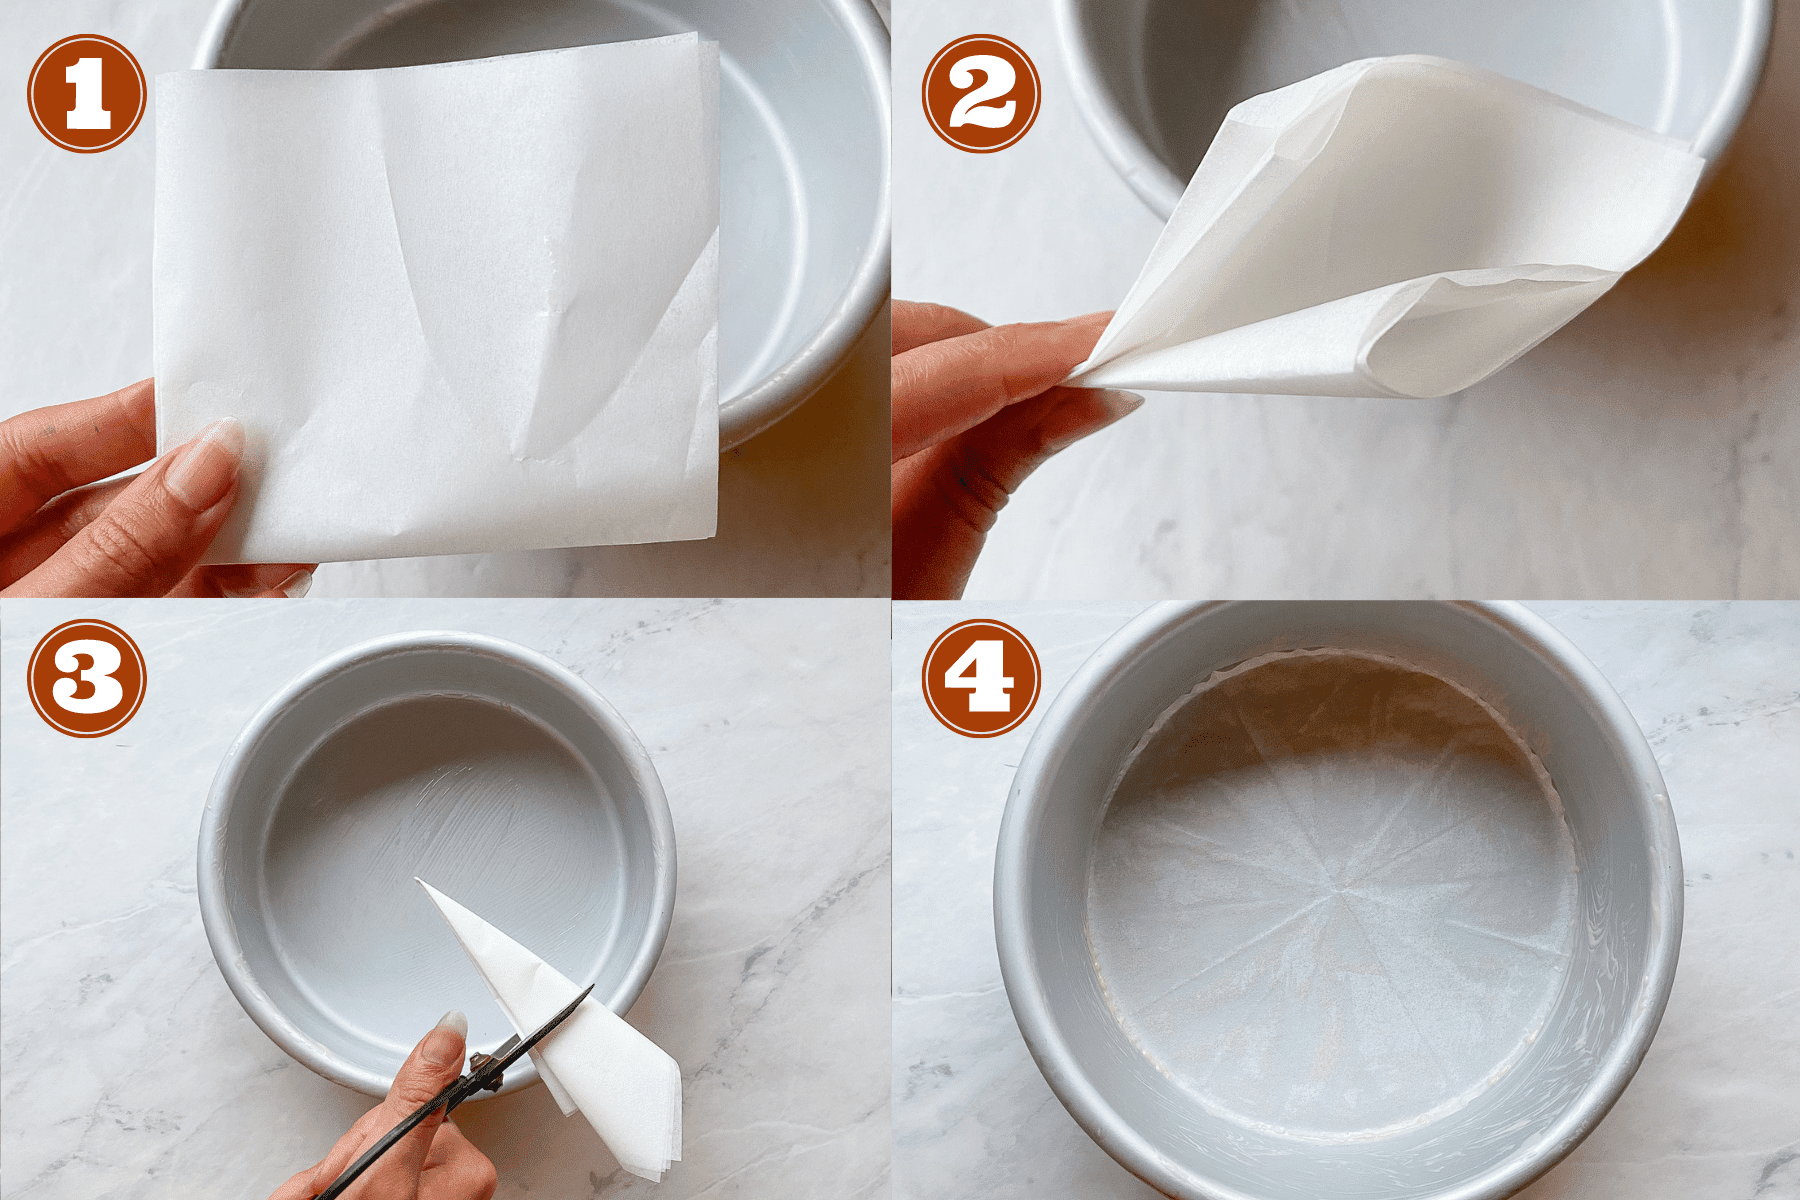
Fold a sheet of parchment multiple times until you get a thin triangle with a sharp edge.
Flip over the cake pan, place the sharp tip of the triangle right at the center, and cut the excess over the radius of the bottom of the pan. Unfold, and that's it!
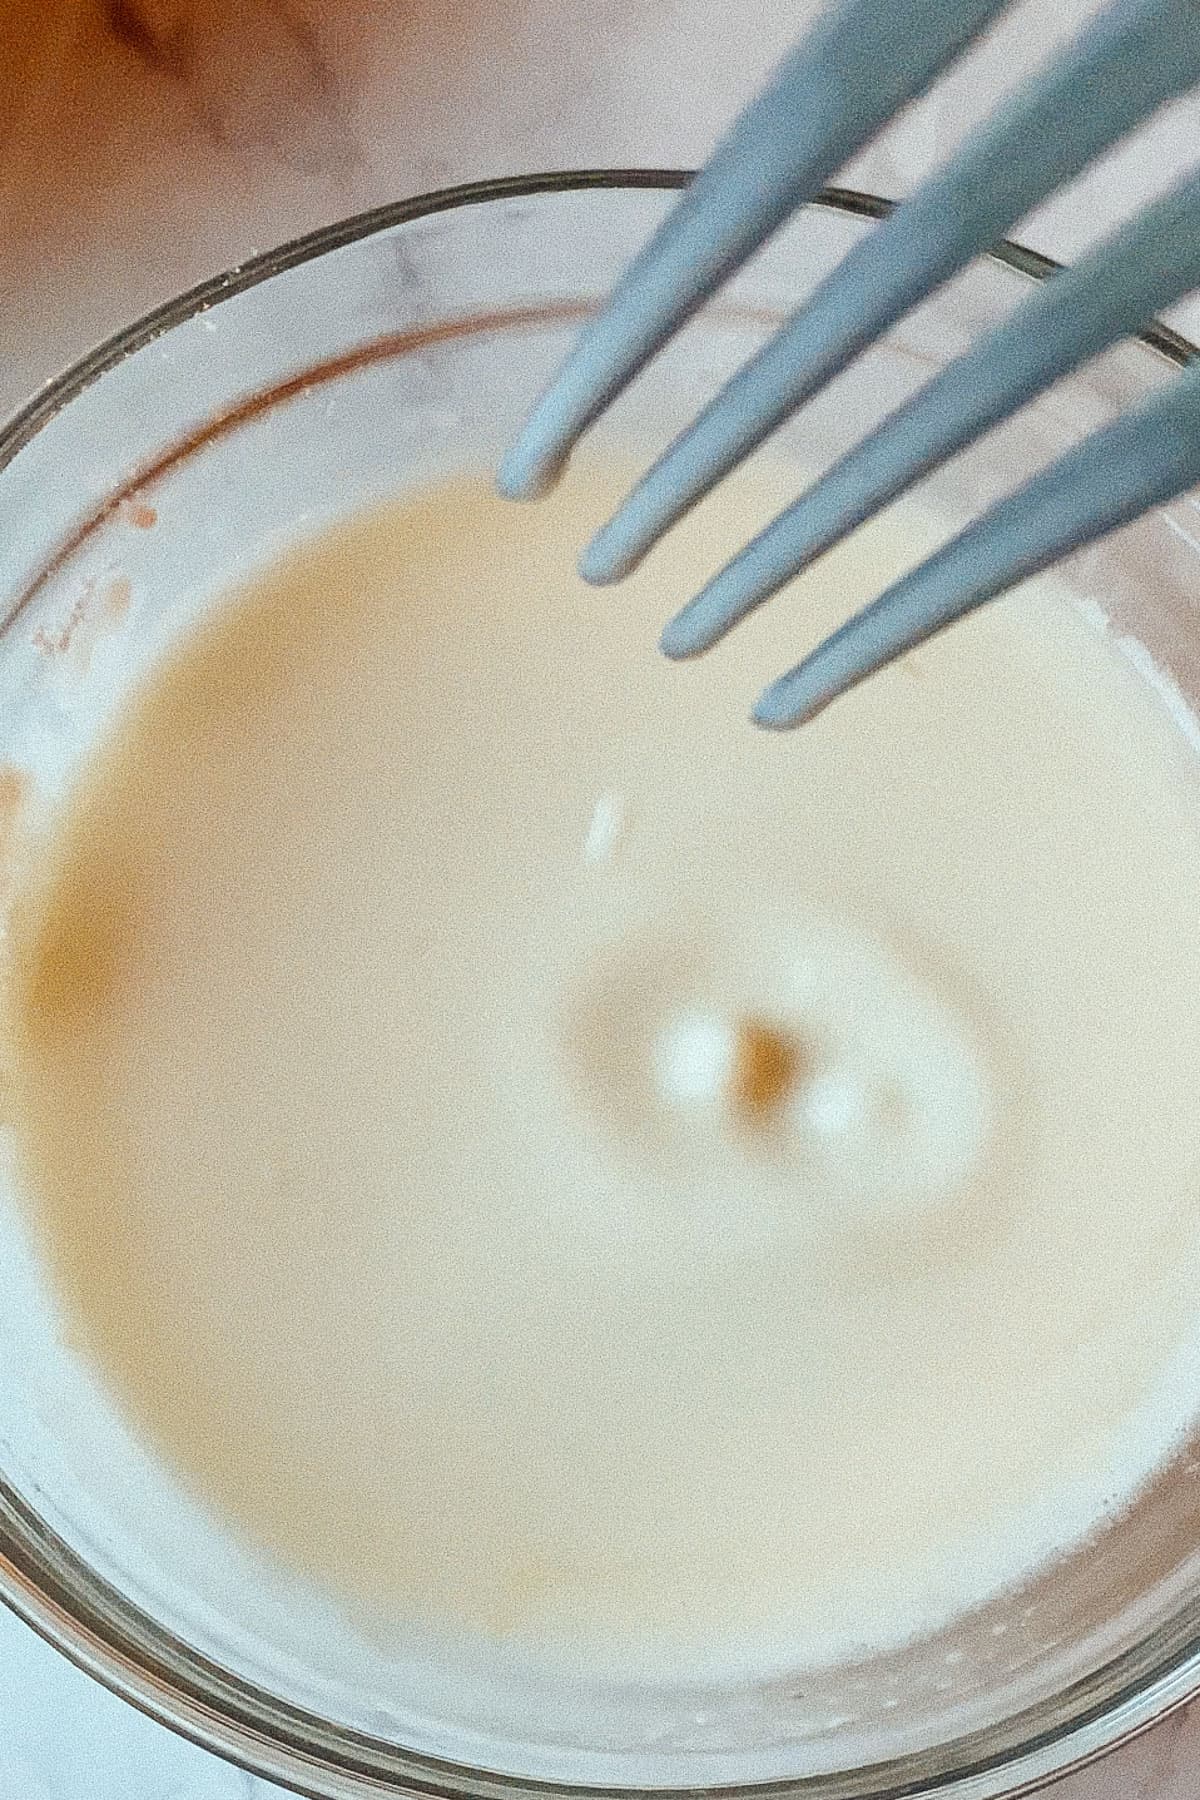
3. Make the vegan egg replacer by mixing the aquafaba with cornstarch in a small bowl and set it aside.
Don't mix the aquafaba for long, othwerwise the folded whip introduces too much air into the batter.
I don't recommend skipping the parchment paper. You could be using homemade cake release, but my experience has never been smooth with them. Better safe than sorry.
4. Place the dry ingredients (all-purpose flour, sugar, baking powder, baking soda, and salt) into a large bowl and whisk.
Sifting the flour isn't necessary. Add the room-temperature butter and mix with a hand-mixer or stand-mixer (on low) until the mixture looks like coarse sand (Step #3 in the below image). This usually takes less than a minute.
5. Add the rest of the ingredients (soy milk, oil, vanilla extract, and egg replacer) and mix for two full minutes to build enough structure. Use the high setting of a hand mixer or the medium setting of a stand mixer.
I suggest setting a timer for this since most of us aren't great at estimating the passage of time. Also, make sure to scrape the bowl at least once as you're mixing to prevent lumps of flour from forming.
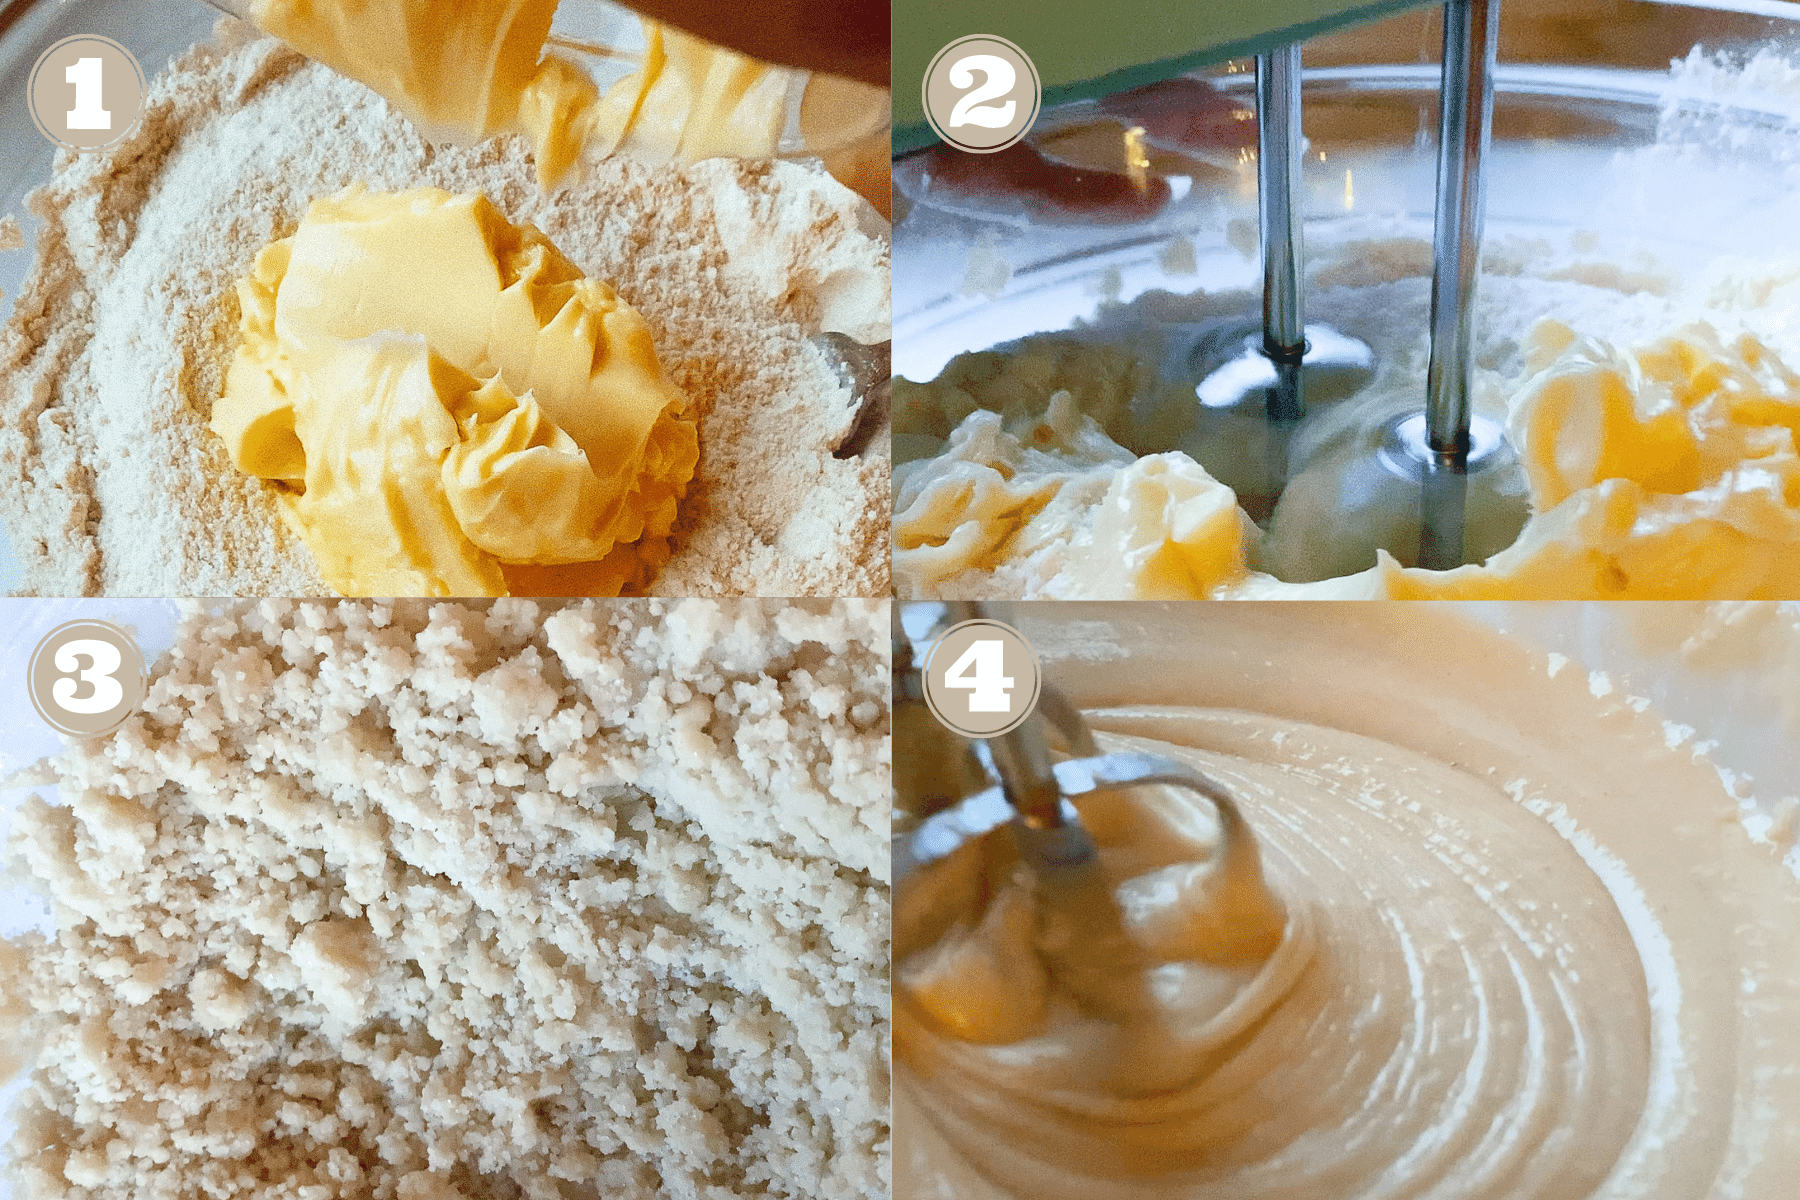
6. Divide the batter into pans up to ¾ full, ideally weighing them to make sure the layers will be even. Each 6-inch pan will have about 360 grams of batter. Cover the pans with cake strips if you absolutely don't want any doming. I personally don't mind it as I can taste the cut-out dome before serving the cake to others, always a plus!
Bake & Chill the Cakes
1. Place the pans into the oven to allow free airflow (two on top, one on the bottom rack).
Bake for 18 minutes, then switch the placement of the pans for evenly baked layers by placing the top two on the bottom on different sides (left to right, right to left) and placing the bottom one on the top.
2. Bake for another 5 minutes and check to see if a toothpick comes out clean. If it doesn't, then bake for longer in increments of 2-3 minutes until the cakes pass the toothpick test.
The cakes take exactly 26 minutes to bake in my oven, but your oven's heat output may be different—that's why we start checking early.
3. Remove cakes from the oven and lightly tap them on the counter. Place on a cooling rack and let them cool for about 15 minutes, until the pans are barely warm. Take the pans off the cooling rack and place the cooling rack on top of the cake.
One palm on the bottom of the pan, the other palm on the bottom of the cooling rack, hold on tight, and flip. Carefully remove the now upside-down pan. Repeat for other pans.
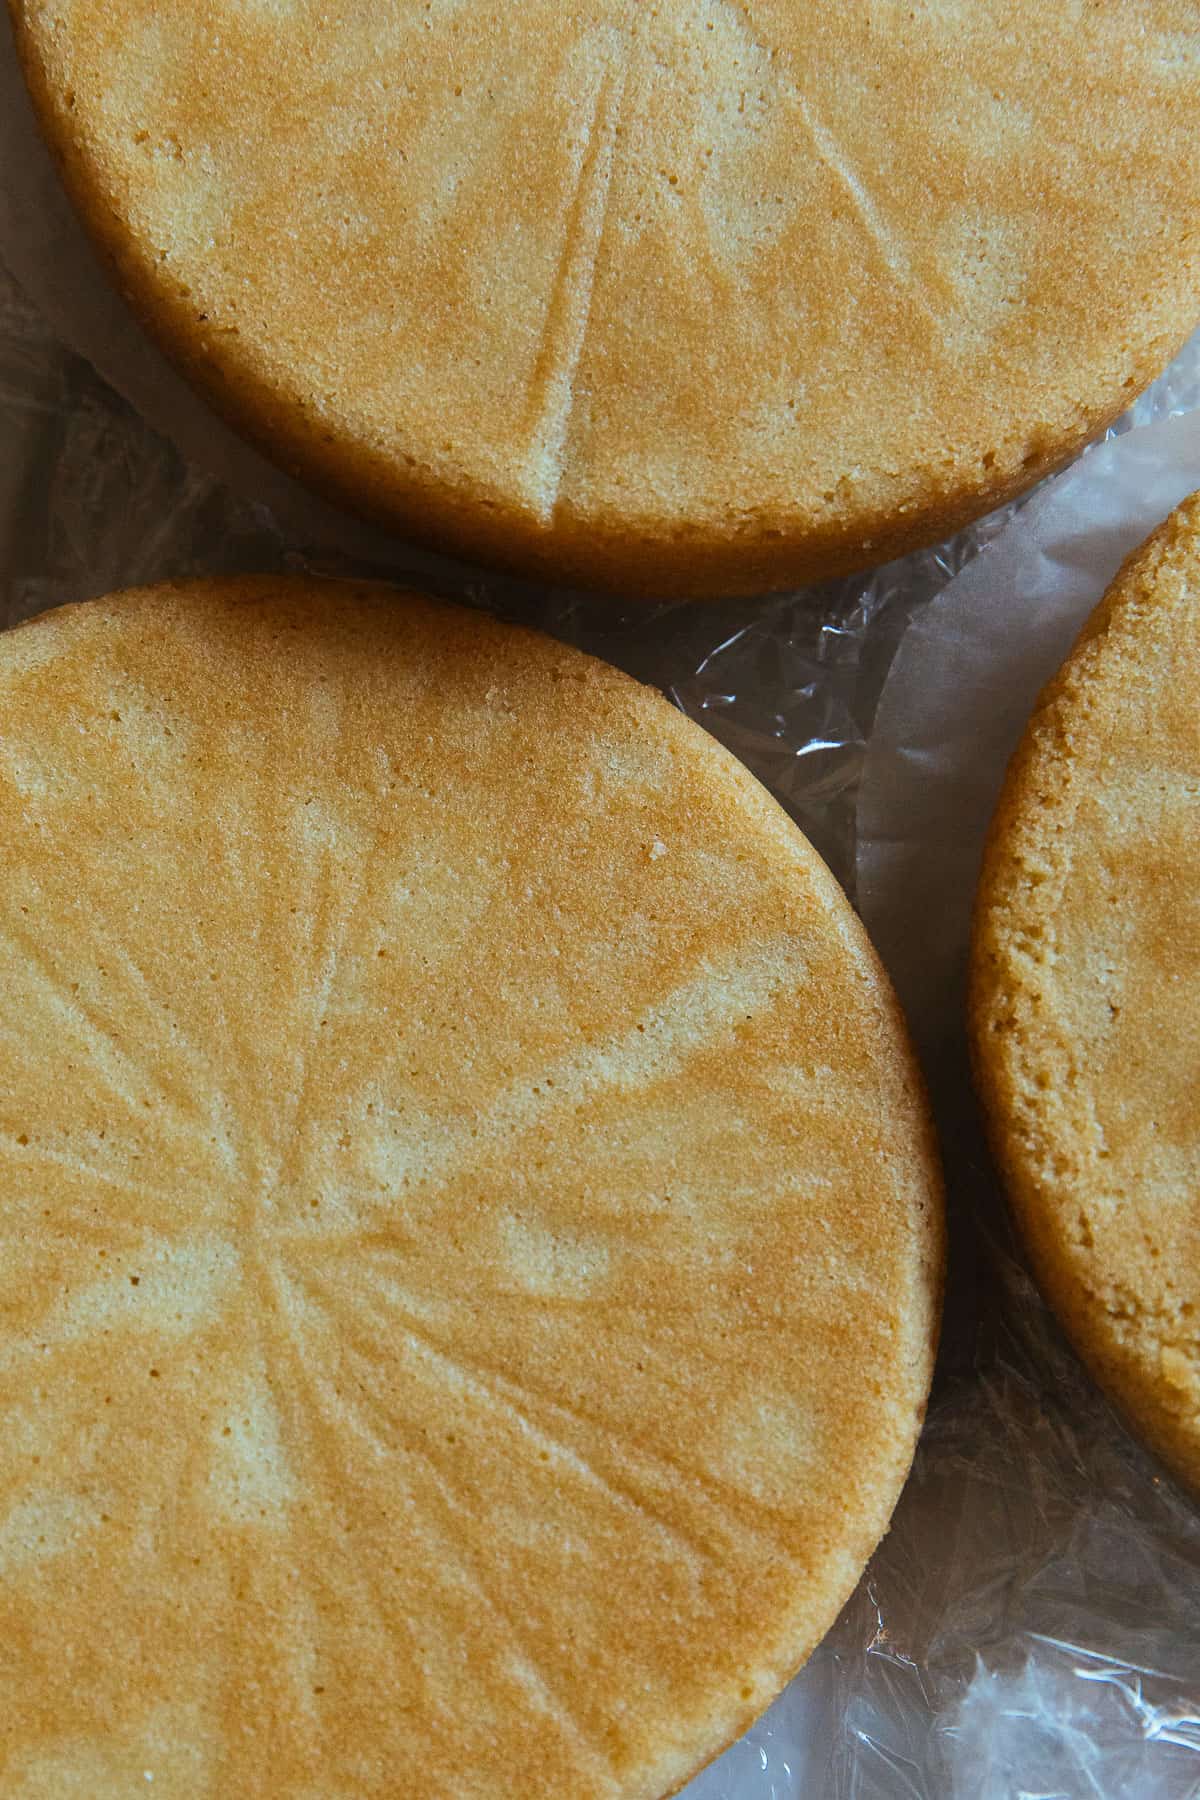
4. Cool the cakes completely on the cooling rack for at least 2 hours, then carefully wrap them in plastic wrap and place them into the refrigerator or freezer to firm up for about 30 minutes minimum.
I usually leave them in the refrigerator overnight, but don't chill for longer as they may dry out without a crumb coat (thin layer of frosting).
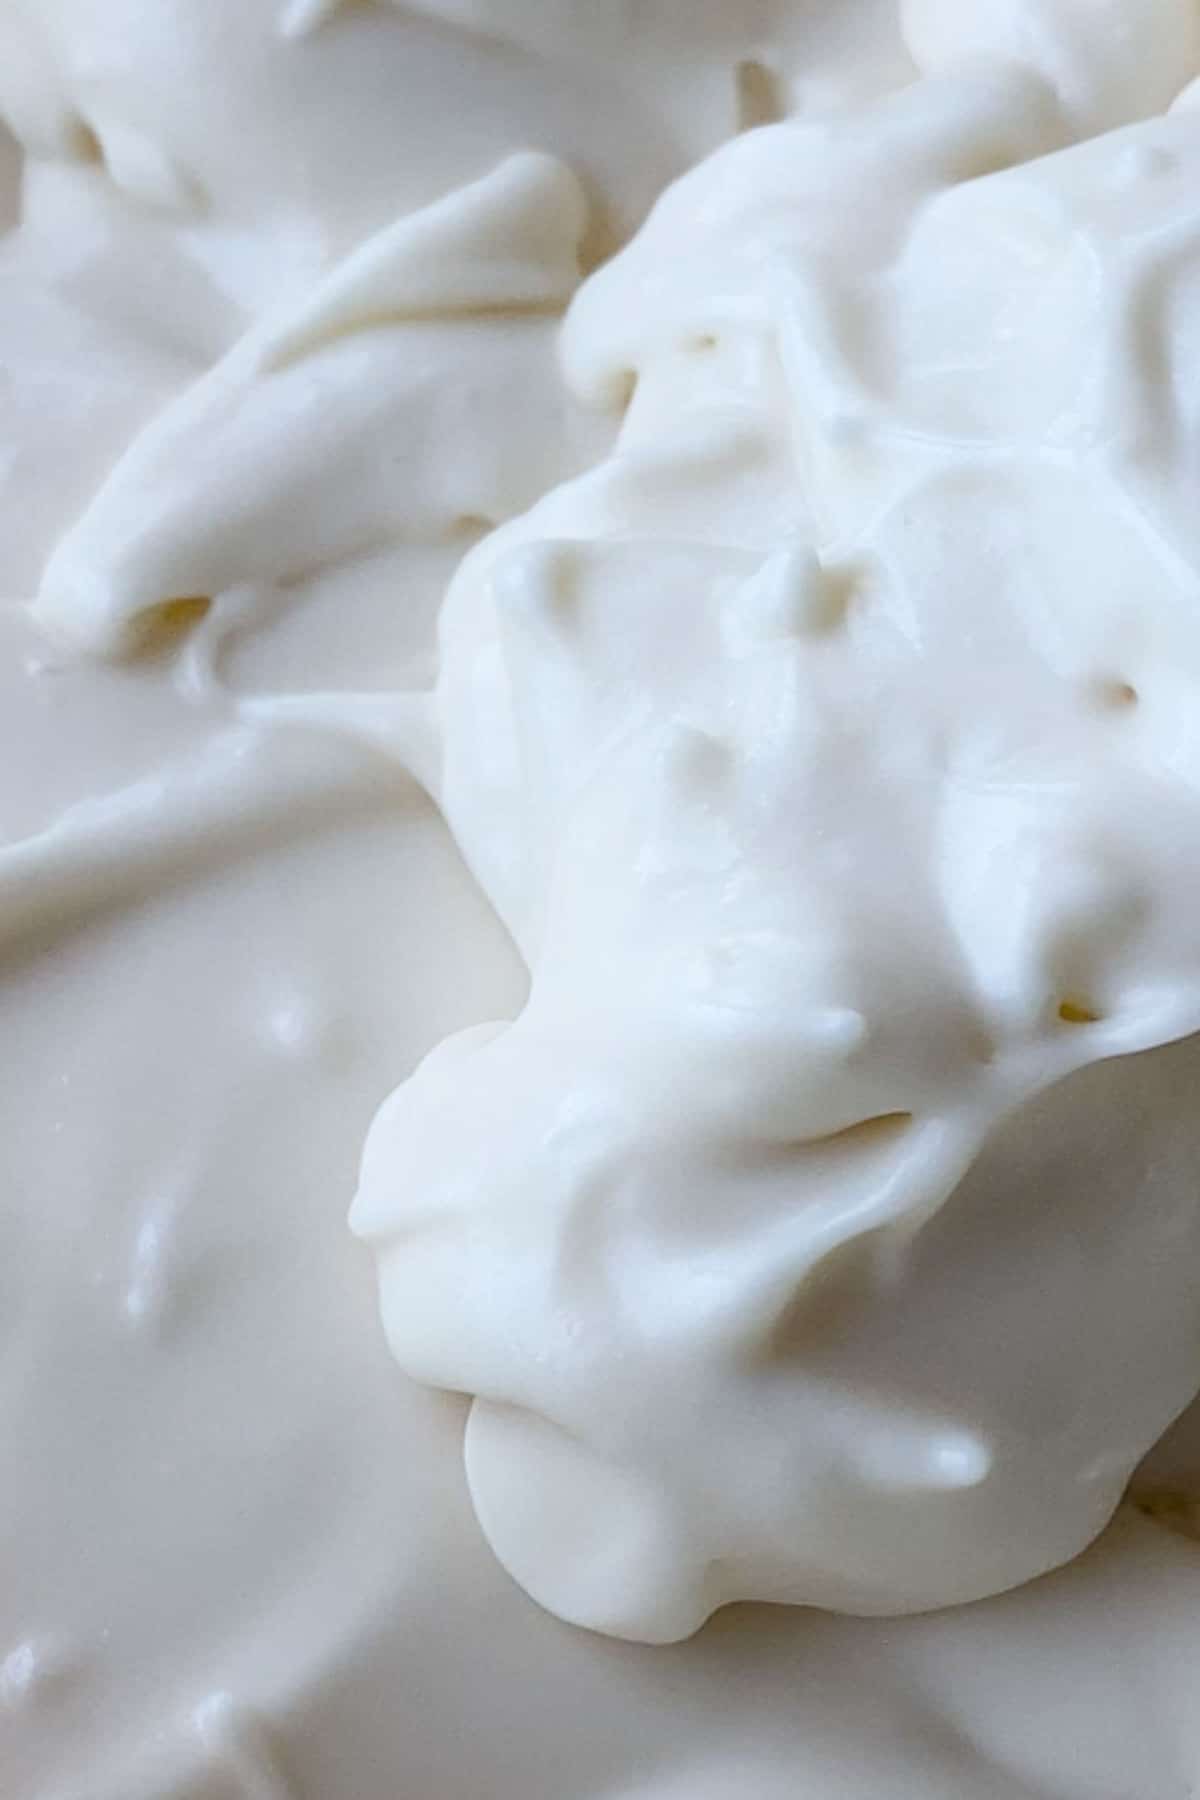
5. If using vegan Chantilly cream with this cake, prepare it as the cakes are cooling down. Keep in mind that the vegan cream cheese also needs to be at room temperature.
6. If using fruits, slice them right before assembling the cake.
🎂 Assemble the Cake
Once you have the chilled cakes, chopped strawberries, and chilled frosting, we're ready to assemble!
1. Start by leveling out the cakes. Use a sharp serrated knife to cut out the dome. You can save the leftover pieces to make little cake pops or trifle! I usually end up eating them as is while waiting for the cake to be ready...
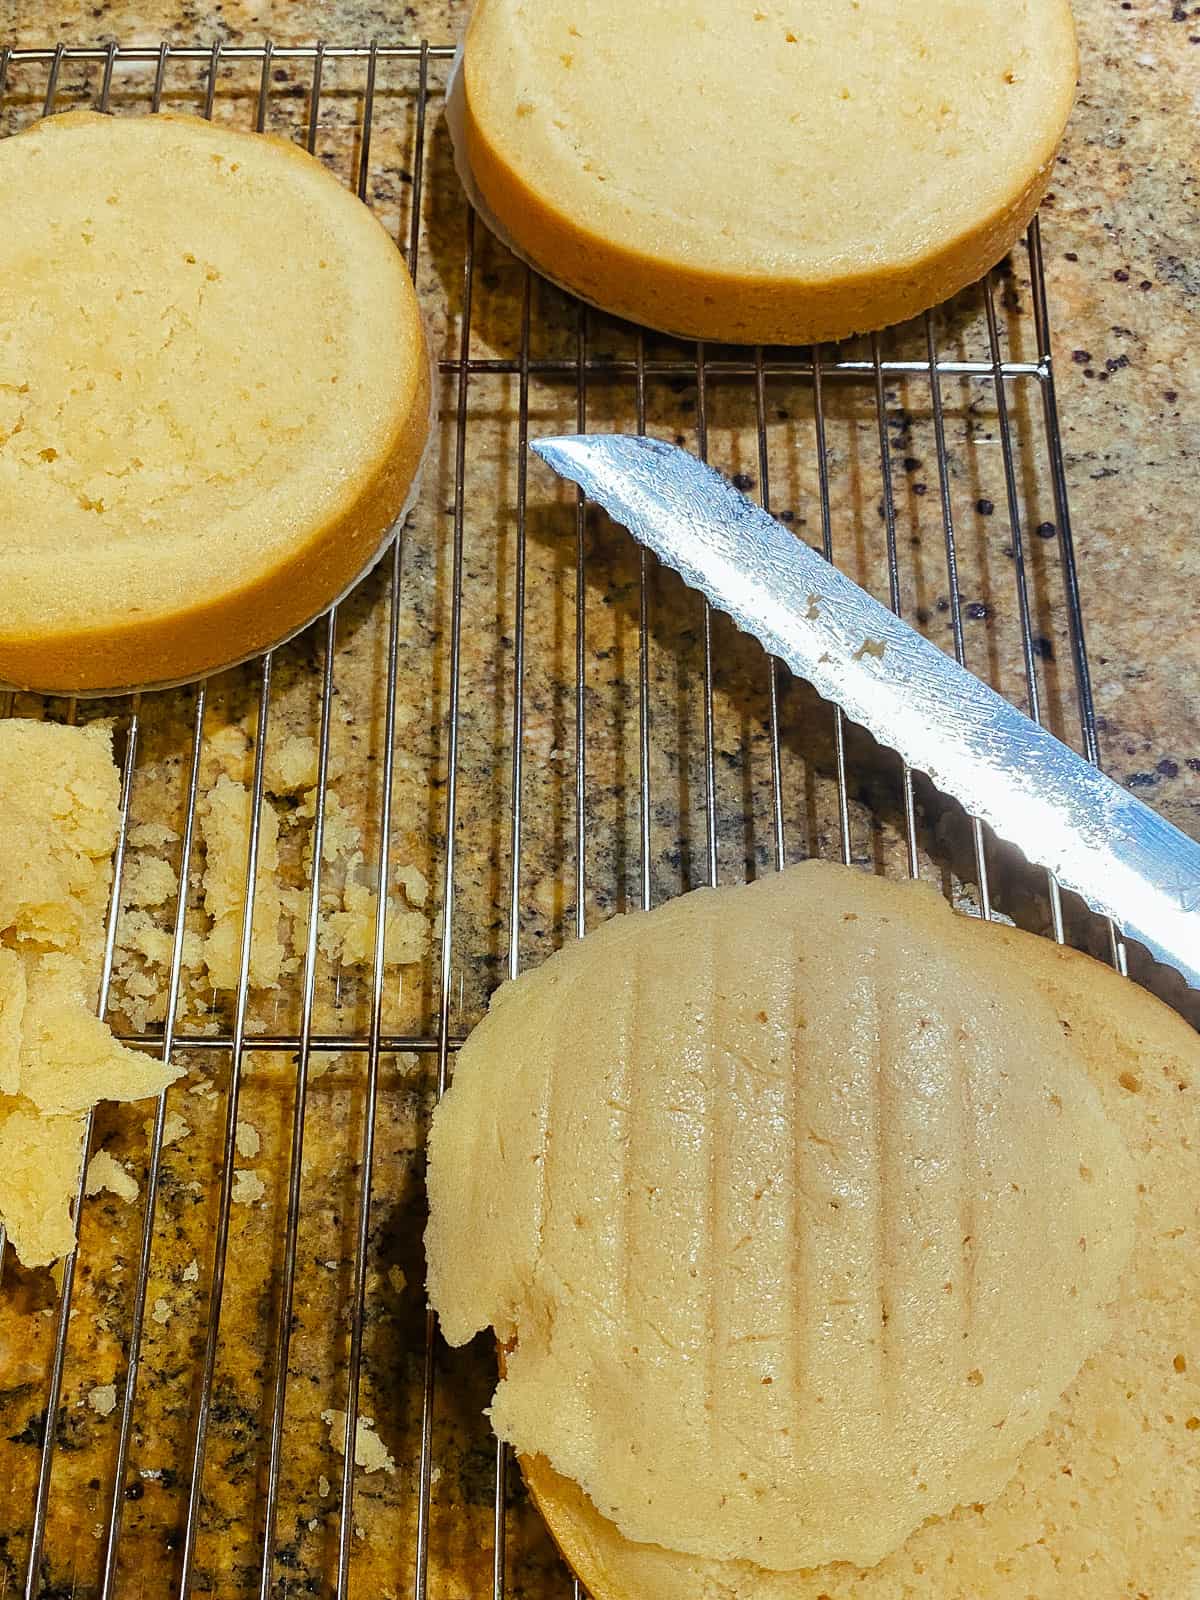
If you want to make more layers, feel free to torte the cake (as in, divide each layer in half with a serrated knife).
The cake is adequately robust to withstand it. Just make sure it's still chilled as you do so.
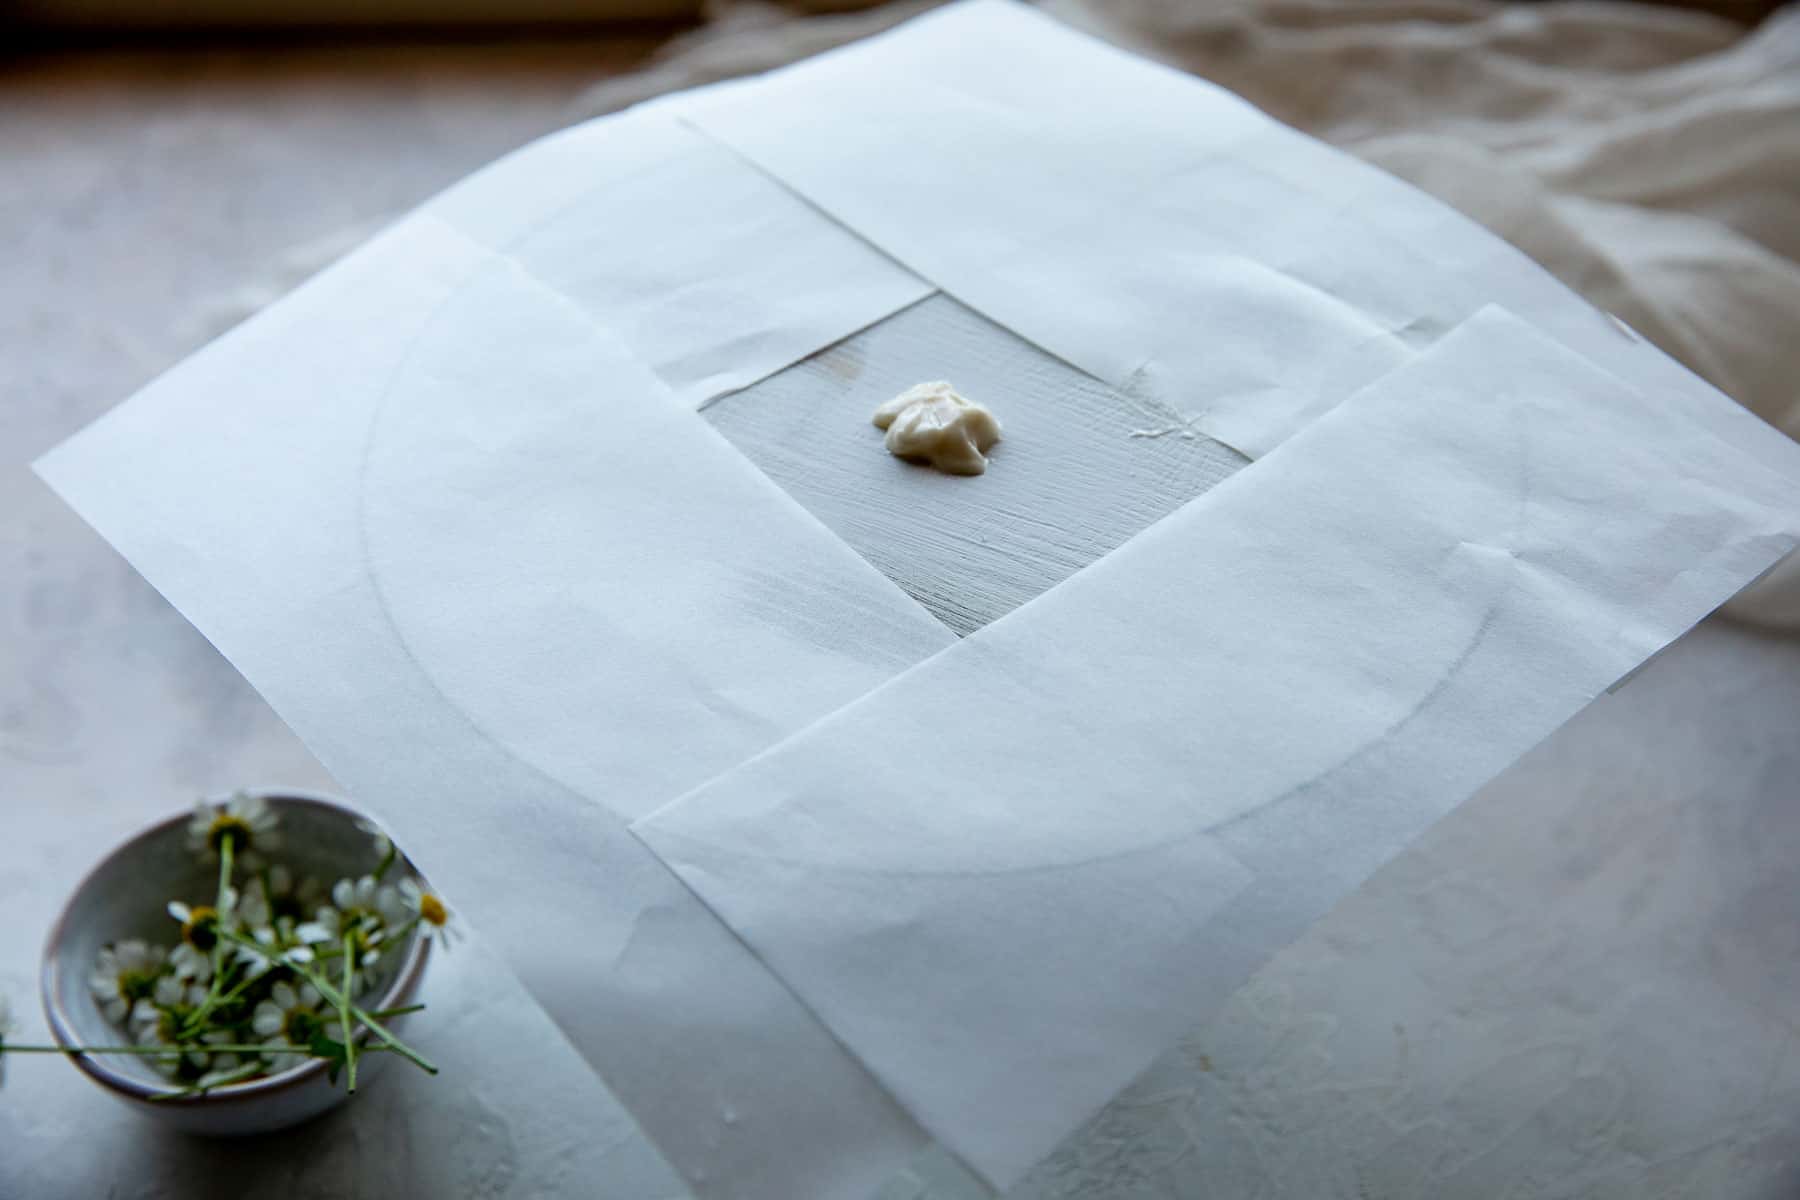
2. Place a teaspoon of frosting into the middle of the cake platter. Cut out four 3-inch thick strips of parchment paper and place them around the frosting. This helps the cake not move around during assembly, and there won't be any cleanup necessary.
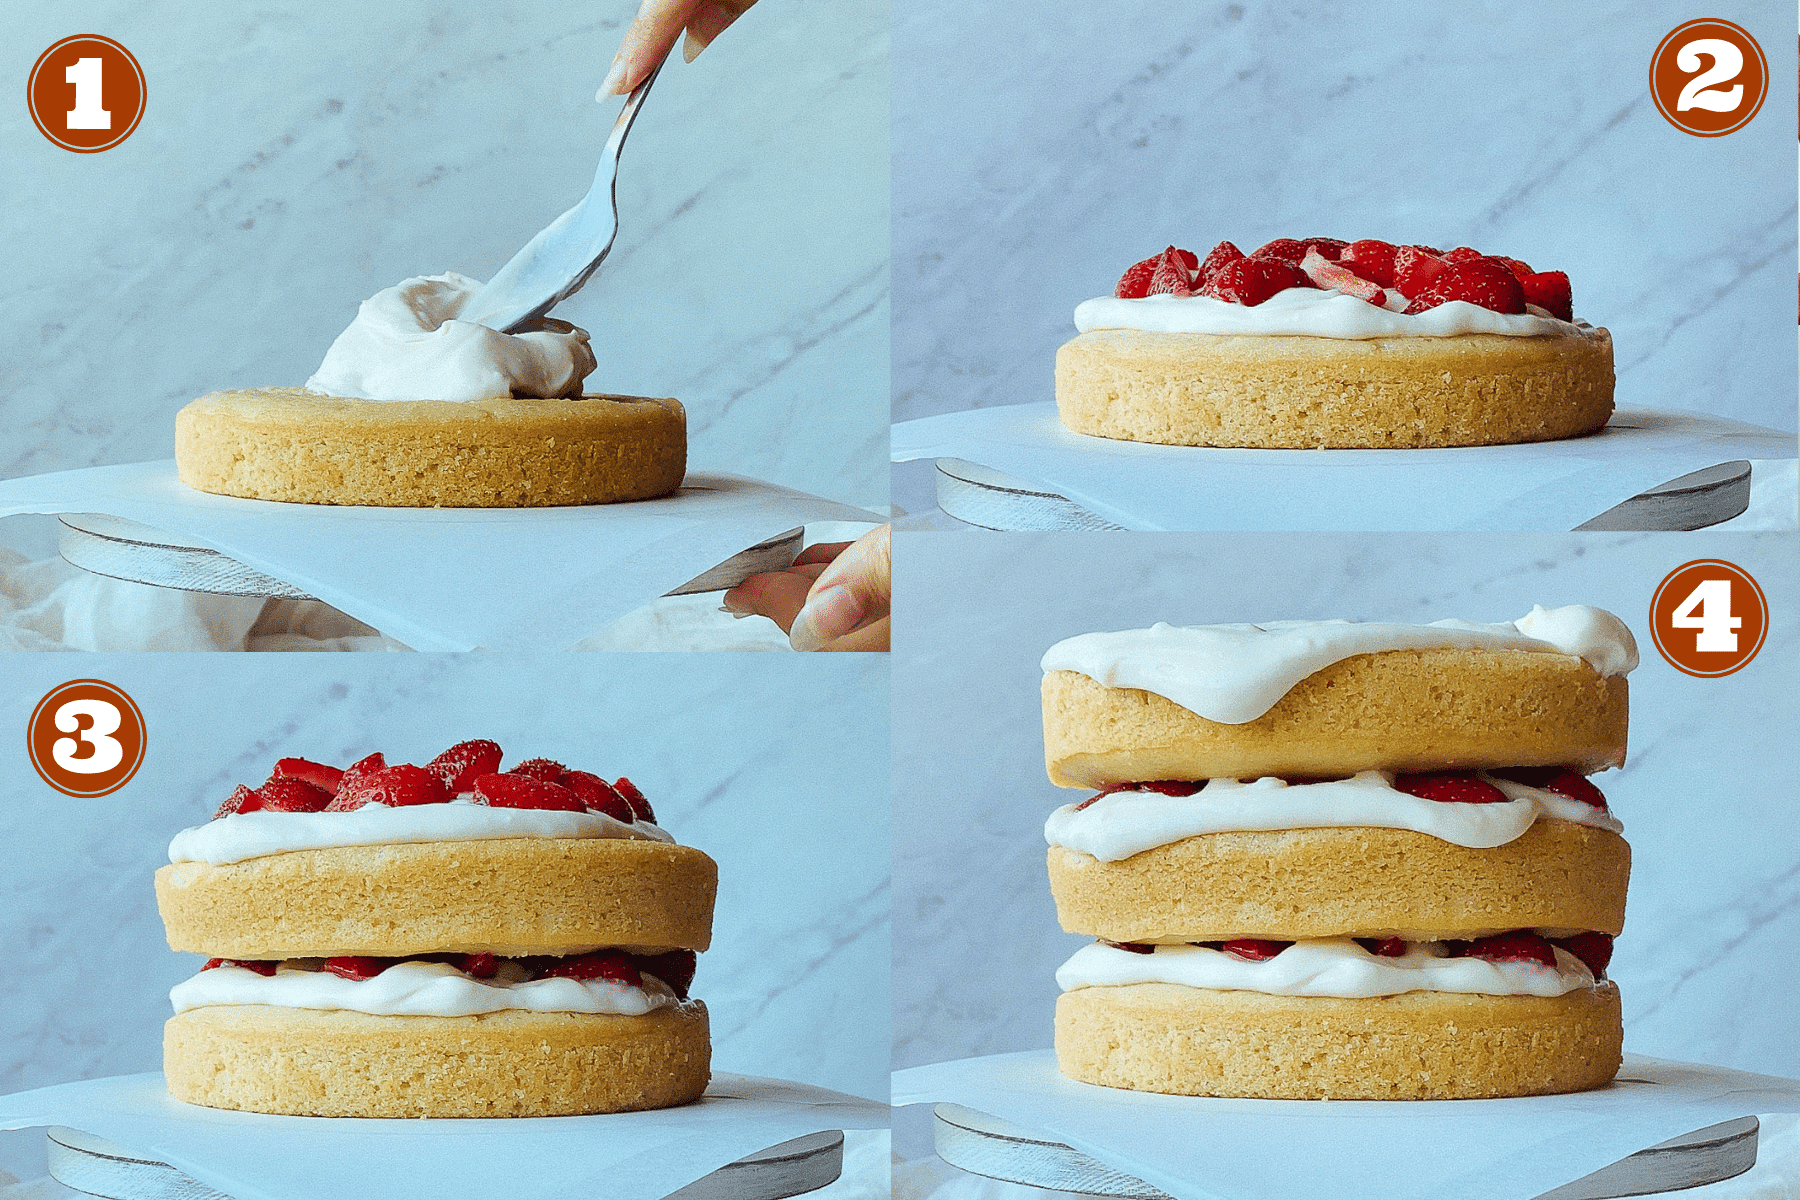
3. Place the first layer of cake, bottom side up (as in, bottom side during baking). Spoon about a cup of the frosting on the cake and smoothen with an offset spatula (or spoon).
Don't go all the way to the edge since the weight will push the frosting out. Place ⅓ of the chopped strawberries.
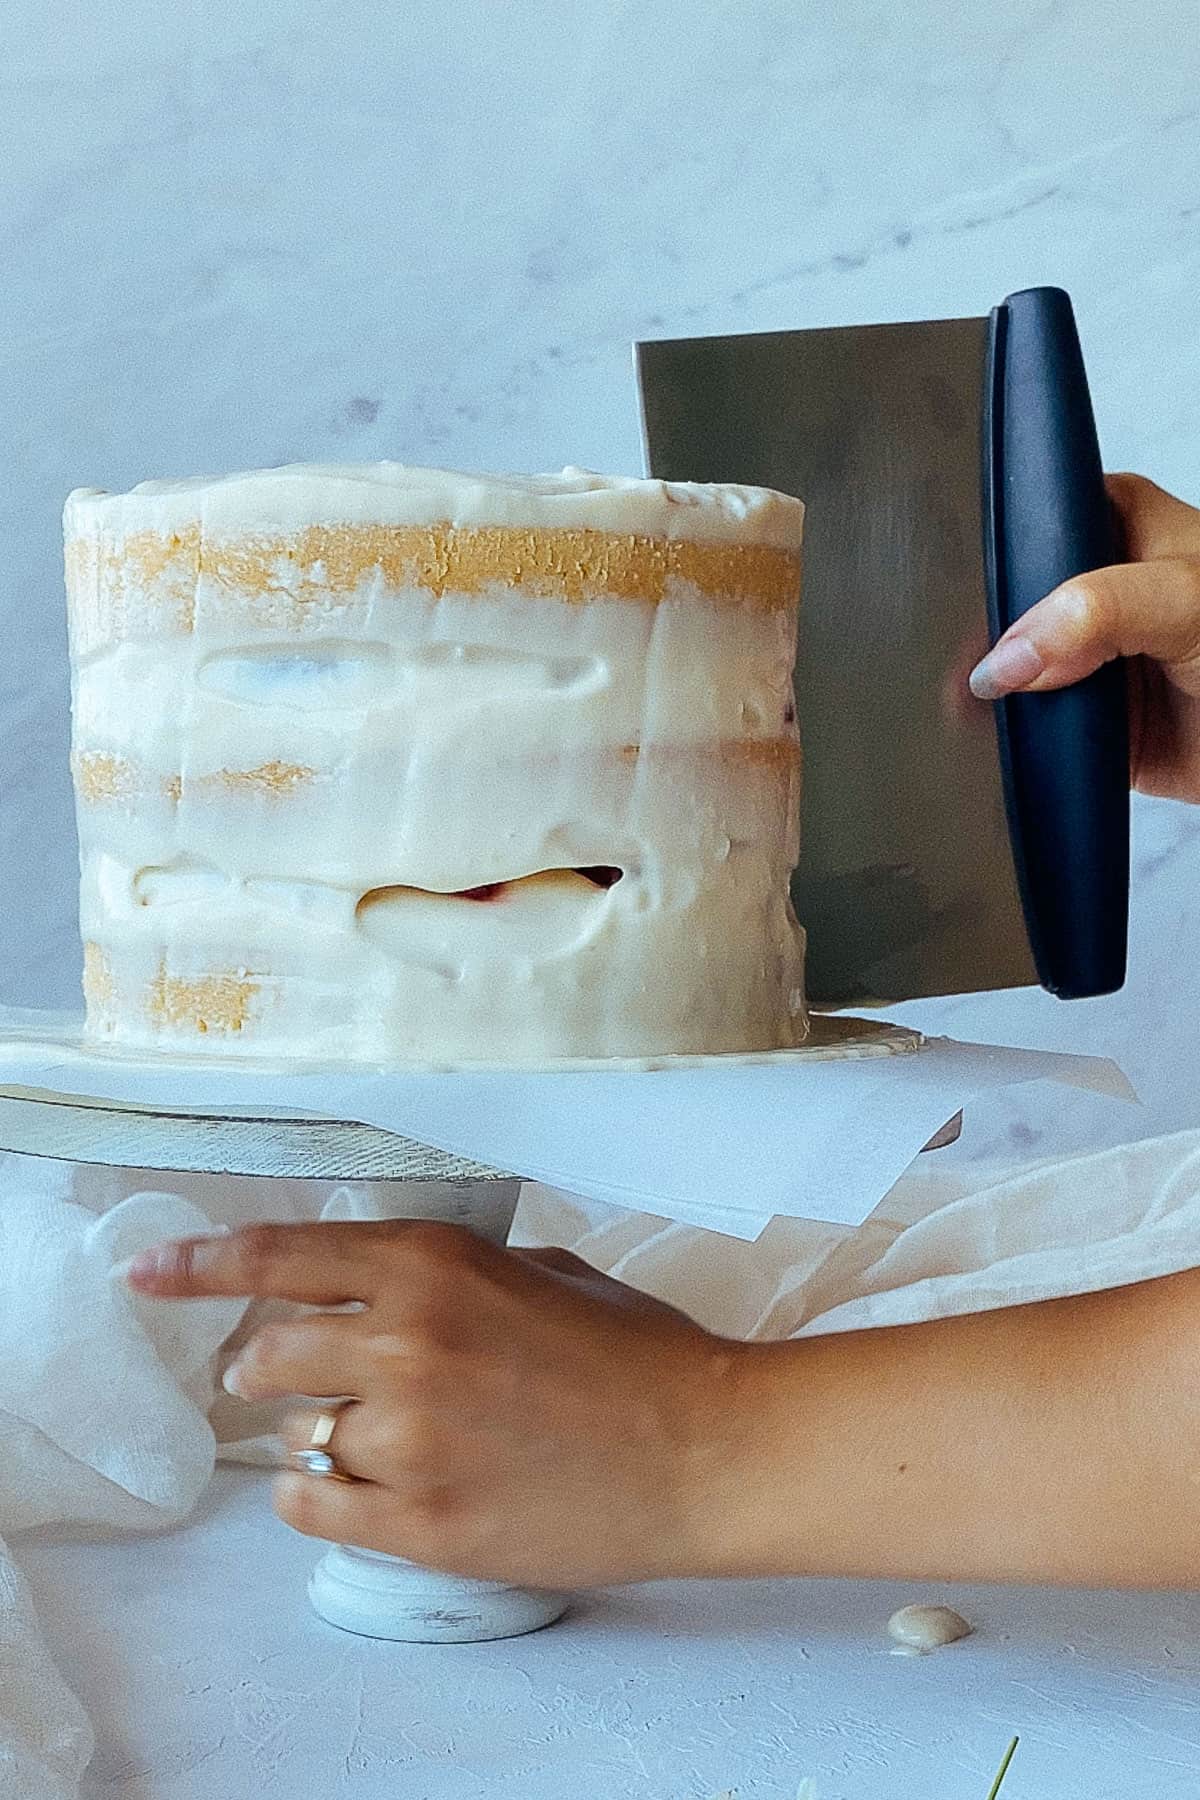
4. Repeat with the second and then place the final sponge layer, making sure the bottom side is up again. Frost the top and the sides.
If your kitchen is hot and the cake/frosting got too warm and crumbly, chill the cake after applying a light layer of frosting with a bench scraper or offset spatula.
This so-called "crumb coat" will protect the cake from drying out while being chilled.
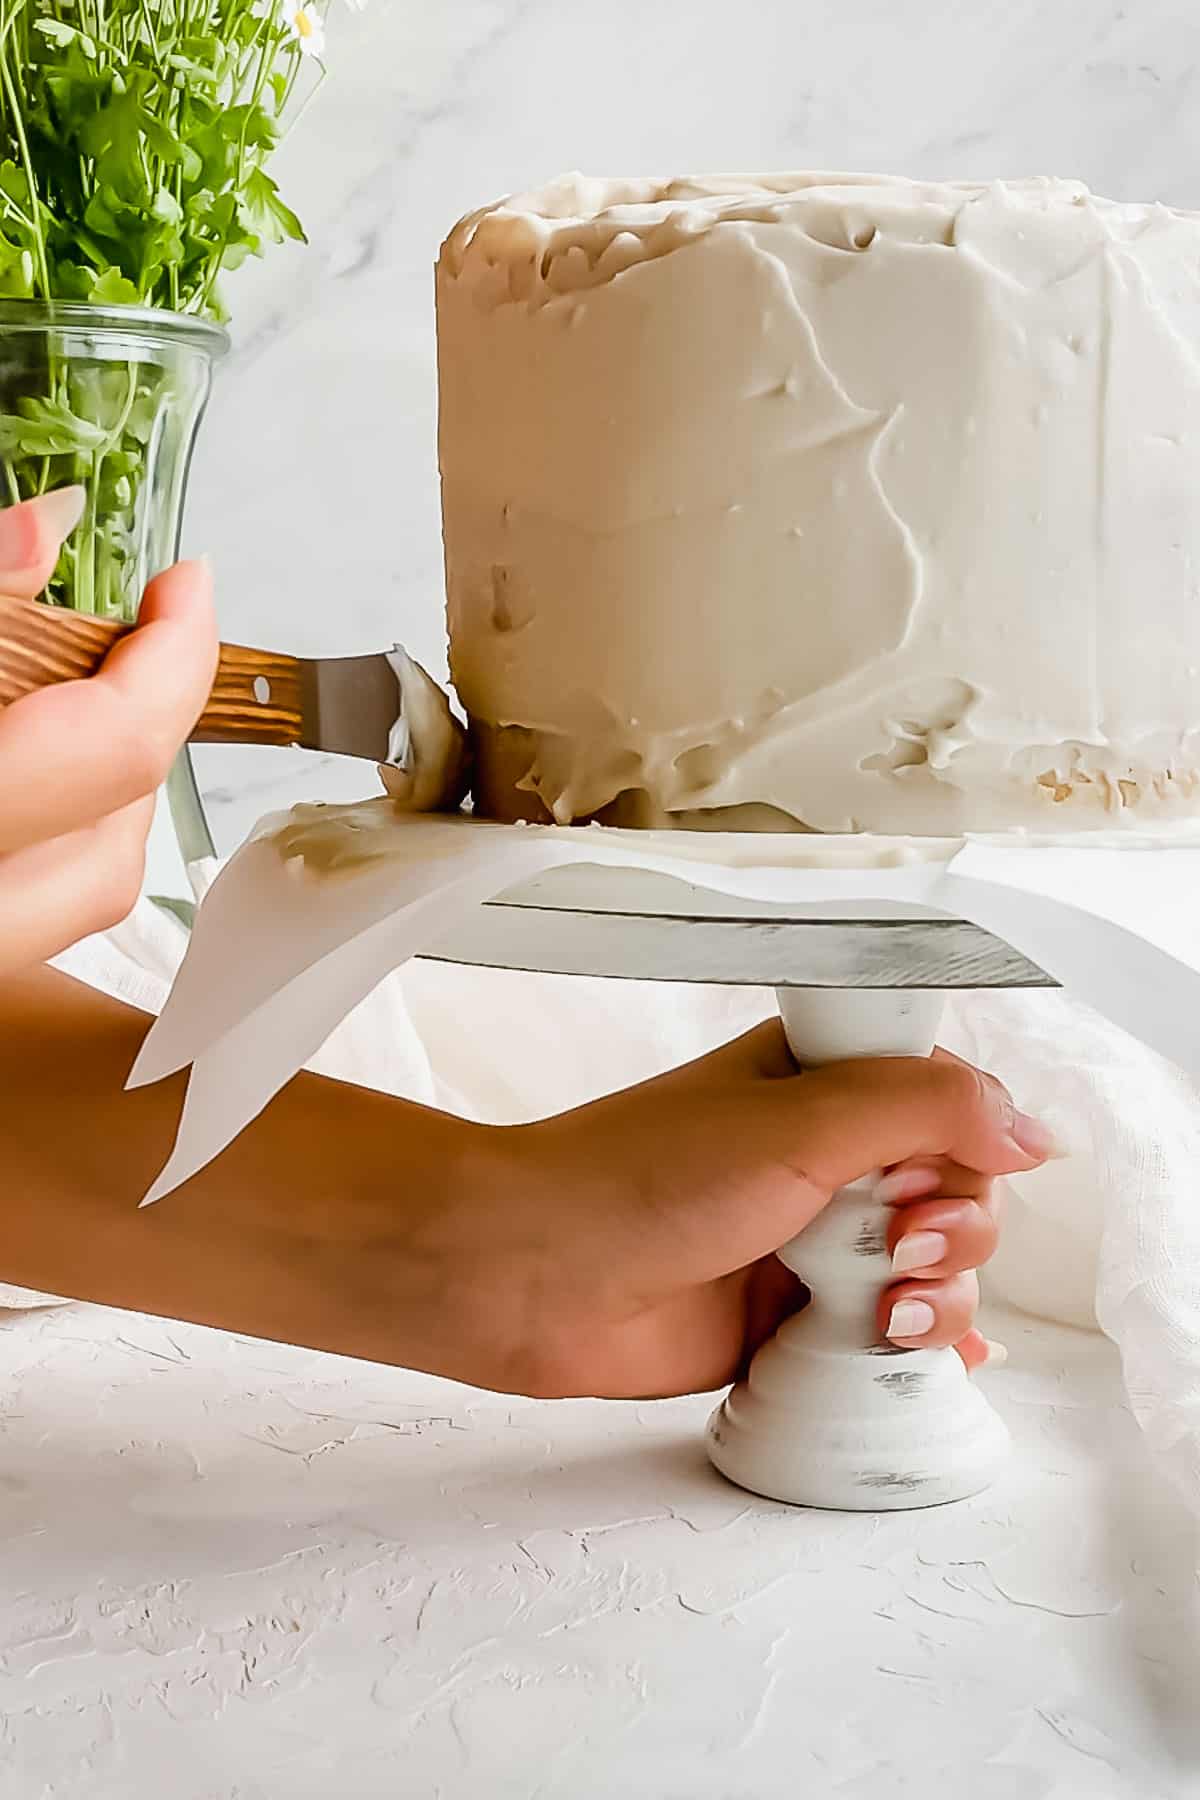
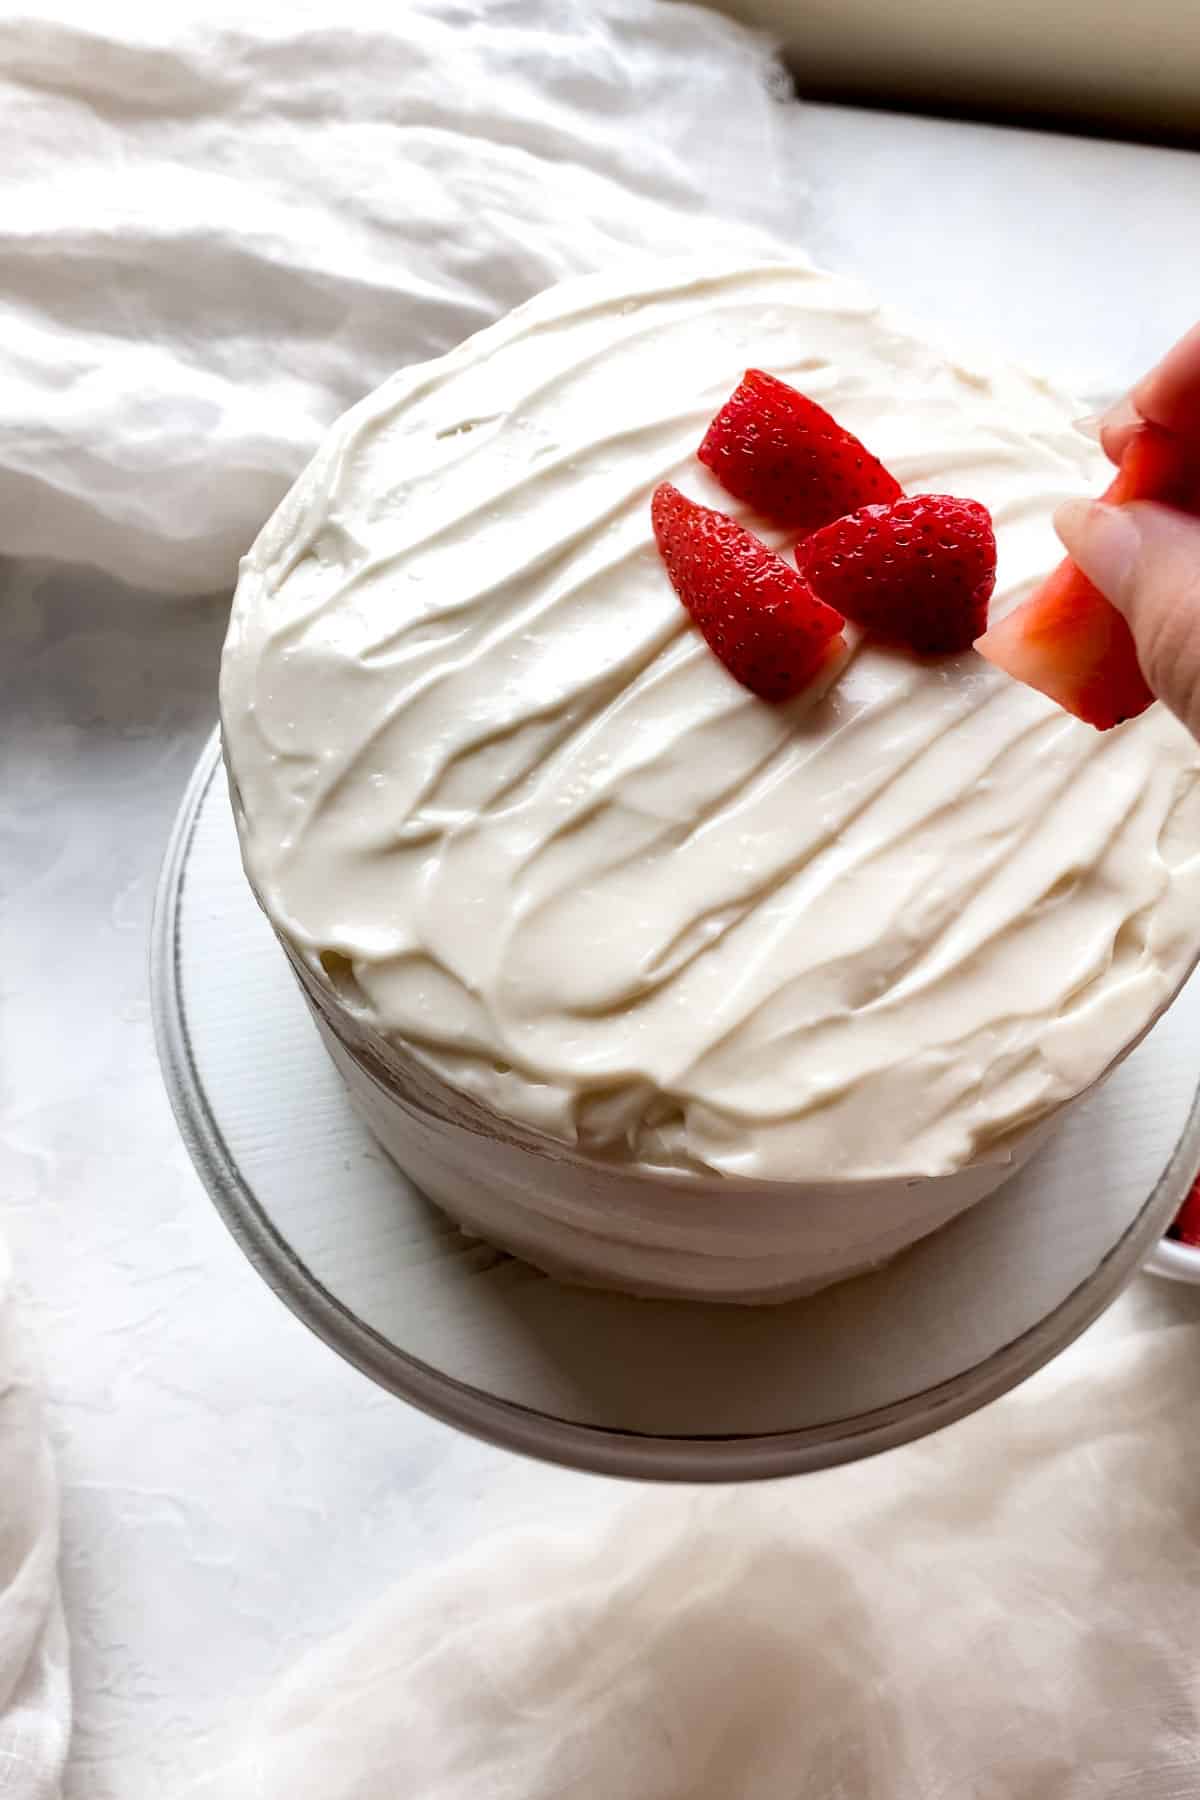
5. Add the strawberry topping as close to serving as you can to avoid any juices bleeding on the frosting. Remove the strips of parchment paper, and the layer cake is finally ready!
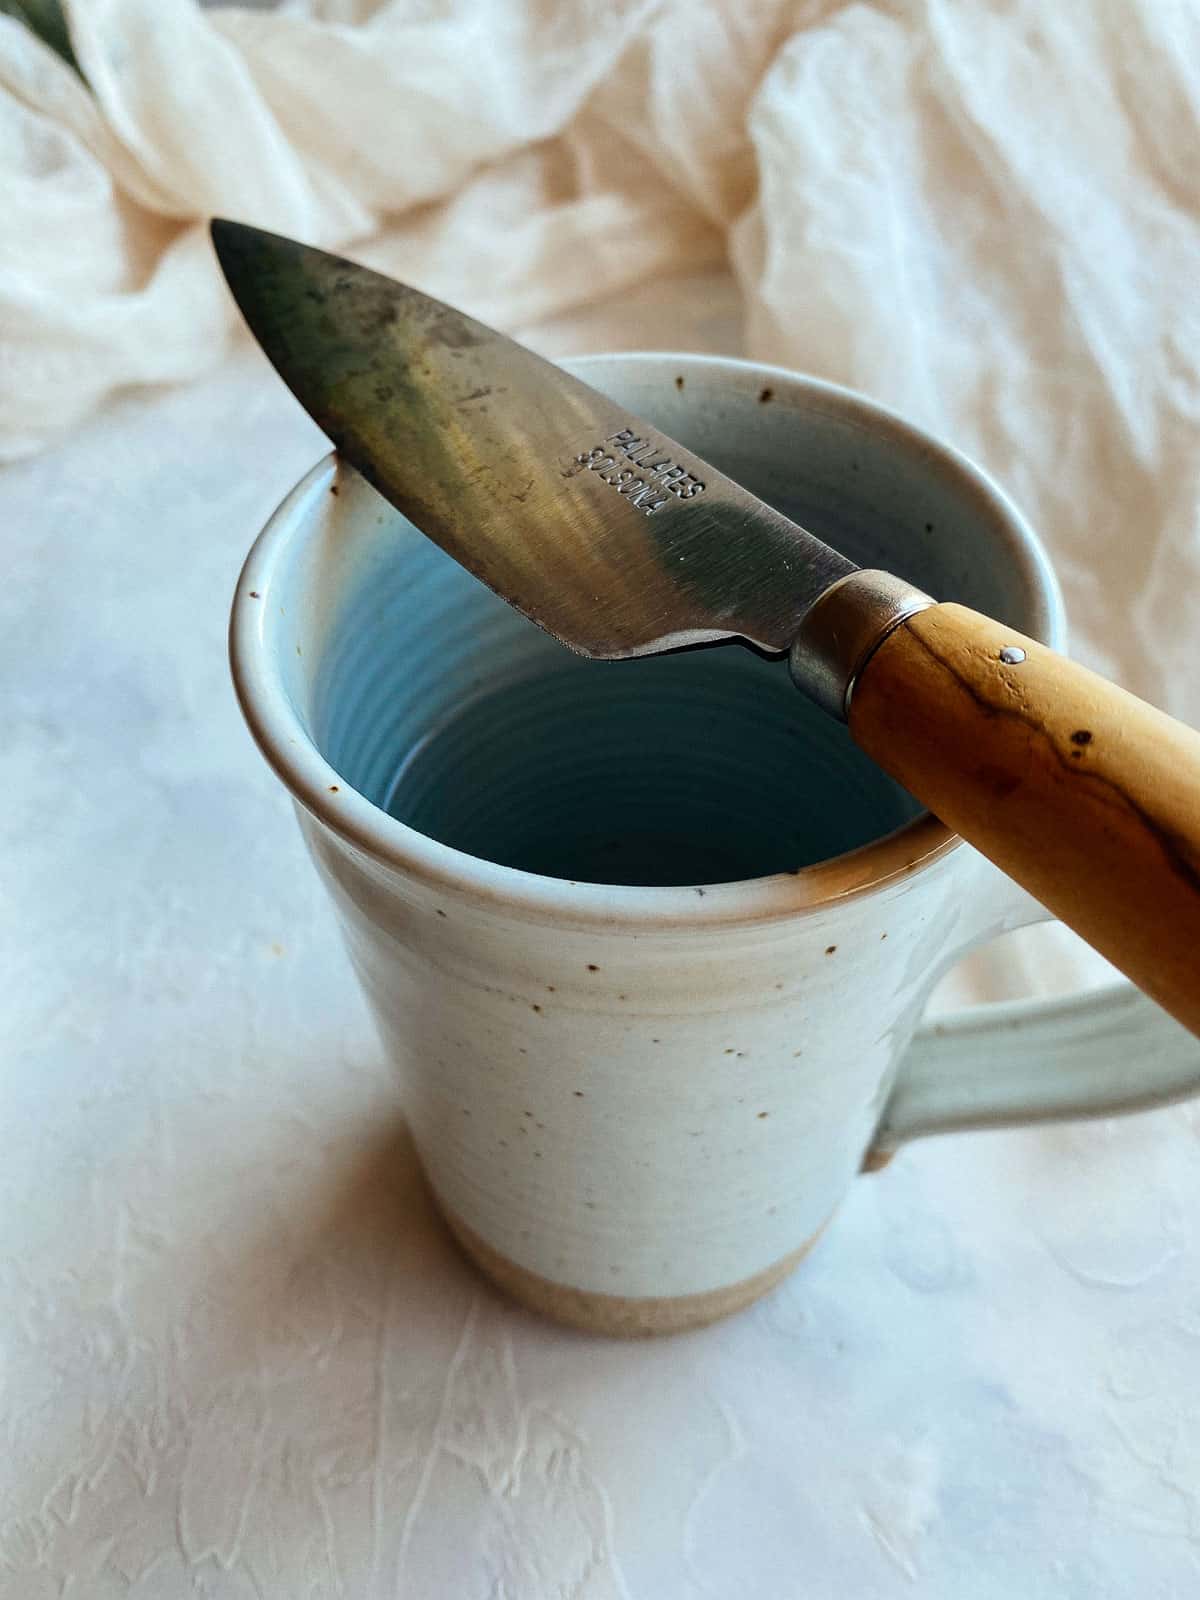
6. To get clean slices, cut with a sharp knife. Dip it into hot water and scrape with a paper towel/cloth napkin before cutting again.
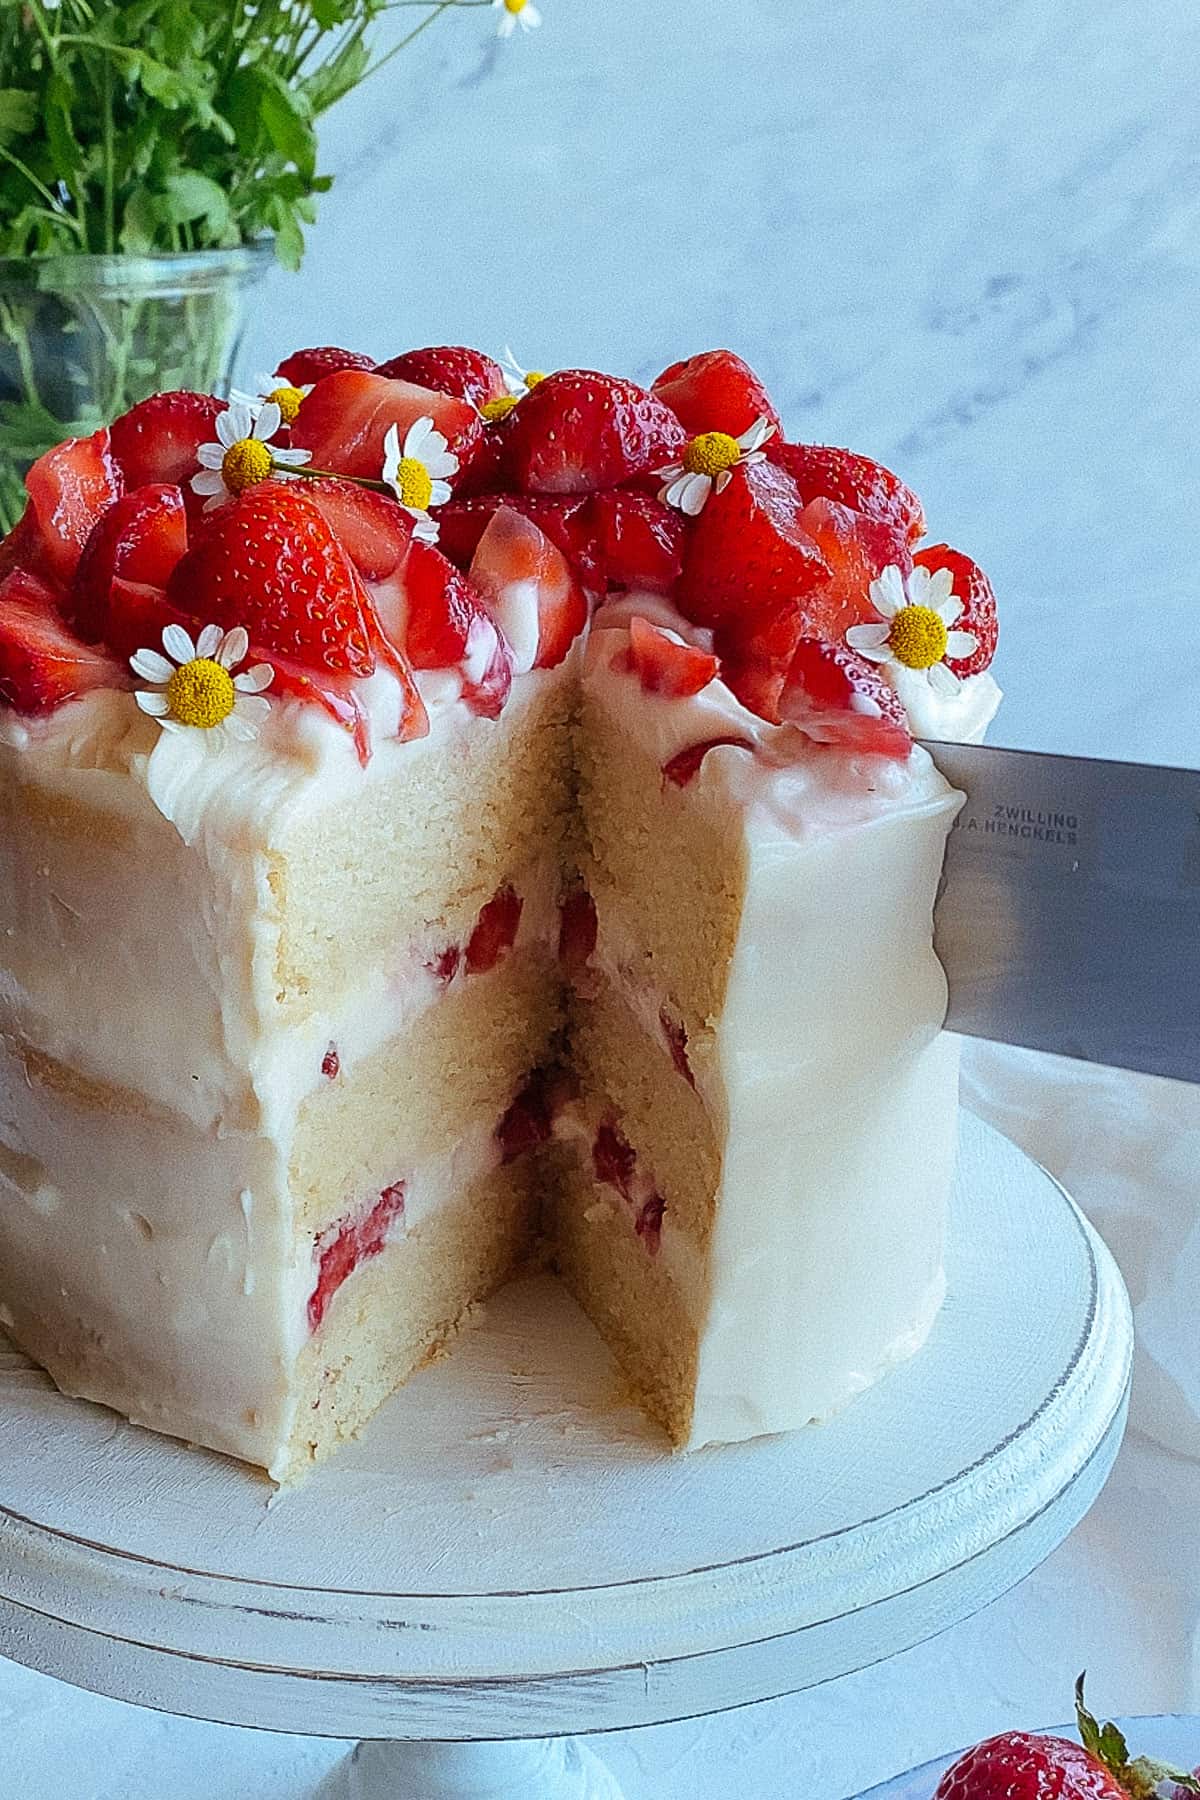
Note that cakes made with the Chantilly frosting can't be left at room temperature for longer than 2-3 hours—they will melt down due to the cream cheese base.
So if there's any leftover cake after cutting it, wrap it with cling wrap and refrigerate.
🍫 Variations
This vegan vanilla cake is quite versatile. Here are some ideas when you want to mix things up:
Using the Recipe For Cupcakes
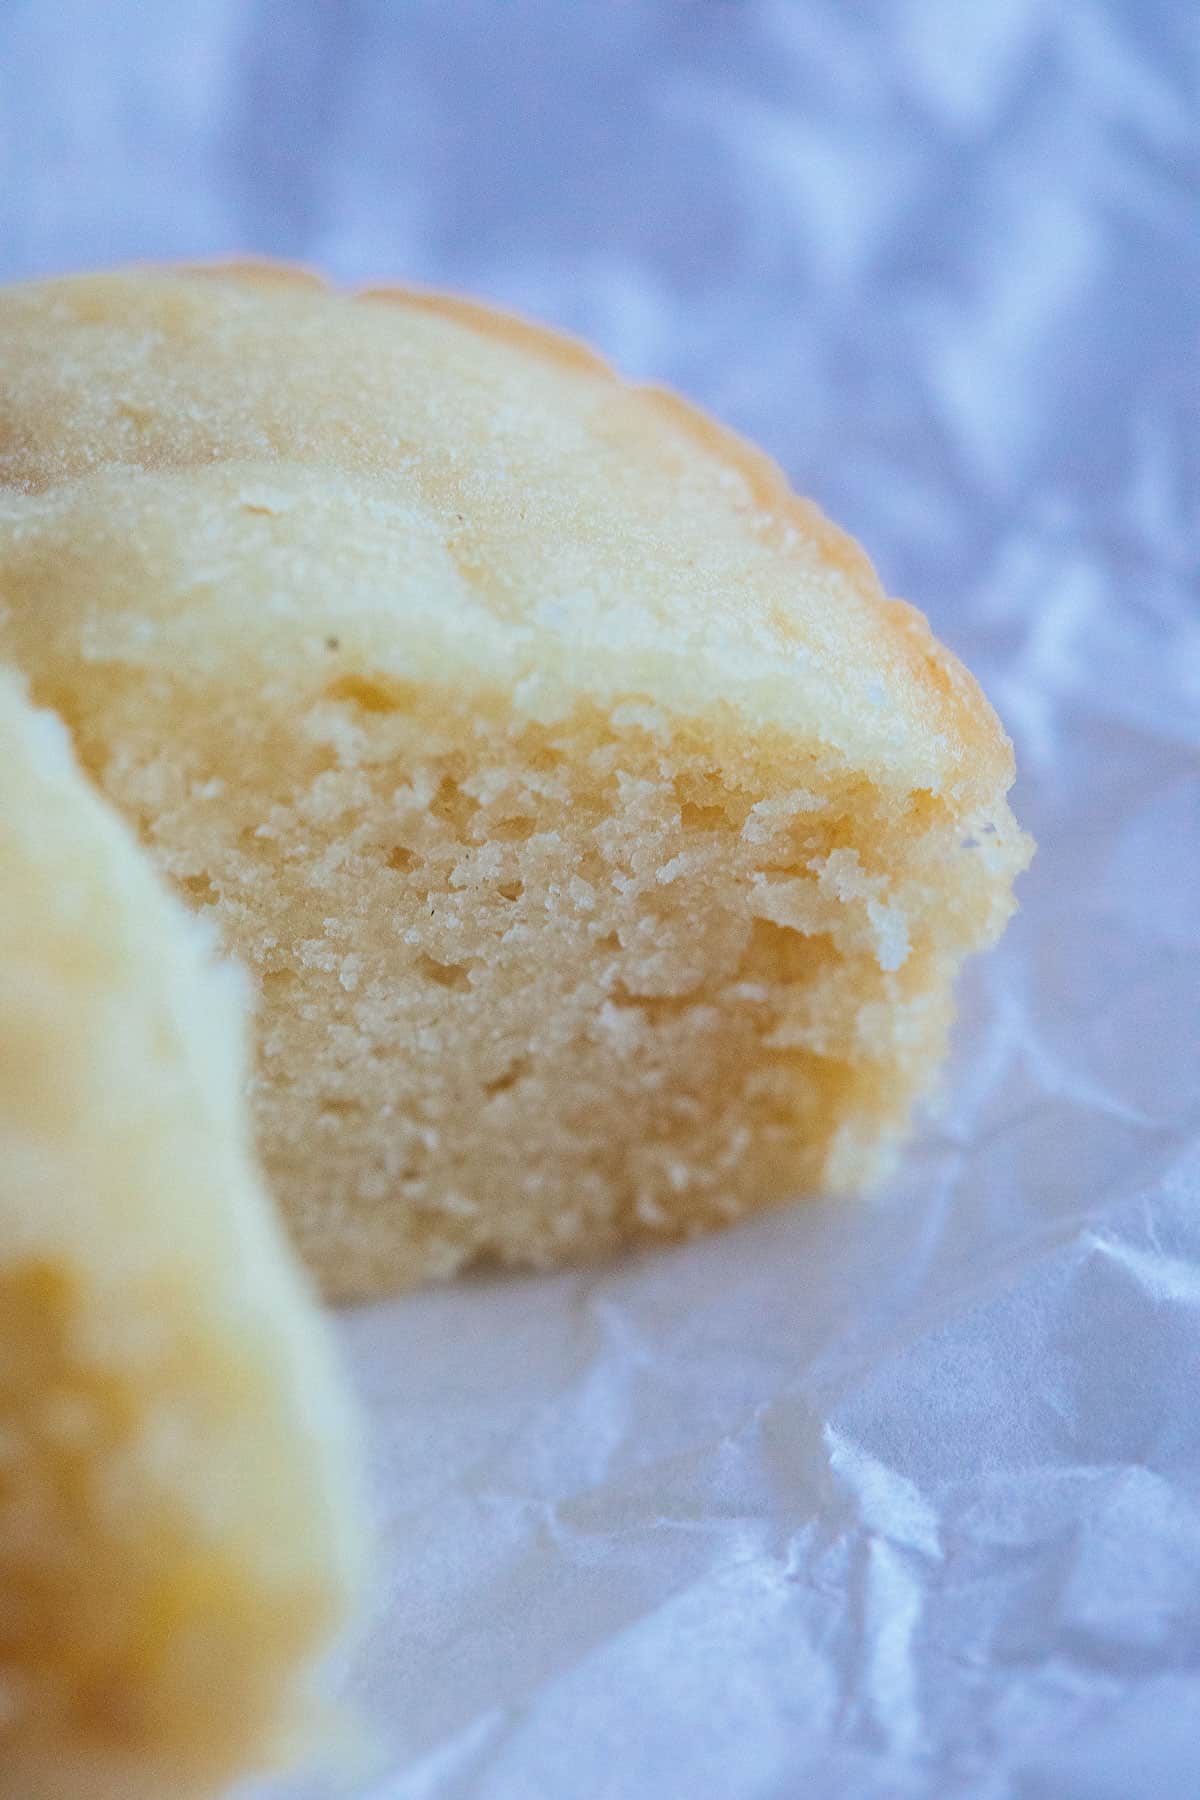
If you'd like to make cupcakes using this recipe, keep the batter the same and preheat your oven to 400ºF instead.
Fill the cupcake liners up to ⅔ high, bake at 400ºF for 5 minutes, then reduce the temperature to 335ºF and bake for another 10 minutes—or until a toothpick comes out clean. The initial high heat results in a higher dome.
Topping & Filling Options
Strawberries aren't in season or you simply want to use another fruit? Go for it! Pretty much any fruit that isn't too tart will work. I can't wait to make this cake using sliced almonds & fresh pineapple next...
Don't want fruit in it at all? Make it a funfetti cake by adding sprinkles to the batter and to decorate the frosting.
Or use chocolate chips and salted caramel sauce to make a uniquely scrumptious version!
Frosting Options
The cream cheese chantilly is my favorite frosting for this cake (and in general), but there are many other frosting options to choose from!
Try a vegan Italian meringue, a classic buttercream frosting, or mix it up and finish the cake with a chocolate frosting instead.
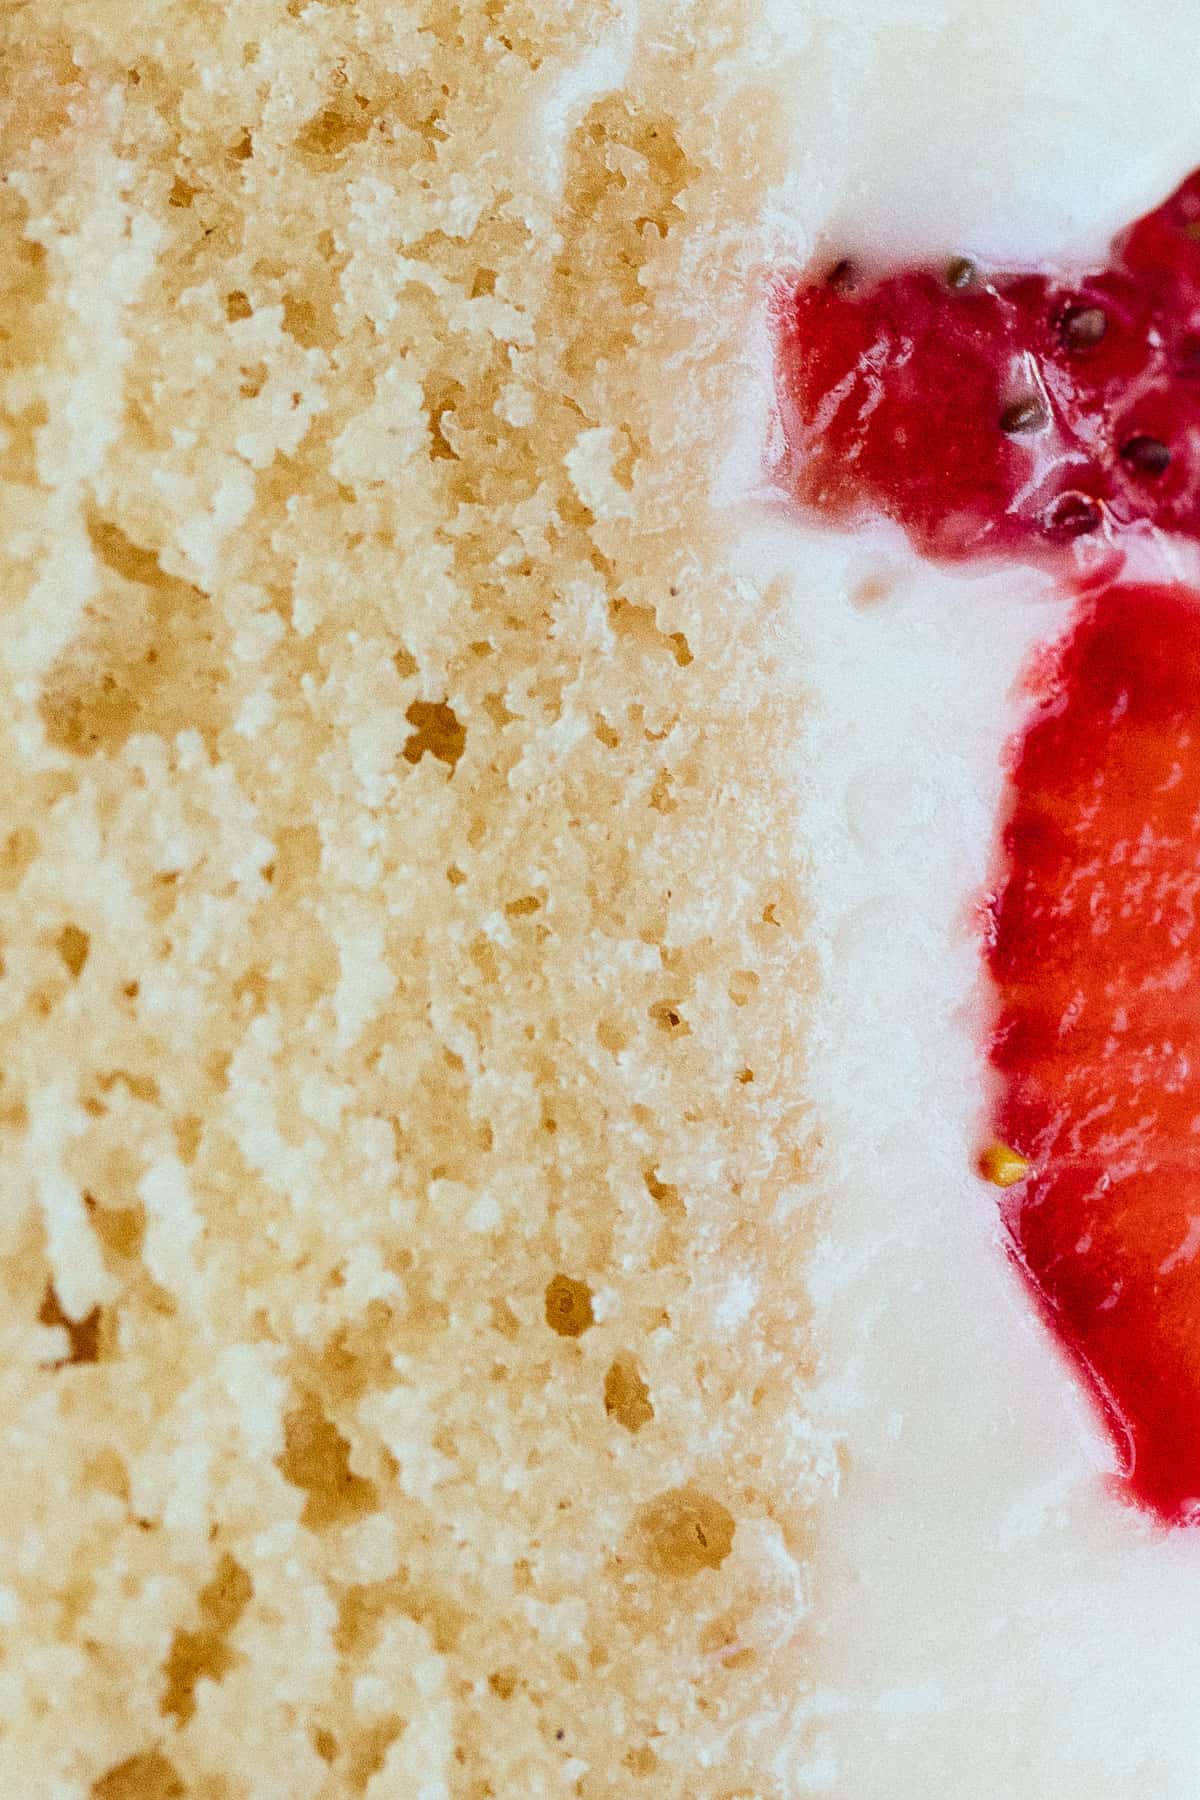
Gluten-Free
I haven't tested this recipe with gluten-free flour and can't guarantee results. Making an adequately robust layer cake to withstand a few days of moving around is difficult when there isn't any gluten development but it isn't impossible!
So if you'd still like to give it a try—make sure to mix the batter for at least another full minute to build structure, especially if building layers.
I would recommend a ready gluten-free flour mix such as Bob's Red Mill or King Arthur for best results. These mixes often have perfect ratios of starches and rice flour.
Make Trifle
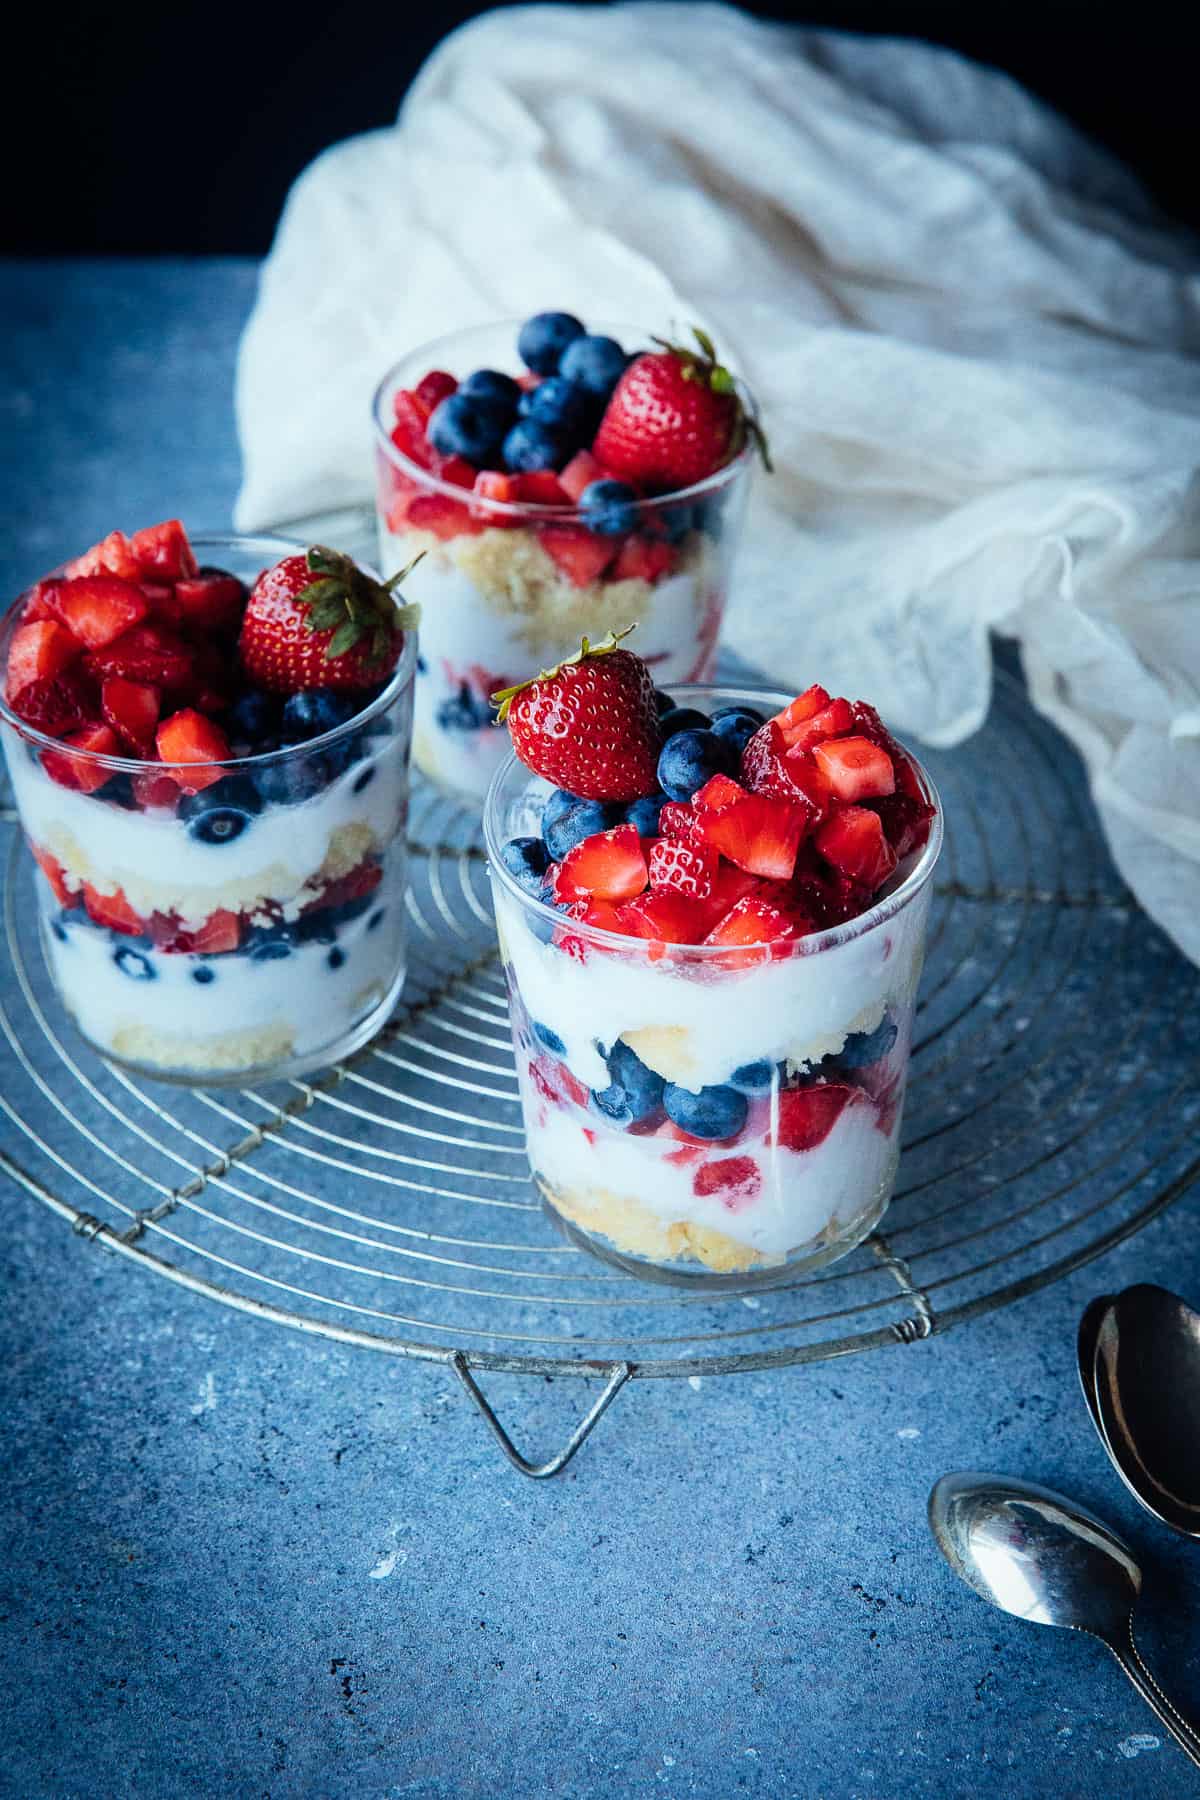
If you want more berries and less cake—simply use cubes of this cake as a layer to make a vegan trifle!
❓FAQs
Absolutely! That is how we initially tested different versions of this recipe. We need to bake it for less time than is listed in the recipe since the smaller pan size means they'll be done much quicker.
If you'd like to make cupcakes using this recipe, keep the batter the same and preheat your oven to 400ºF instead. Fill the cupcake liners up to ⅔ high, bake at 400ºF for 5 minutes, then reduce the temperature to 335ºF and bake for another 10 minutes—or until a toothpick comes out clean. The initial high heat results in a higher dome.
The trick for moist vegan cakes is all in the ratios of ingredients, not overmixing, and baking at the right temperature as well as for the right amount of time. So basically... following the recipe to a T. Sorry—there are too many factors to ensure a cake stays moist. I promise you that this one does!
Vegan cakes often have a bad reputation because many of them tend to be dense and dry. My hypothesis is that many bakers when attempting to make a vegan version of a cake, also try to make it healthier. They often add less oil, (vegan) butter, and sugar for that purpose... which of course results in a less-than-ideal, dense, and dry cake!
For best results, don't try to cut down the sugar (or any other ingredient) by more than 5-10%. Even then, there will be consequences and not just in the form of less sweetness. There is a reason for the saying: cooking is an art, baking is a science 🙂
Nutrition is a complicated field, and many won't agree with this—but yes, I believe vegan cakes are slightly healthier. The lack of dairy and eggs, as well as the addition of phytonutrients via plant-based ingredients (albeit in small amounts), makes vegan cakes marginally healthier than their mainstream counterparts.
Having said all that, a vegan cake is not a healthy dessert option by any means. Provided you baked an indulgent cake as this recipe suggests, it still has a ton of sugar, oil, and flour. You know, the stuff that makes life fun.
The collapsing of a cake means there wasn't adequate structure built in. In classic cake recipes, in addition to gluten, the structure-builder is often eggs... which many vegan versions don't substitute correctly. So in order to make a vegan cake that doesn't collapse, take advantage of gluten formation by mixing the batter longer, while also replacing the eggs correctly so that there is enough leavening, binding, emulsification, and shortening.
The flip side of a well-risen cake is doming. This isn't a big problem for most, but can be annoying if you bake a lot of layered cakes and want those layers to come out flat from the oven.
Additionally, having to cut the top for flat layers means more crumbs–which can be annoying as you add frosting. To prevent cakes from doming in the middle, use cake strips or make your own with aluminum foil and damp paper towels.
Personally, I don't mind the minimal doming and cutting off the top to get flat layers. Hey, it means I get to taste it before anyone else... this is a huge advantage when surprising someone with a cake! And the crumb issue is easily fixed by chilling or freezing the cakes.
Replacing eggs to make a vegan cake is easy, just swap a medium-sized egg (45 grams) with a mixture of:
2 tablespoons (30 ml) of aquafaba
1 tablespoon (7.5 grams) of cornstarch
½ tablespoon (5 grams) of vegan butter or vegetable oil—added along with the rest of the oils/butter in the recipe to compensate for the fat in eggs
See my thorough egg substitutition guide for more information—we tested 8 different substitutes with a food & flavor scientist! Also, check out this article on aquafaba to find out more about what makes it a great replacer for eggs in the first place.
To make a cake vegan, replace the butter with vegan butter or vegetable oil, swap the eggs with a mixture of aquafaba & cornstarch, and substitute the milk or buttermilk with a non-dairy option. Veganizing cakes has never been easier!
For a 100% vegan cake, also pay attention to the kind of sugar you're using. Many refined sugars are processed with bone char to take on a bright white color. In the U.S., the sugar will definitely be vegan if it's organic, “unrefined”, or made from beets.
My guess is that you didn't weigh the ingredients. It's so easy to over/undercalculate the flour content when using cups!
I highly suggest investing in a kitchen scale for best results, but if you already made the batter and it looks too wet: try mixing in more flour (¼ cup at a time). If it looks too dry: mix in dairy-free milk (1 tablespoon at a time).
You can make this cake with a hand mixer or a stand mixer! Stand mixers tend to be stronger than hand mixers, so mix on medium instead of high if you're using a stand mixer.
This is very easy to do with a kitchen scale. First, figure out how much cake batter or frosting you need by going to this calculator. It takes the shape (square or rectangular or cupcake pan) and dimensions into account.
Next, compare it to this recipe's ingredient list which makes 6 cups of batter. For example, if you found out you need 8 cups of batter—multiply each quantity by 1.3 (8 / 6). Or if you only need 4 cups, multiply by 0.67
Yes! This cake has a strong enough structure and you absolutely can torte it. Just make sure the cakes are cold while you do it.
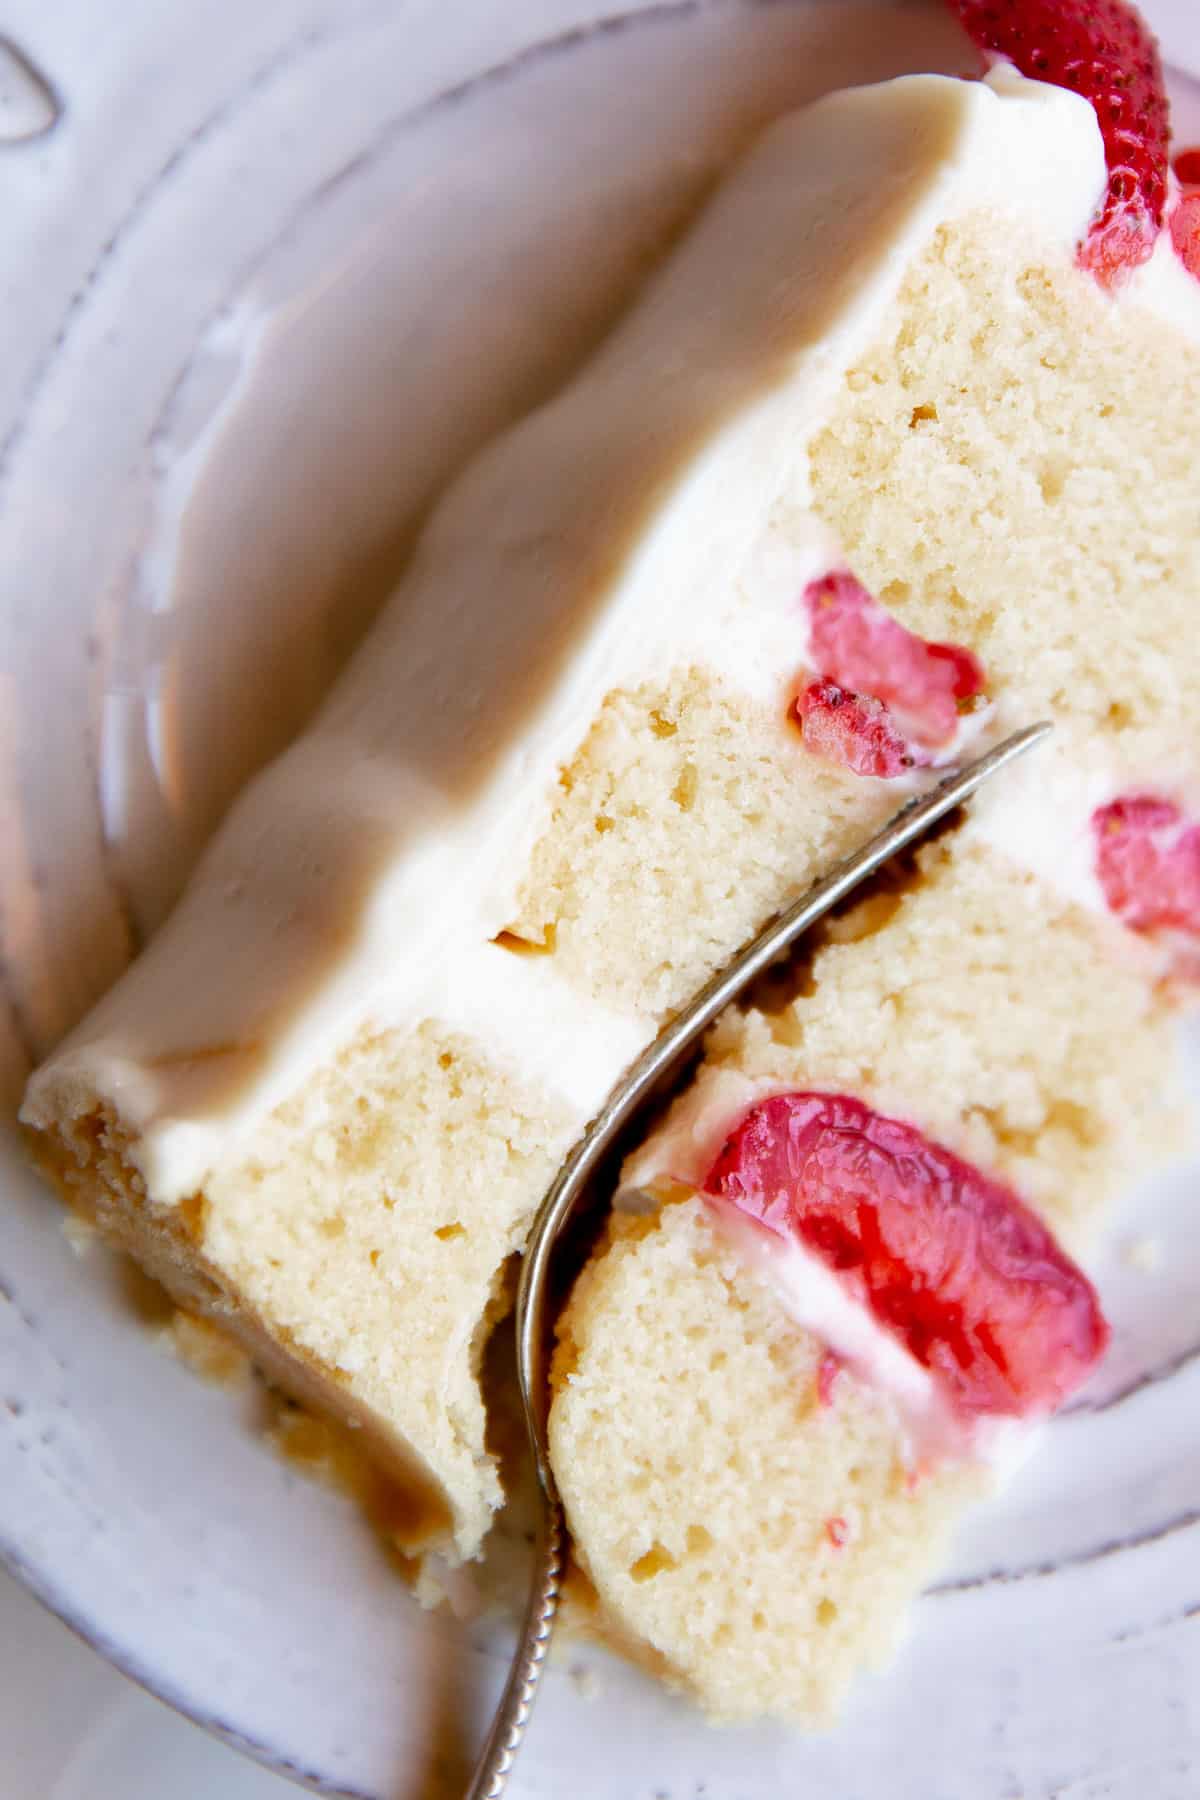
🍮 More Vegan Desserts on Aegean Delight
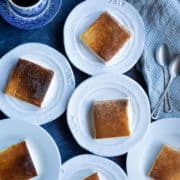
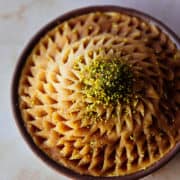
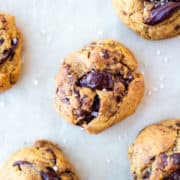
Want a different cake? Try our syrupy semolina cake with a unique texture! Or enjoy delicious pumpkin chocolate chip cookies, burned pudding, 3-ingredient flour halva, and more!
Did you make this vegan vanilla cake recipe? I'd love to hear about it! Please comment and leave a star🌟 rating below. This helps me run Aegean Delight and I always appreciate it 🙂
Print📖 Recipe
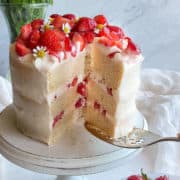
Vegan Vanilla Cake - Strawberry and Chantilly Cream
- Total Time: 5 hours
- Yield: 8 Servings 1x
- Diet: Vegan
Description
This vegan vanilla cake is light, fluffy, and stays moist for days! Complete with berries and a delicious dairy-free cream cheese chantilly frosting, this versatile cake is perfect for layering for birthdays and celebrations. It'll be difficult to stop after your first slice!
Ingredients
*All ingredients must be at room temperature
Makes 6 cups of batter (fills three 6-inch round pans with 2 cups each — see notes)
- 6 tablespoons (90 ml) aquafaba
- 3 tablespoons (22.5g) cornstarch
- 1 tablespoon vegan butter (to grease pans)
- 2 ⅔ cups (325 g) all-purpose flour (See Note)
- 1 ¼ cup (250 g) sugar
- 2 ¼ teaspoons (11 g) baking powder
- ⅕ teaspoon baking soda (just a pinch)
- ½ teaspoon (3 g) table salt
- ¾ cup + 1 tablespoon (185 g) unsalted vegan butter
- ¾ cup + 3 tablespoons (210 ml) soy milk (See Note)
- ¼ cup (50 ml) vegetable oil
- 1 tablespoon (15 ml) vanilla extract
- 3 cups Chantilly frosting (or another frosting of choice)
- 2 cups strawberries (chopped, See Note)
OR
Makes 4 cups of batter (fills one 8-inch round pan)
- 4 tablespoons (60 ml) aquafaba
- 2 tablespoons (15 g) cornstarch
- 1 teaspoon vegan butter (to grease pan)
- 1 ¾ cup (220 g) all-purpose flour (See Note)
- ¾ cup (170 g) sugar
- 1 ½ teaspoons (7.5 g) baking powder
- ⅛ teaspoon baking soda (just a pinch)
- ⅓ teaspoon (2 g) table salt
- ½ cup (125 g) unsalted vegan butter
- ½ cup + 1 tablespoon (140 ml) soy milk (See Note)
- 2 tablespoons (30 ml) vegetable oil
- 2 teaspoons (10 ml) vanilla extract
- 1 ½ cup Chantilly frosting (or another frosting of choice)
- 1 cup strawberries (chopped, See Note)
Instructions
Make the Batter
1. Start by bringing all the ingredients to room temperature. This is a crucial step that needs some planning—but it's still okay if you forget. Simply microwave the chilled vegan butter (in very small cubes) and/or milk in 10-second increments, mixing each time, until at or close to room temperature. Make sure not to melt the butter or overheat the milk!
2. Preheat the oven to 350ºF (180ºC). Grease the cake pans with softened vegan butter with a pastry brush and place a round parchment paper at the bottom, then grease the top of parchment paper as well.
3. Make the vegan egg replacer by mixing the aquafaba with cornstarch in a small bowl and set it aside.
4. Place the dry ingredients (all-purpose flour, sugar, baking powder, baking soda, and salt) into a large bowl and whisk. Sifting the flour isn't necessary. Add the room-temperature butter and mix with a hand-mixer or stand-mixer (on low) until the mixture looks like coarse sand. This usually takes less than a minute.
5. Add the rest of the ingredients (soy milk, oil, vanilla extract, and egg replacer) and mix for two full minutes to build just enough gluten structure. Use the high setting of a hand mixer or the medium setting of a stand mixer. I suggest setting a timer for this since most of us aren't great at estimating the passage of time. Also, make sure to scrape the bowl at least once as you're mixing to prevent lumps of flour from forming.
6. Divide the batter into pans up to ¾ full, ideally weighing them to make sure the layers will be even. Each 6-inch round pan will have about 360 grams of batter. Cover the pans with cake strips if you absolutely don't want any doming. I personally don't mind it as I can taste the cut-out dome before serving the cake to others, always a plus.
Bake & Chill the Cakes
1. Place the pans into the oven to allow free airflow (two on top, one on the bottom rack). Bake for 18 minutes, then switch the placement of the pans for evenly baked layers by placing the top two on the bottom on different sides (left to right, right to left) and placing the bottom one on the top.
2. Bake for another 5 minutes and check to see if a toothpick comes out clean. If it doesn't, then bake for longer in increments of 2-3 minutes until all the cakes pass the toothpick test. The cakes take exactly 26 minutes to bake in my oven, but your oven's heat output may be different—that's why we start checking early. The 8-inch round pan will take approximately 5-7 minutes longer.
3. Remove cakes from the oven and lightly tap them on the counter. Place on a cooling rack and let them cool for about 15 minutes, until the pans are barely warm. Take the pans off the cooling rack and place the cooling rack on top of the cake. One palm on the bottom of the pan, the other palm on the bottom of the cooling rack, hold on tight, and flip. Carefully remove the now upside-down pan. Repeat for other pans.
4. Cool the cakes completely on the cooling rack for at least 2 hours, then carefully wrap them in plastic wrap and place them into the refrigerator or freezer to firm up for about 30 minutes minimum. I usually leave them in the refrigerator overnight, but don't chill for longer as they may dry out without a crumb coat (thin layer of frosting).
5. If using vegan chantilly cream with this cake, prepare it as the cakes are cooling down. Keep in mind that the vegan cream cheese also needs to be at room temperature.
Assembly
1. Start by leveling out the cakes. Use a sharp serrated knife to cut out the dome. You can save the leftover pieces to make cake pops or trifle.
2. Place a teaspoon of frosting into the middle of the cake platter. Cut out four 3-inch thick strips of parchment paper and place them around the frosting. This helps the cake not move around during assembly, and there won't be any cleanup necessary.
3. Place the first layer of cake, bottom side up (as in, bottom side during baking). Spoon about a cup of the frosting on the cake and smoothen with an offset spatula (or spoon). Don't go all the way to the edge since the weight will push the frosting out. Place ⅓ of the chopped strawberries.
4. Repeat with the second and then place the final sponge layer, making sure the bottom side is up again. Frost the top and the sides. If your kitchen is hot and the cake/frosting got too warm and crumbly, chill the cake after applying a light layer of frosting. This so-called "crumb coat" will protect the cake from drying out while being chilled.
5. Add the strawberry topping as close to serving as you can to avoid any juices bleeding on the frosting. Remove the strips of parchment paper, and the layer cake is finally ready!
6. To get clean slices, cut with a sharp knife. Dip it into hot water and scrape with a paper towel/cloth napkin before cutting again. Note that cakes made with the Chantilly frosting can't be left at room temperature for longer than 2-3 hours—they will melt down due to the cream cheese base.
7. If there's any leftover cake, wrap it with cling wrap and refrigerate for up to a few days. This cake stays moist for at least three days when stored like this—but it'll taste best when fresh.
Notes
Pan Size — This recipe lists two options (three 6-in round pans or one 8-in round pan). To modify according to what you have, first, figure out how much cake batter or frosting you need by going to this calculator. It takes the shape (square or rectangular or cupcake pan) and dimensions into account. Next, compare it to our recipe's ingredient list that makes 6 or 4 cups of batter. For example, if you found out you need 8 cups of batter—multiply each quantity in the second list by 2 ( 4 x 2). Note that baking times will vary so use the toothpick test.
Flour Type — You don't need cake flour for this recipe as we'll be using the reverse creaming method where a bit of structure is needed. I've tested the recipe with Swans Down cake flour—which makes the cake even more tender. But this also means a weaker structure. Therefore, cake flour isn't ideal for vegan layer cakes, but perfectly fine for sheet cakes, etc.
Milk — My milk of choice is soy, but most kinds will work. Try to use unsweetened, unflavored non-dairy milk with minimal ingredients. Avoid canned coconut milk as it will have too much fat and impart too much flavor (unless you're modifying the recipe to make coconut cake).
Round Parchment Paper — If you don't have round parchment paper—fold a sheet of parchment multiple times until you get a thin triangle with a sharp edge. Flip over the cake pan, place the sharp tip of the triangle right at the center, and cut the excess over the radius of the bottom of the pan. Unfold, and that's it!
Strawberries — I like to divide the strawberries into 4 pieces lengthwise (or more pieces for bigger berries). This way there isn't too much juice bleeding through the sponge. You may also choose to use whole strawberries to top the cake, it'll keep longer that way. Feel free to use other fruits (or chocolate chips/sprinkles etc.) as you wish.
Aquafaba — In case you don't want to use aquafaba, simply substitute it with more non-dairy milk. The cake will be denser and will need to be mixed at least 30 seconds longer to make up for the loss of structure.
Cupcakes — If you'd like to make cupcakes using this recipe, preheat your oven to 400ºF instead. Fill the cupcake liners up to ⅔ high, bake at 400ºF for 5 minutes, then reduce the temperature to 335ºF and bake for another 10 minutes—or until a toothpick comes out clean. The initial high heat results in a higher dome that's desirable in cupcakes.
Torting — If you want to make more layers, feel free to torte the cake (as in, divide each layer in half with a serrated knife). The cake is adequately robust to withstand it. Just make sure it's still chilled as you do so, and note that you may need more frosting for the additional layers.
Freezing — Don't freeze the cake after assembly, but you can freeze the cake sponge layers individually. Wrap them tightly in cling wrap and freeze for up to three months.
- Prep Time: 30 minutes
- Cook Time: 26 minutes
- Method: Bake
- Cuisine: Universal
This recipe has been adapted (veganized) from Sugar Geek Show's vanilla cake recipe.
Pin me for later:


Ashleigh
Been looking for a birthday cake for my husband. Strawberry vanilla is his favorite. Made this with kite hill chantilly cream and followed recipe to a t. He loved it! Not dense like some other vegan cakes I tried. Thank you!
Gönül
So happy to hear your husband enjoyed his birthday cake! Thanks for trying out the recipe, Ashleigh!
Kaylee
Do I whip the aquafaba?
Gönül
Not necessary—but you’ll get an airier texture if you do!